Observatory
Observatory Planning and Construction
One of the dreams of many people is to have more time to pursue their hobbies. For me, and many of you, it’s astronomy. Astronomy is different from many hobbies in that most amateur astronomers are interested in the stars and deep sky objects only available at night and in a dark sky. If we’re lucky enough, our home is out in the country away from city lights and the pollution they create. Most of us live in or near a city so that we must travel some distance to get away from the lights. Either we go to a dark site club observatory or, we travel to the mountains, or other areas desolate and dark. Unfortunately, life gets in the way. We have families, work, and other responsibilities to keep a roof over our heads. We don’t often find time to pack up a telescope, mount, and other equipment, drive to that dark site, and set everything up. We only get a short time to enjoy the heavens before we have to reverse the process and pack it all up to head home. After all, morning comes quickly and we have to get some rest before heading to work. If we save our enthusiasm to go out and observe on the weekends, we have other commitments that can get in the way. Family get-togethers, the kids sports activities, religious observances, etc. Besides those obstacles, the weather is always teasing us and ruining our plans, especially here in the south near the mountains, that play havoc with wind and cloud cover. One of my dreams during my working years was to be able to retire somewhere quiet, away from the hustle and bustle of suburbia and its inherent discomforts. I grew up, and lived most of my life on Long Island in New York State, and spent nearly my entire working career within the confines of New York City, working for the largest transportation system in the world. The congestion of people and traffic, had me eagerly awaiting the time when I could retire to a quiet place in the country where the traffic is sparse, the sky is dark and I could listen to the sounds of nature instead of the sounds of traffic and squealing subways. Living just 60 miles from the big city, I had to travel some distance to find really dark skies. Of course that nice quiet place in the country would include an open sky and an observatory, where I could be doing my astronomy within minutes, not spending precious time setting up a ton of equipment. I spent many of my lunch hours dreaming of this time and place. My observatory plans went through many evolutions of size, design and purpose. I have been, and still consider myself to be, primarily a visual observer. From my first used 60mm refractor to my current 15” Newtonian reflector, I have been driven by aperture fever acquiring larger and larger telescopes, in my hunt for the faint fuzzies and the tantalizing beauty of the deep sky objects scattered about the night sky. This drive greatly influenced the first observatory designs I created.
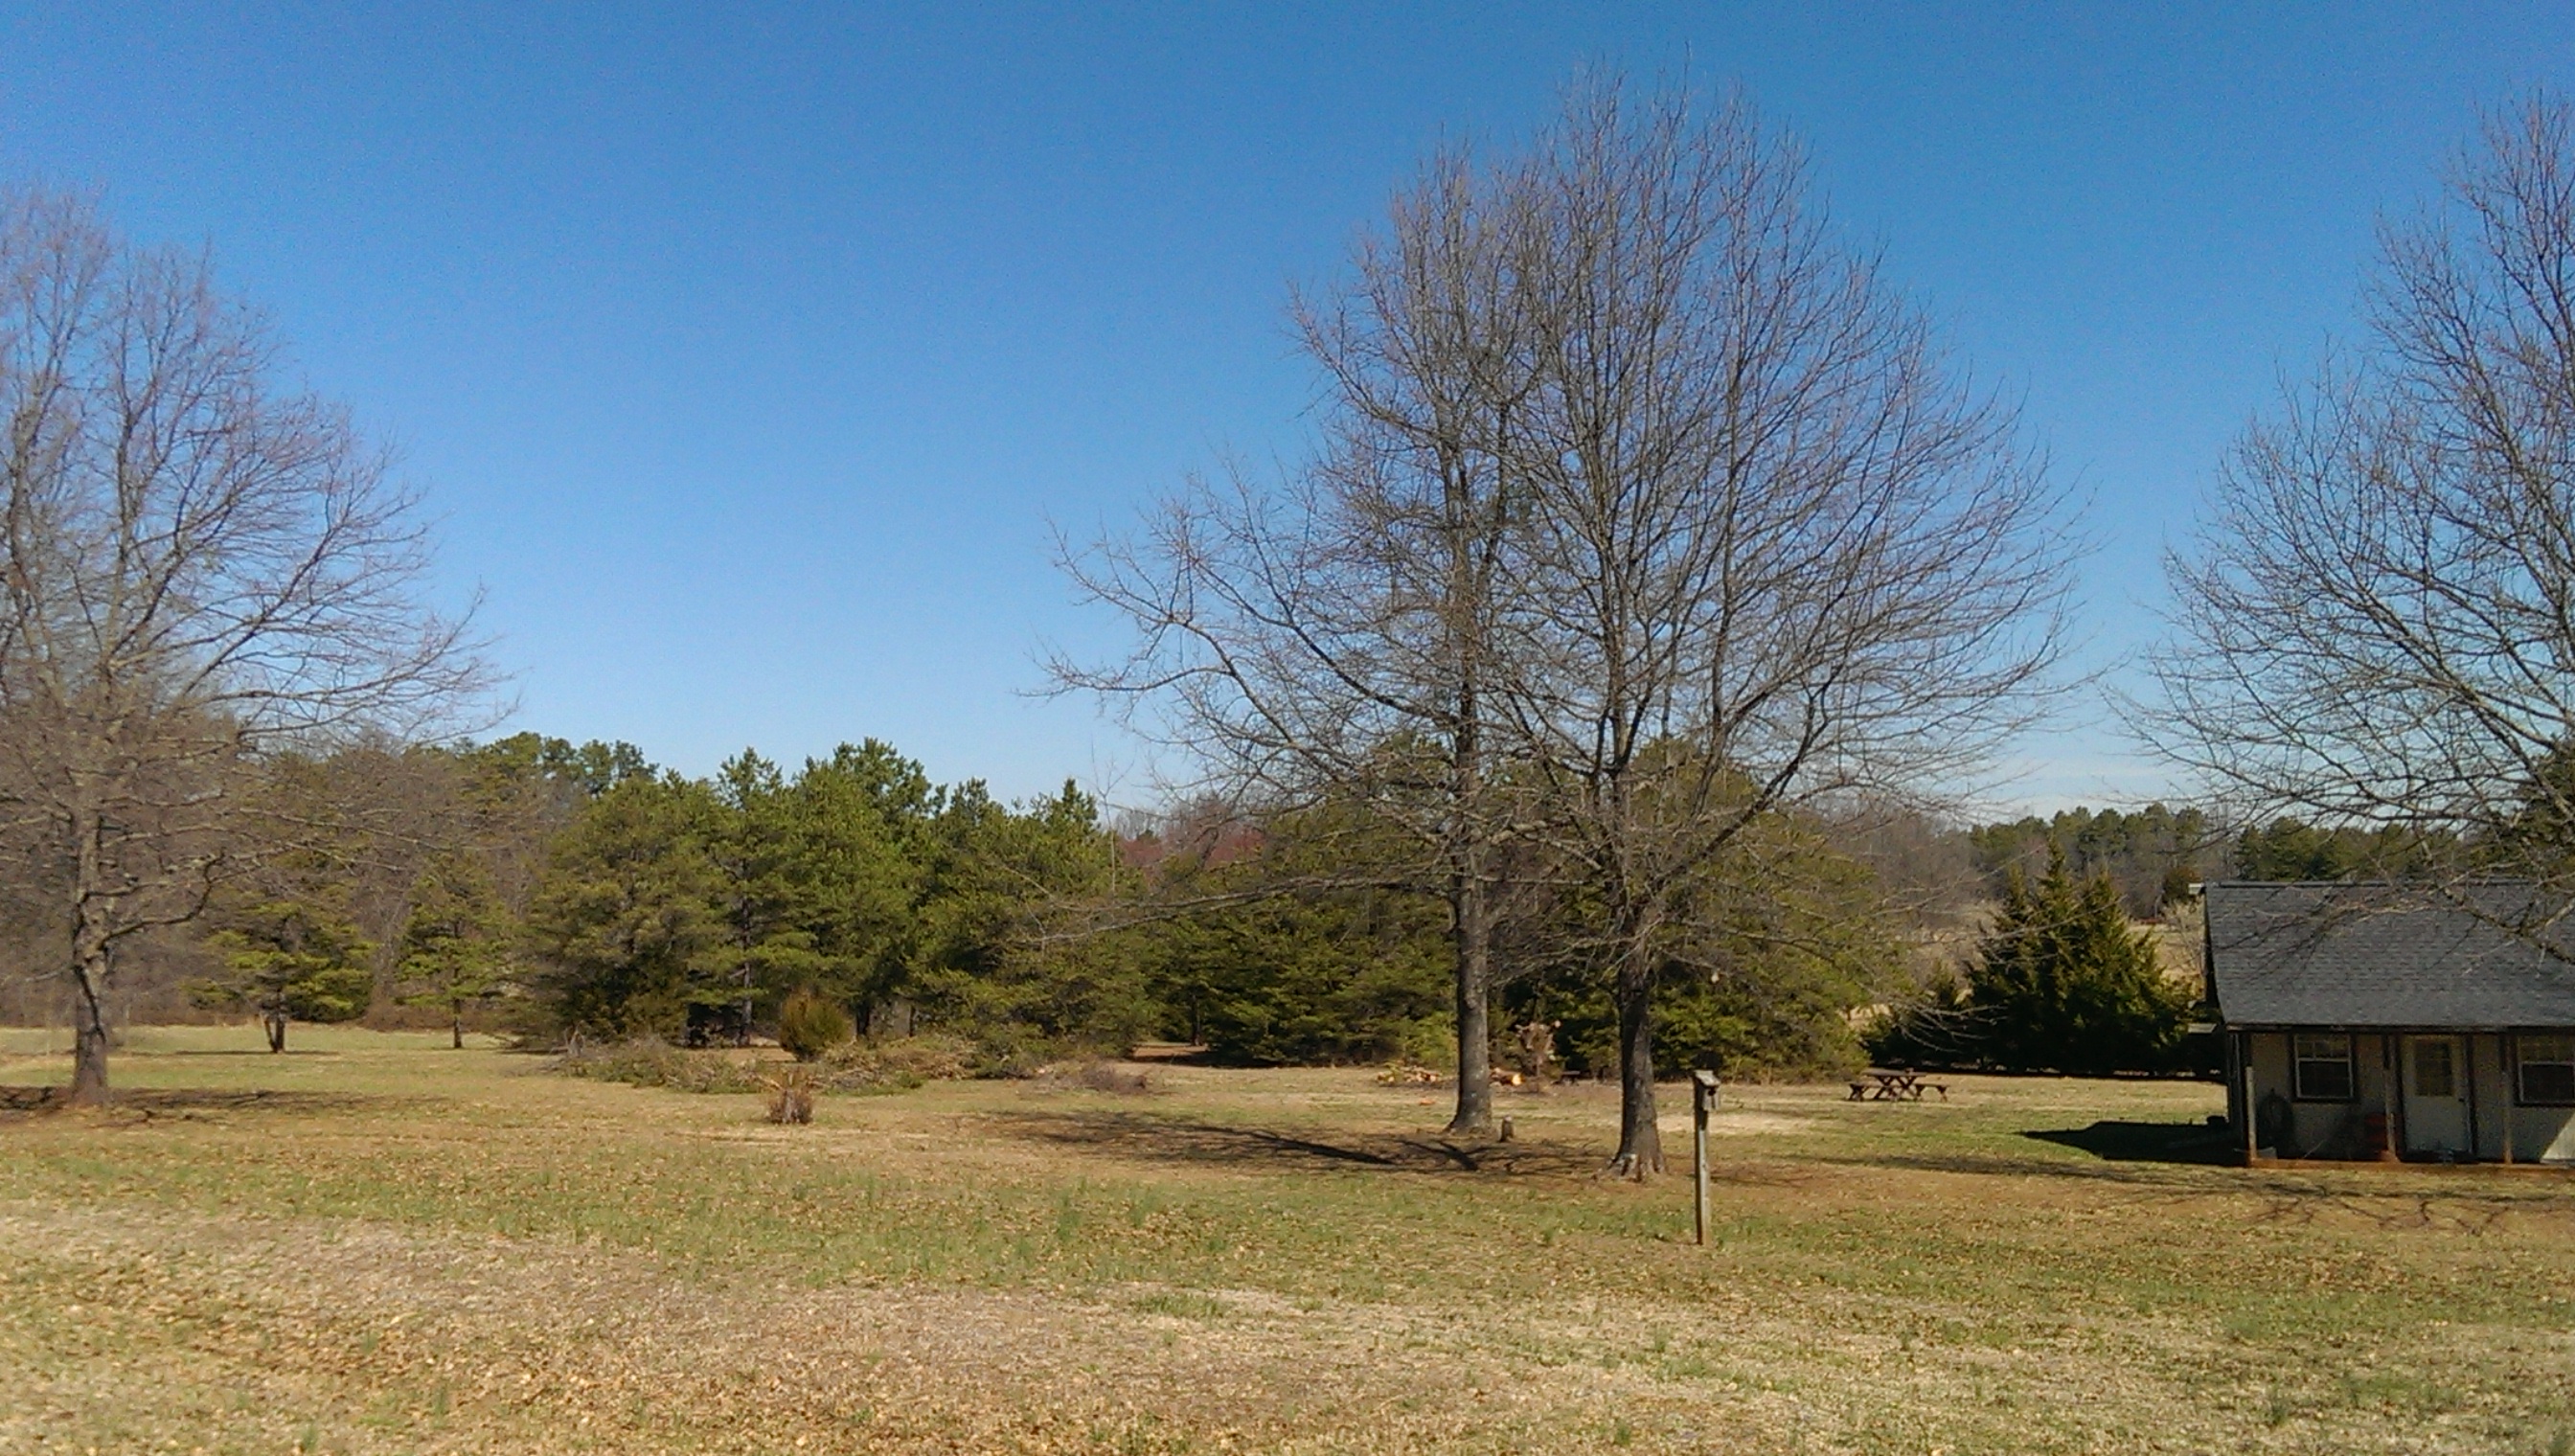
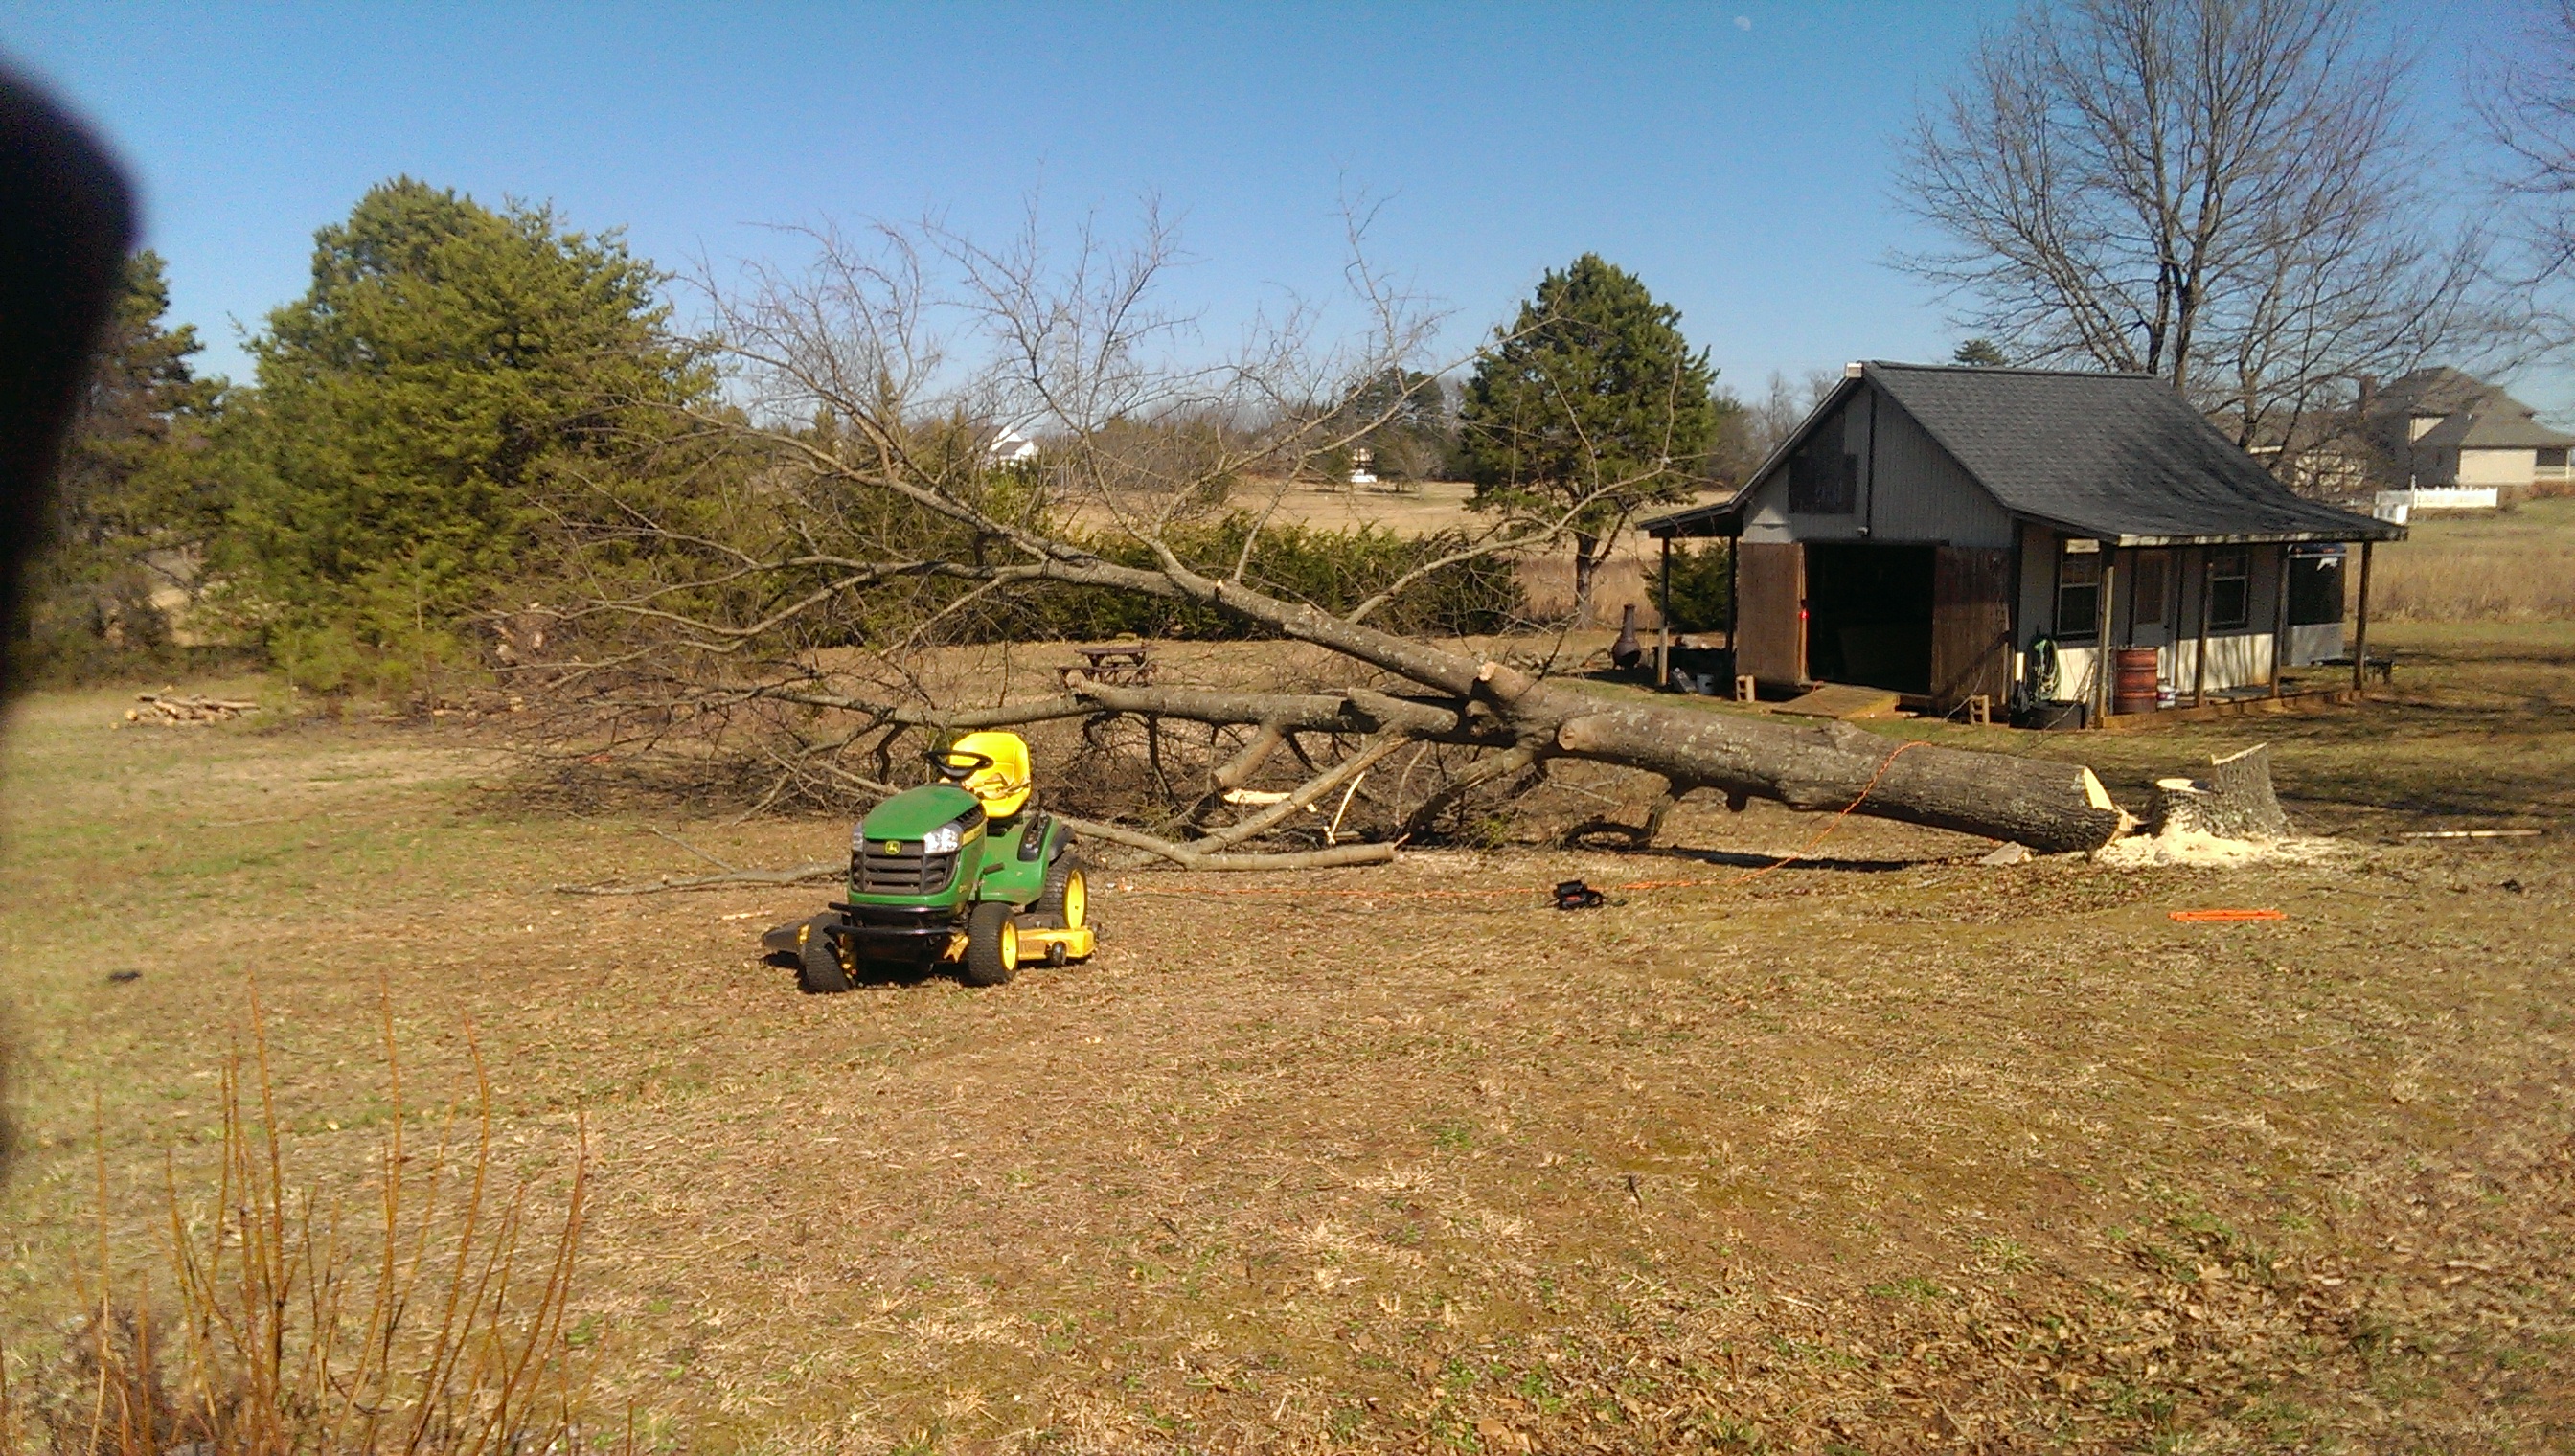
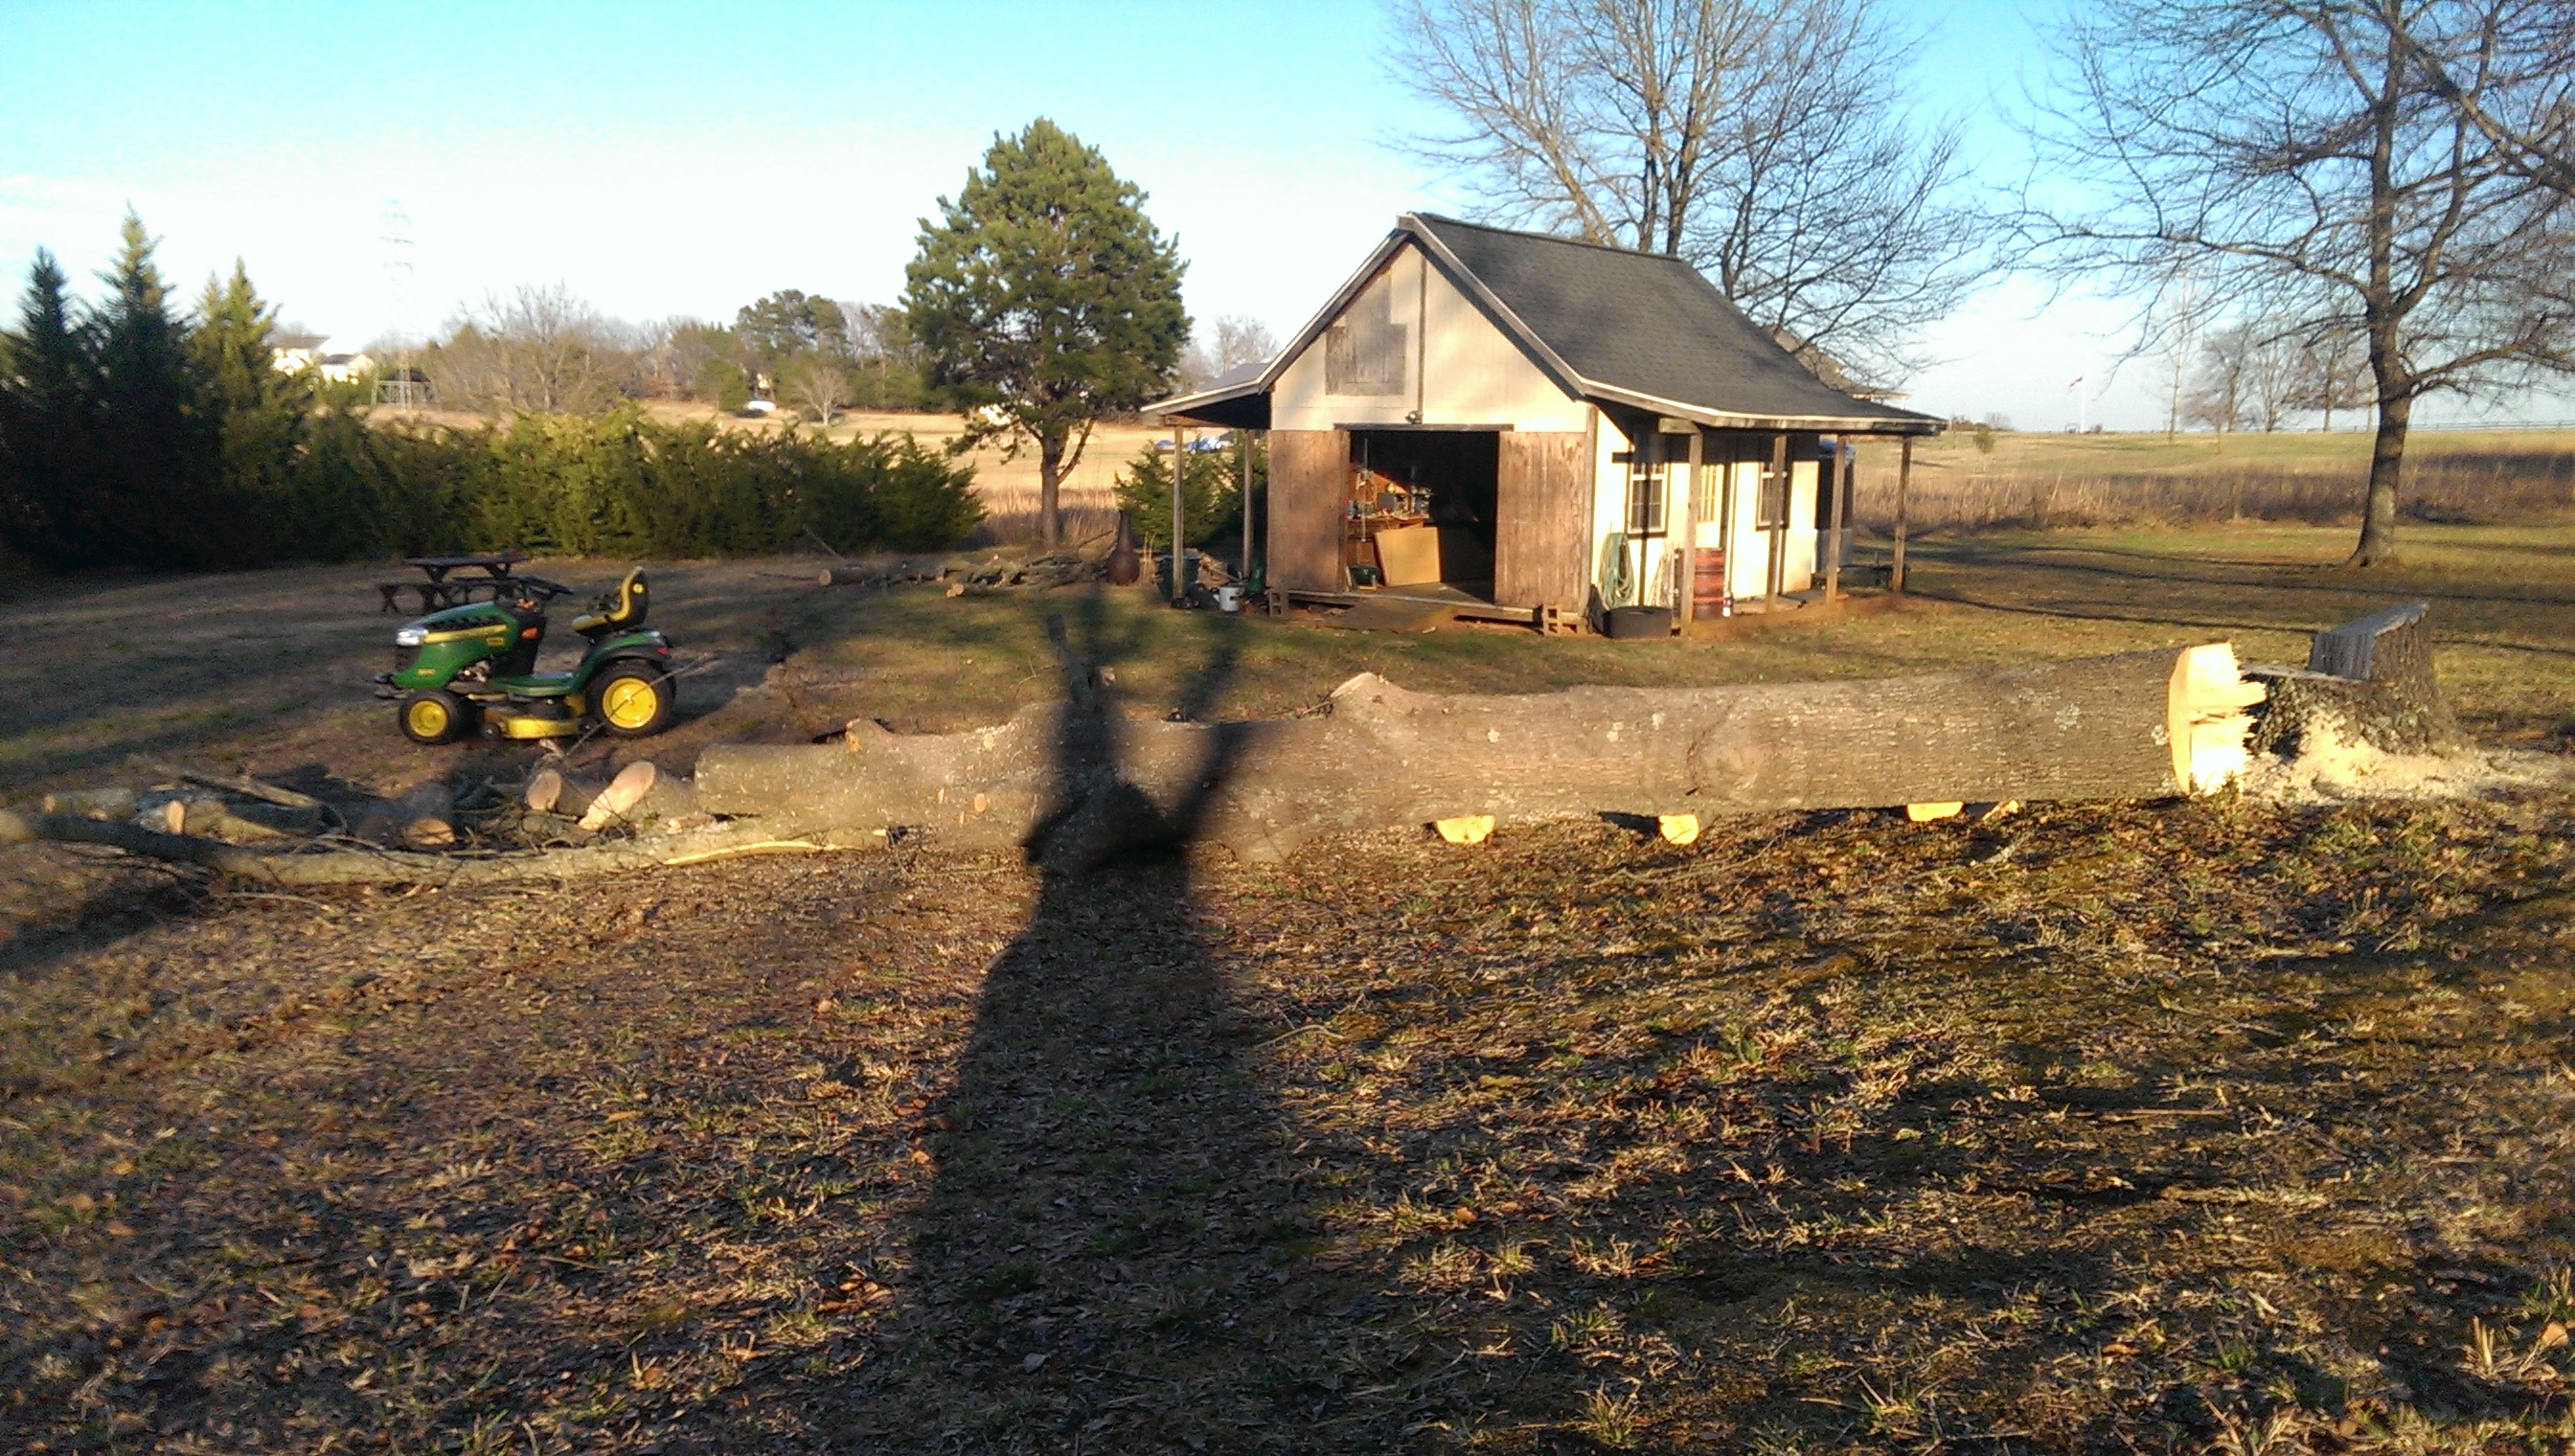
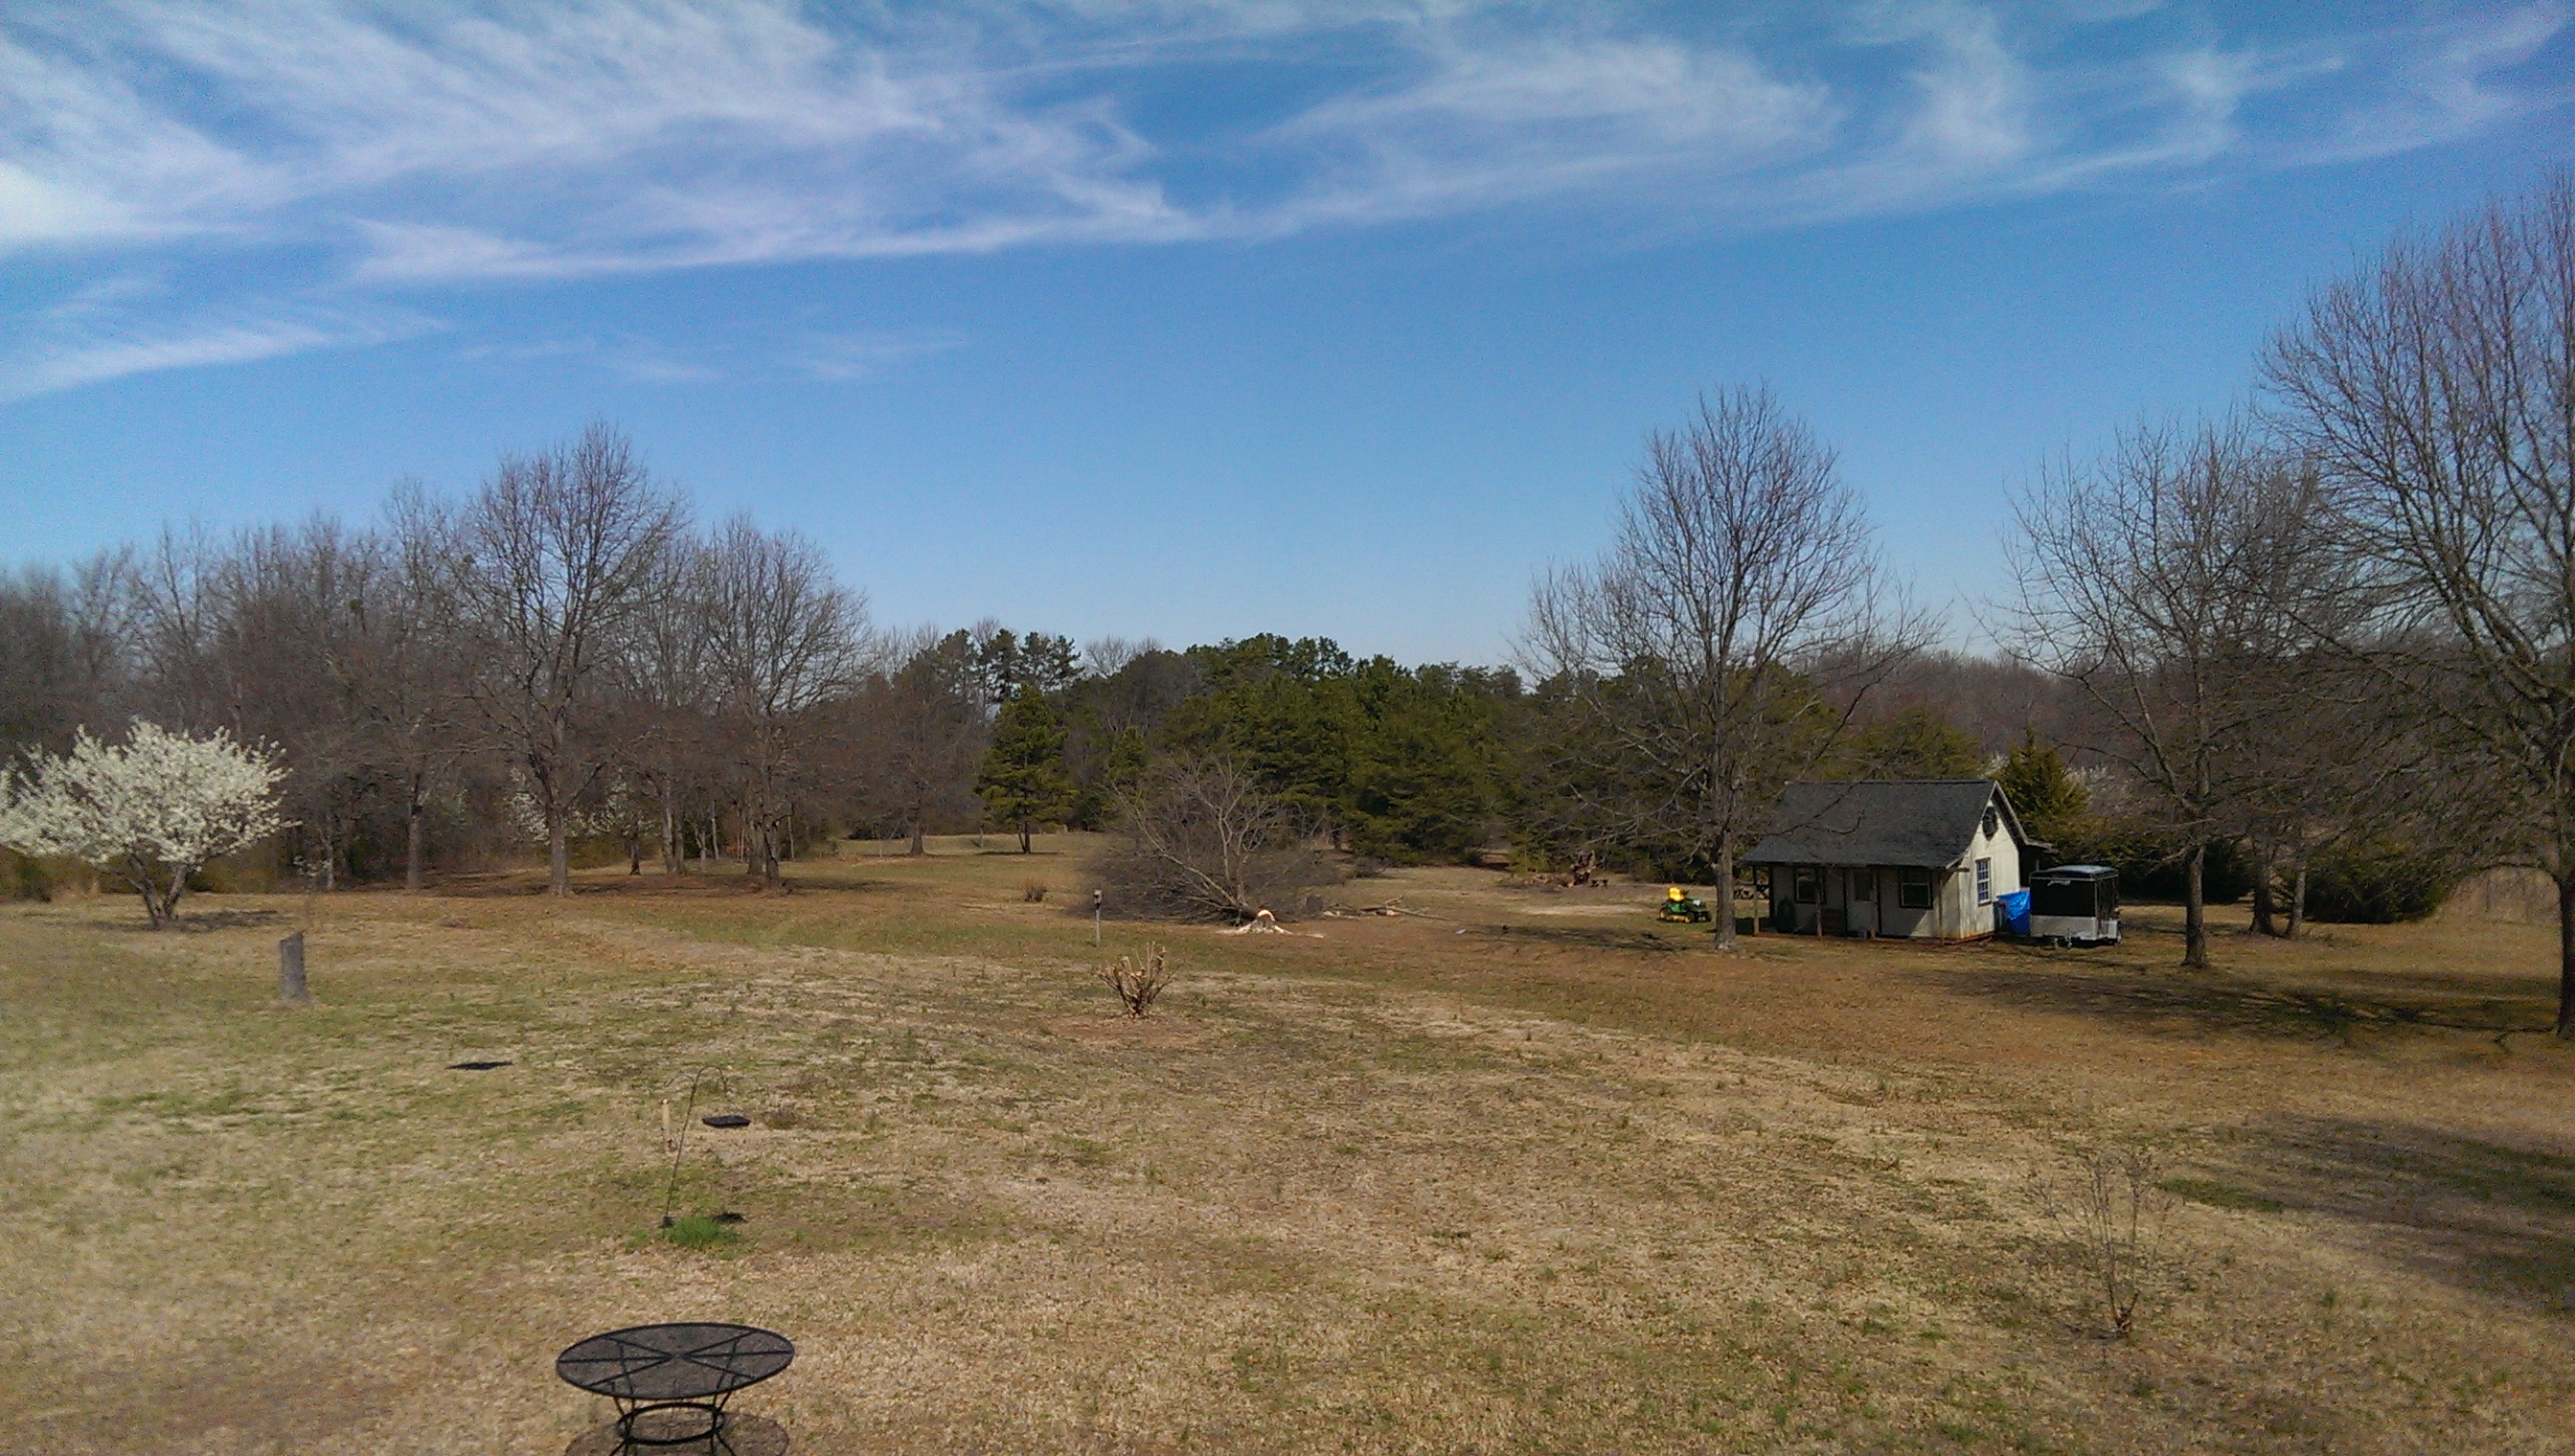
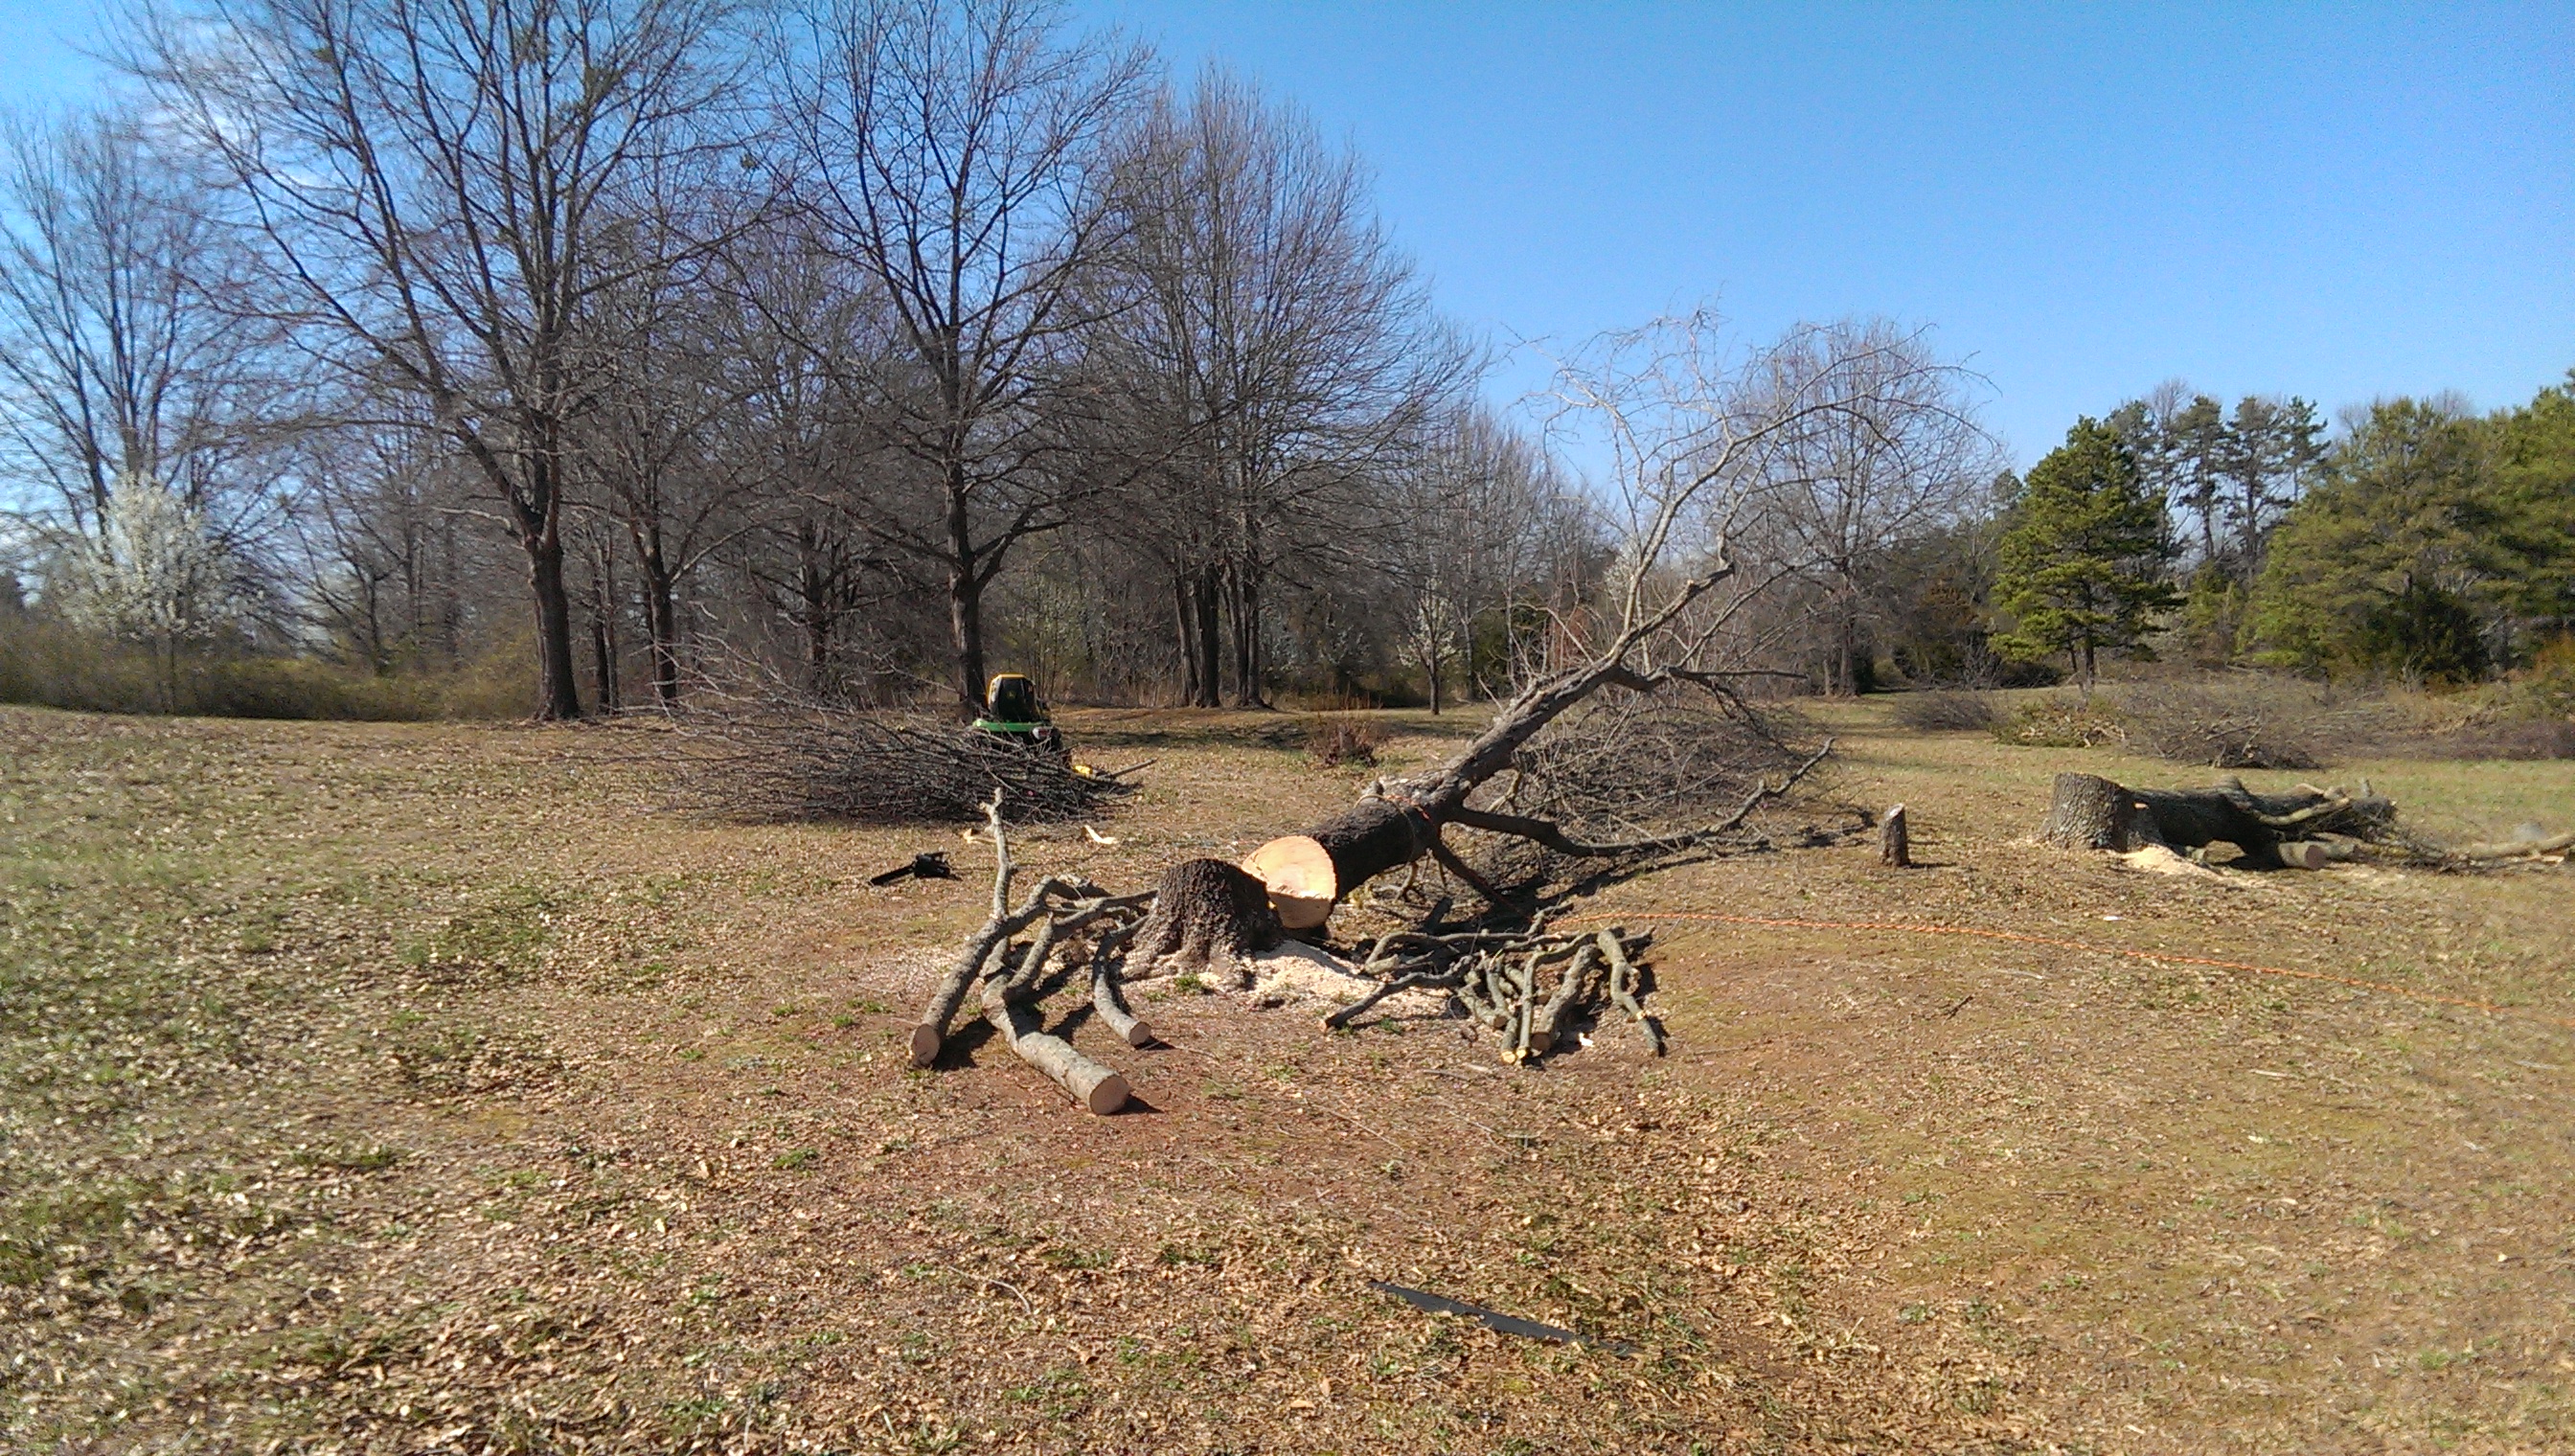
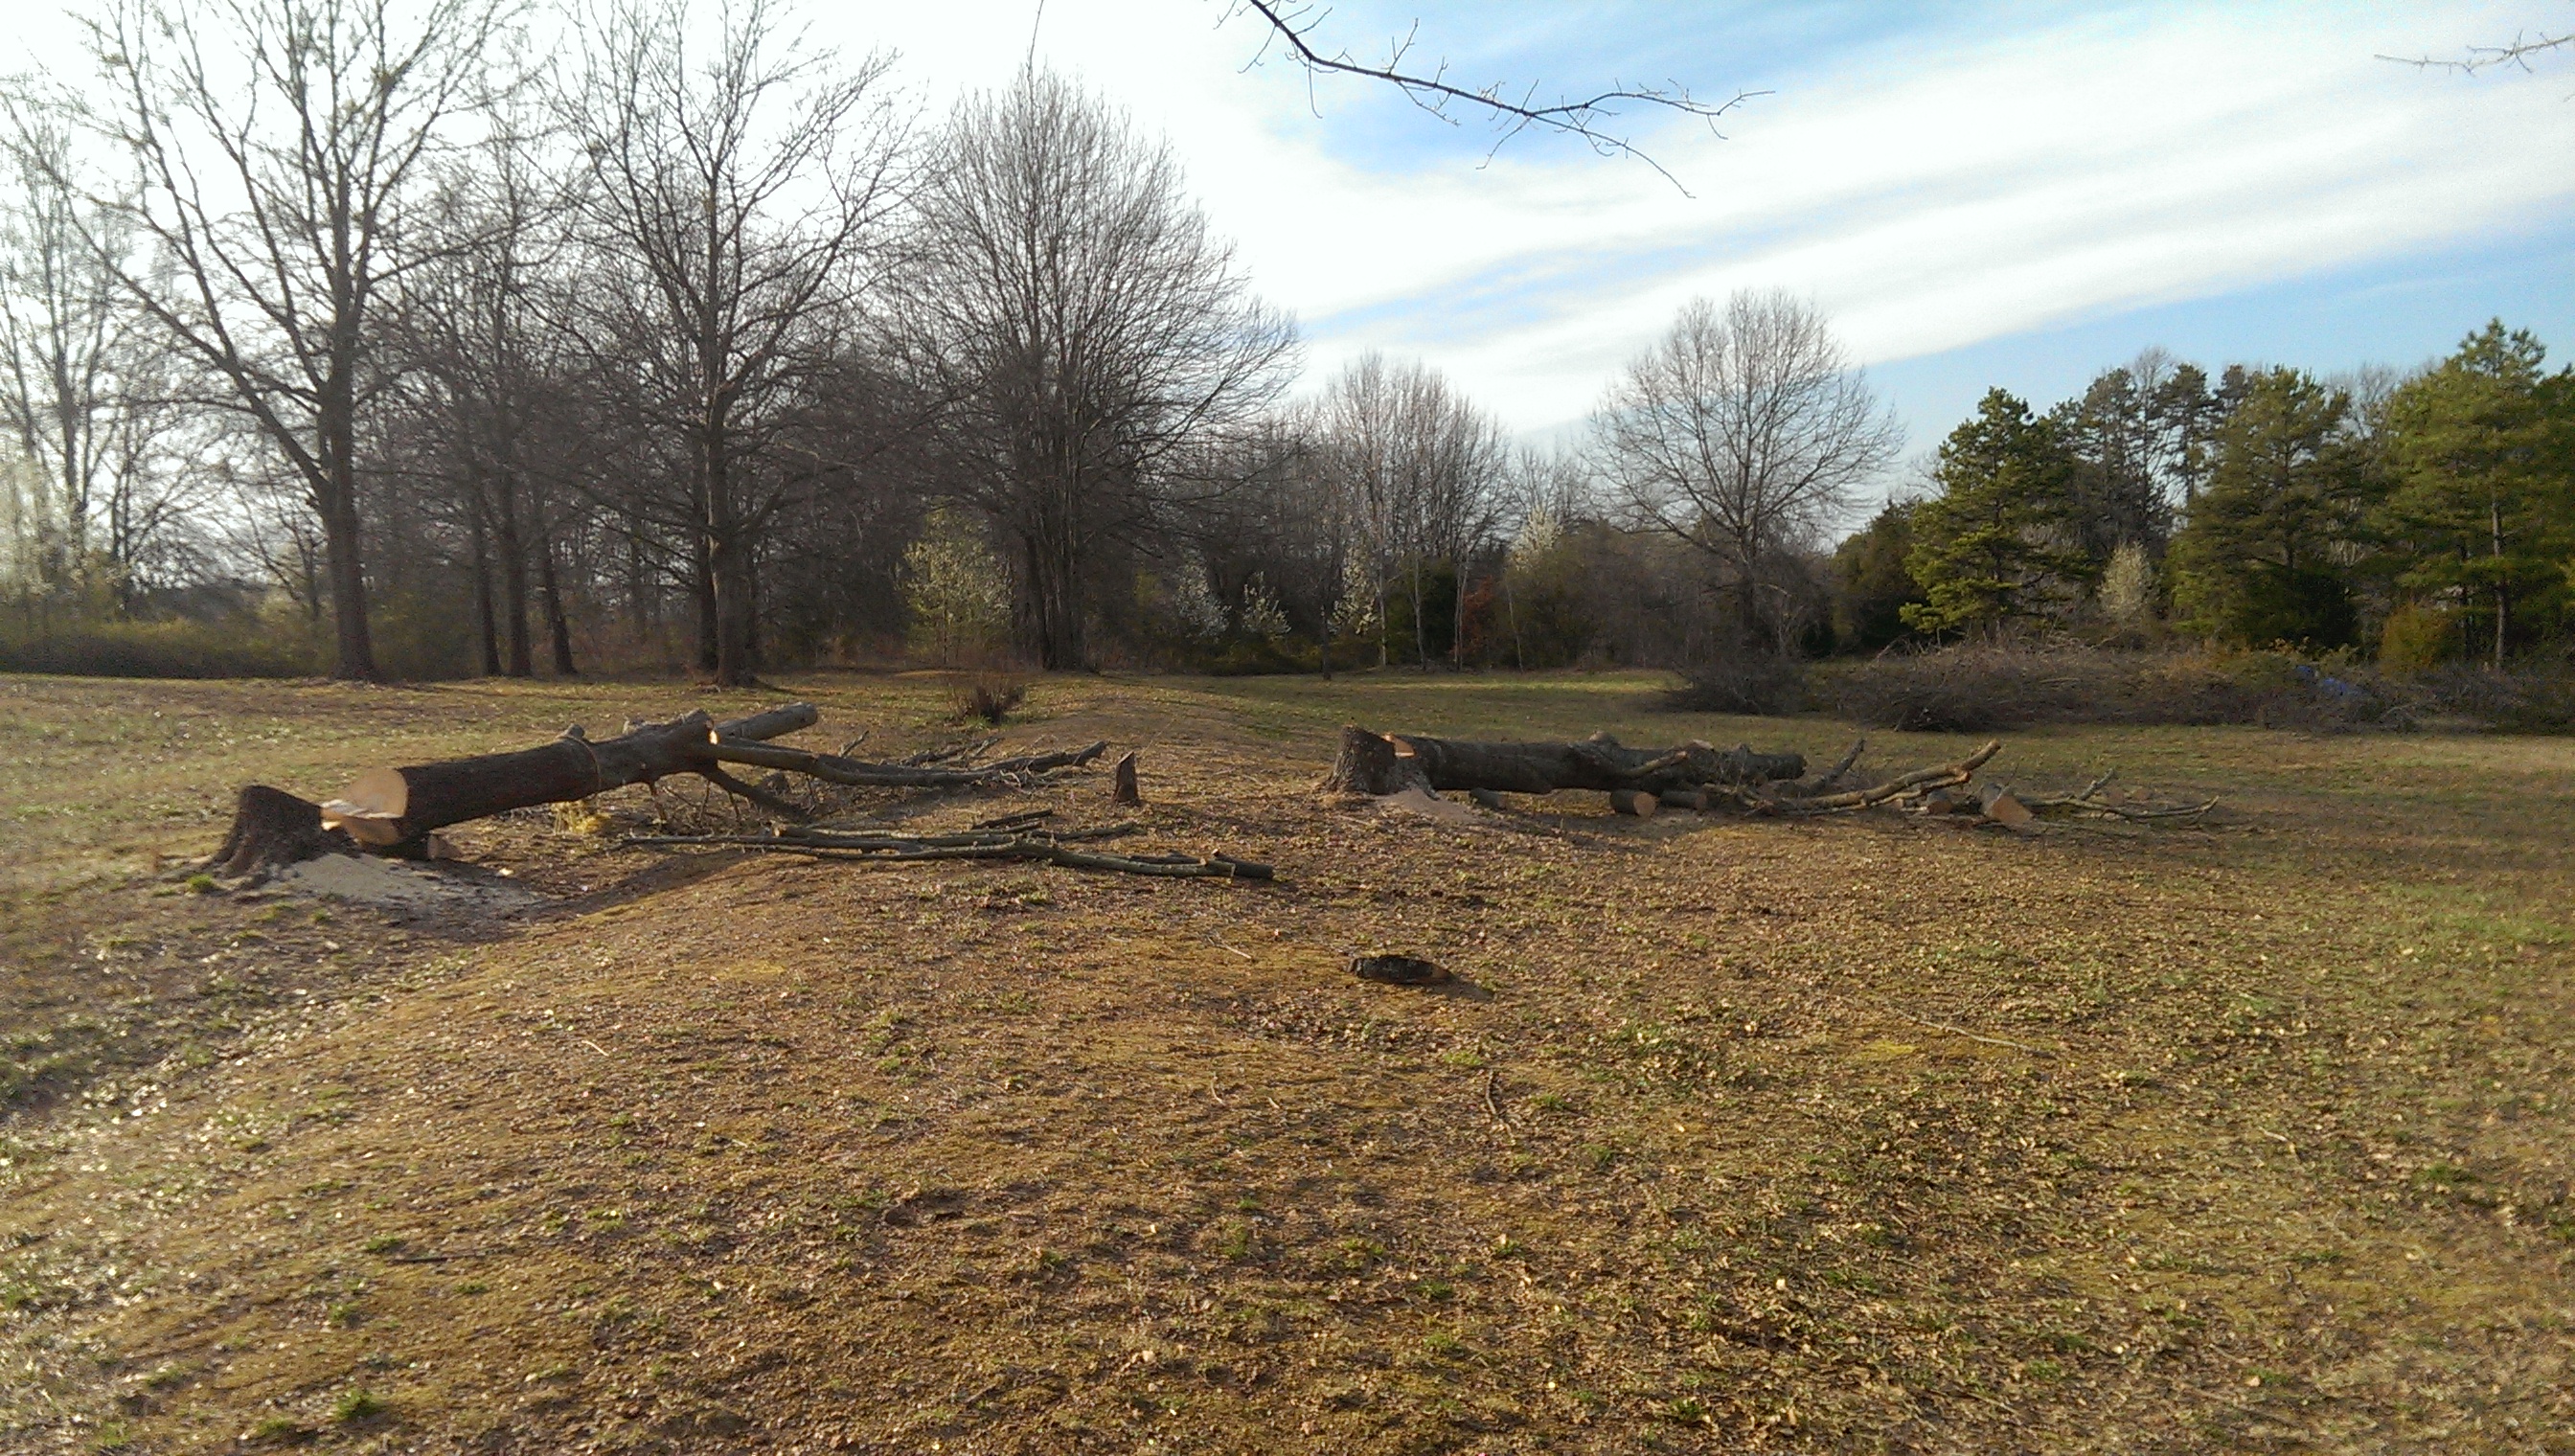
The observatory would have to accommodate the 15” dobsonian and be open to the sky. There’s no better way to take a break from being hunched over looking through an eyepiece than sitting back in a chair and staring up at the milky way with an occasional streaking meteor reminding me of the wonder of it all. Needless to say the first plans were for a roll off observatory. I figure a 12ft by 12ft observatory would be just right for the 15” dob. Maybe a fold down wall on the south side so I could reach the beautiful clusters and nebulae in Scorpius and Sagittarius during the summer months. Later the plans evolved to a 12ft by 16ft roll-off. I had been bitten by the astrophotography bug after watching with fascination friends from my club setting up all sorts of equipment and capturing beautiful images through their telescopes. I could do that too I thought, so I increased the length of the observatory to add a pier along side my dobsonian. That way I could view visually while the other scope imaged the sky. Later on I added a warm room to the plan, and decided to increase the width to give both setups more room for people to maneuver. Wait! “People”? Yes, I had visions of all sorts of star parties with people regularly visiting, forgetting that by this point I would be retired from work, but most of my friends would probably be still working and thus, infrequent visitors. Just like aperture fever, I was now in size fever with my plans for the observatory. It was now going to be 16ft by 24 ft with an 8’x16’ warm room within that footprint. This was not irrational, but overkill for my needs and budget. My plans stayed that way and were put aside for a few years. I started to save some money for the project, as I worked my way towards retirement. Finally, retirement arrived and it was time to move. We have three children. One lives up North in the snow belt, the youngest was in the Marines, and the oldest settled down south after graduating college. The wife was sick of the cold snowy winters and wanted to be near one of the kids as we got older, so we were heading south. We ended up settling in a country home in South Carolina, with a relatively dark sky, much darker, at least than where we were on Long Island. After settling in, I decided on the location for the observatory, and started the process of tree removal to prepare the site. Being farsighted, we had purchased the house years before retirement, and the site of the observatory had a few small trees that I thought would not be an issue. Well those small trees weren’t small anymore so I had to remove some of them to at least have some view of the southern sky. In the mean time I had joined two astronomy clubs; the Roper Mountain Astronomers, and the Astronomy Club of Asheville. I made some friends and traveled to various observing sites with dark skies. I did some visual observing from my backyard and also started some imaging. One thing I noticed was that the dew was much worse than I had anticipated. My dew removal equipment kept the glass clear but everything else got soaking wet. After all this time I started rethinking the roll-off roof design. Because of the dew I decided to go with a dome instead.
A dome would also alleviate another concern that was developing. I became interested in asteroid and comet research and was planning to automate the observatory at some point. One of my concerns was if the roof rolled closed before the telescope went to the park position, out of the way, it would be damaged by the closing roof. With a dome, it doesn’t matter what position the scope is in, the shutter cannot hit it. So the final design was a domed observatory. In my research I noticed all of the pictures showed a small door where you physically had to bend over to get inside. Once inside, room was tight until you were close to the telescope. Then, you had you worry about banging your head on the counterweight or knocking into the scope. I decided I would make the door taller (6’+-), and the building would be slighter larger than the dome so you could move around more easily. Below is a drawing of one of the original iterations of design for the observatory. It shows a 12’x16’ building wit a 12’x12’ observing area and 4’x12’ warm room.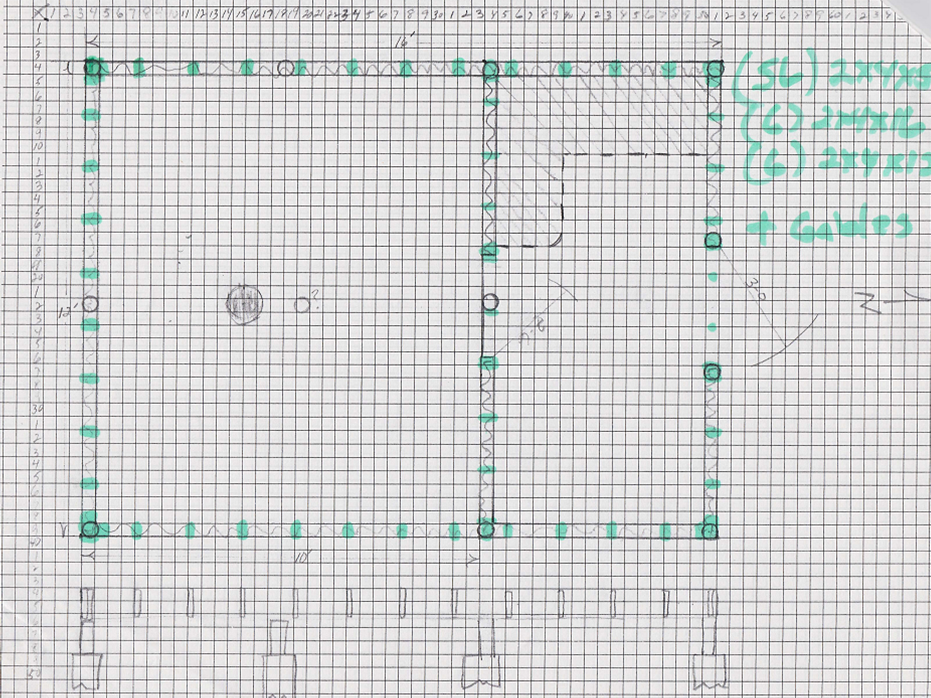
I decided the observatory would be a dome, due to the inherent issues with dew, and the extra safety that would be provided for the telescope, when closing an automated observatory. It was now time to figure out the size that would function best for my purpose. The observatory would be primarily used for astro-imaging, but I wanted enough room inside to occasionally operate the observatory visually, with a few guests present. Based on my previous experience with my club observatory in New York, I decided an 8 foot dome would allow for enough space to accommodate the scope and 3-4 guests. The dome at the Susan Rose Observatory we built in New York was made by Exploradome. Since the time that was built, the company has added features to allow motorized operation of the dome and shutter; necessary features for automation. That dome had a circular structure below the dome that made for a tight fit with people inside. It also had a low clearance door to pass through. I wanted more space, so I planned for the Transit Dreams observatory to have an almost full height door, and a transition to widen the circular dome to squared off walls that would allow for more space for people and equipment. It was time to do some research.
The early Exploradomes had issues with maintaining its circular shape. This sometimes caused problems rotating the dome smoothly. The dome in New York was one of the first they made. The company was born from a company named Polydome that made shelters for cattle to protect them from the cold mid-western winters. Someone had converted one of these shelters into an observatory and approached the owner to start making observatories. In my research I found the company’s products had matured and become more user friendly. They had solved the rotating issue by installing a circular aluminum ring on the inside of the dome to maintain its shape. They also added motorization to the dome and shutter and, with third party software, an automation system. Automation was a critical feature necessary to my goals for the observatory.
I searched many websites and astronomy forums for feedback from people who had purchased and were operating this observatory. I’m glad I did. I found that the motorized functions worked well with this observatory, but there were issues with the automation hardware and software. People were experiencing transient problems where the system would stop responding and then start working again. Support was termed “amateurish” by some of these users and their issues took forever to resolve or were not fixed at all. One user even abandoned this system and the dollars they invested and went in another direction toward automation. I’m glad I did my homework and decided this dome was not for me. [ Please realize that the information above is from peoples’ experiences and their opinions. It is not a knock on the ExploraDome company or their products. I’m sure there are many happy users of the Exploradome. It’s just not for me.]
It’s unfortunate I could not go with the Exploradome, as it was the most economical option. There are not many domes within the reach of most amateur budgets. The dome I eventually settled on was the Home Dome by Technical Innovations. They make 6 foot, 10 foot, and 15 foot domes with various options. My research showed there automations systems (Digital Dome Works) were mature, and more reliable, and support was better. The 6 foot dome would be too small to accommodate occasional guests, so I decided to go with the 10 foot dome. I ordered the dome and automation equipment.
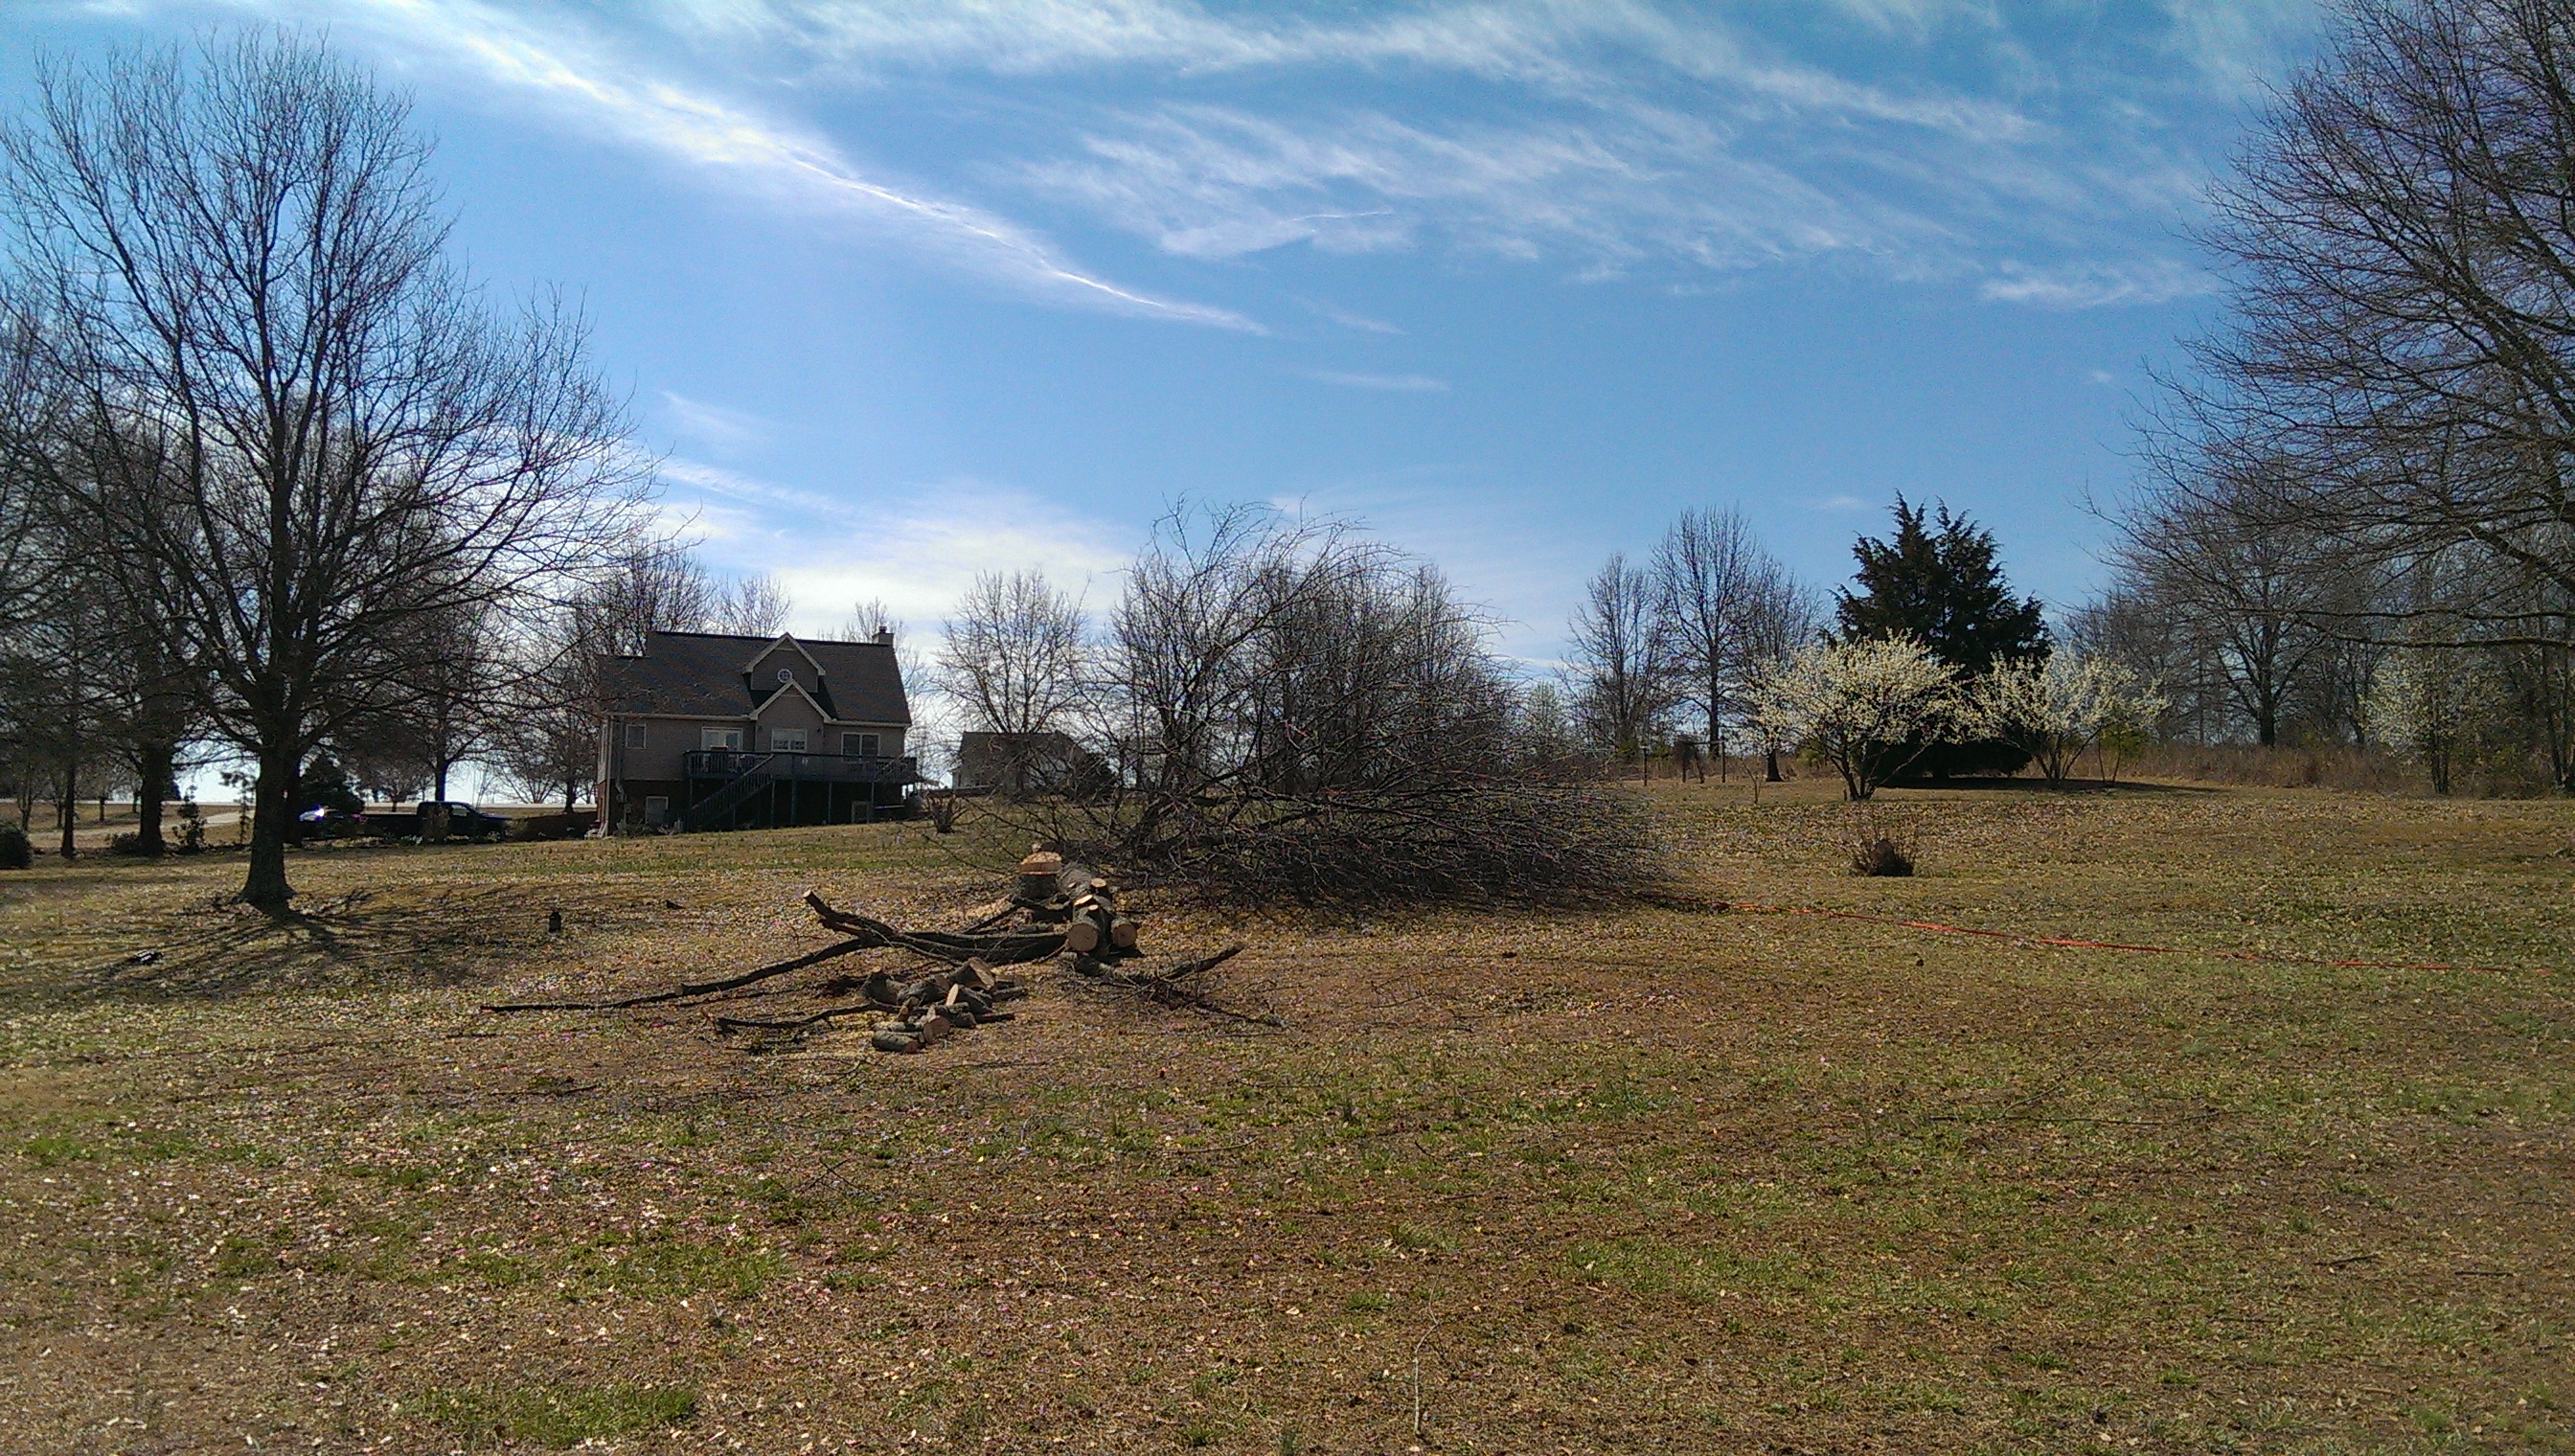
In the meantime, I had some planning to do to locate and build the structure to support the dome. The Home Dome offered optional wall panels, but they were circular and expensive. I wanted more space under the dome, so I decided to just purchase the transition panels to bring the 10 foot dome to a square building. With my carpentry experience, it would not be a problem to build the support structure. When I purchased the property in 2004, I located the general area where the observatory would be built. I also planted a tree line of Cyprus that would block stray light from my closest neighbor, about 500 feet away. When we moved to the house in 2013, the trees had matured and actually had to be pruned. I love it when a plan works. I also started cutting the few trees that were blocking the view to the south. If I was smarter I would have cut those trees after buying the property when they were small, instead of having to deal with the monsters they had become.
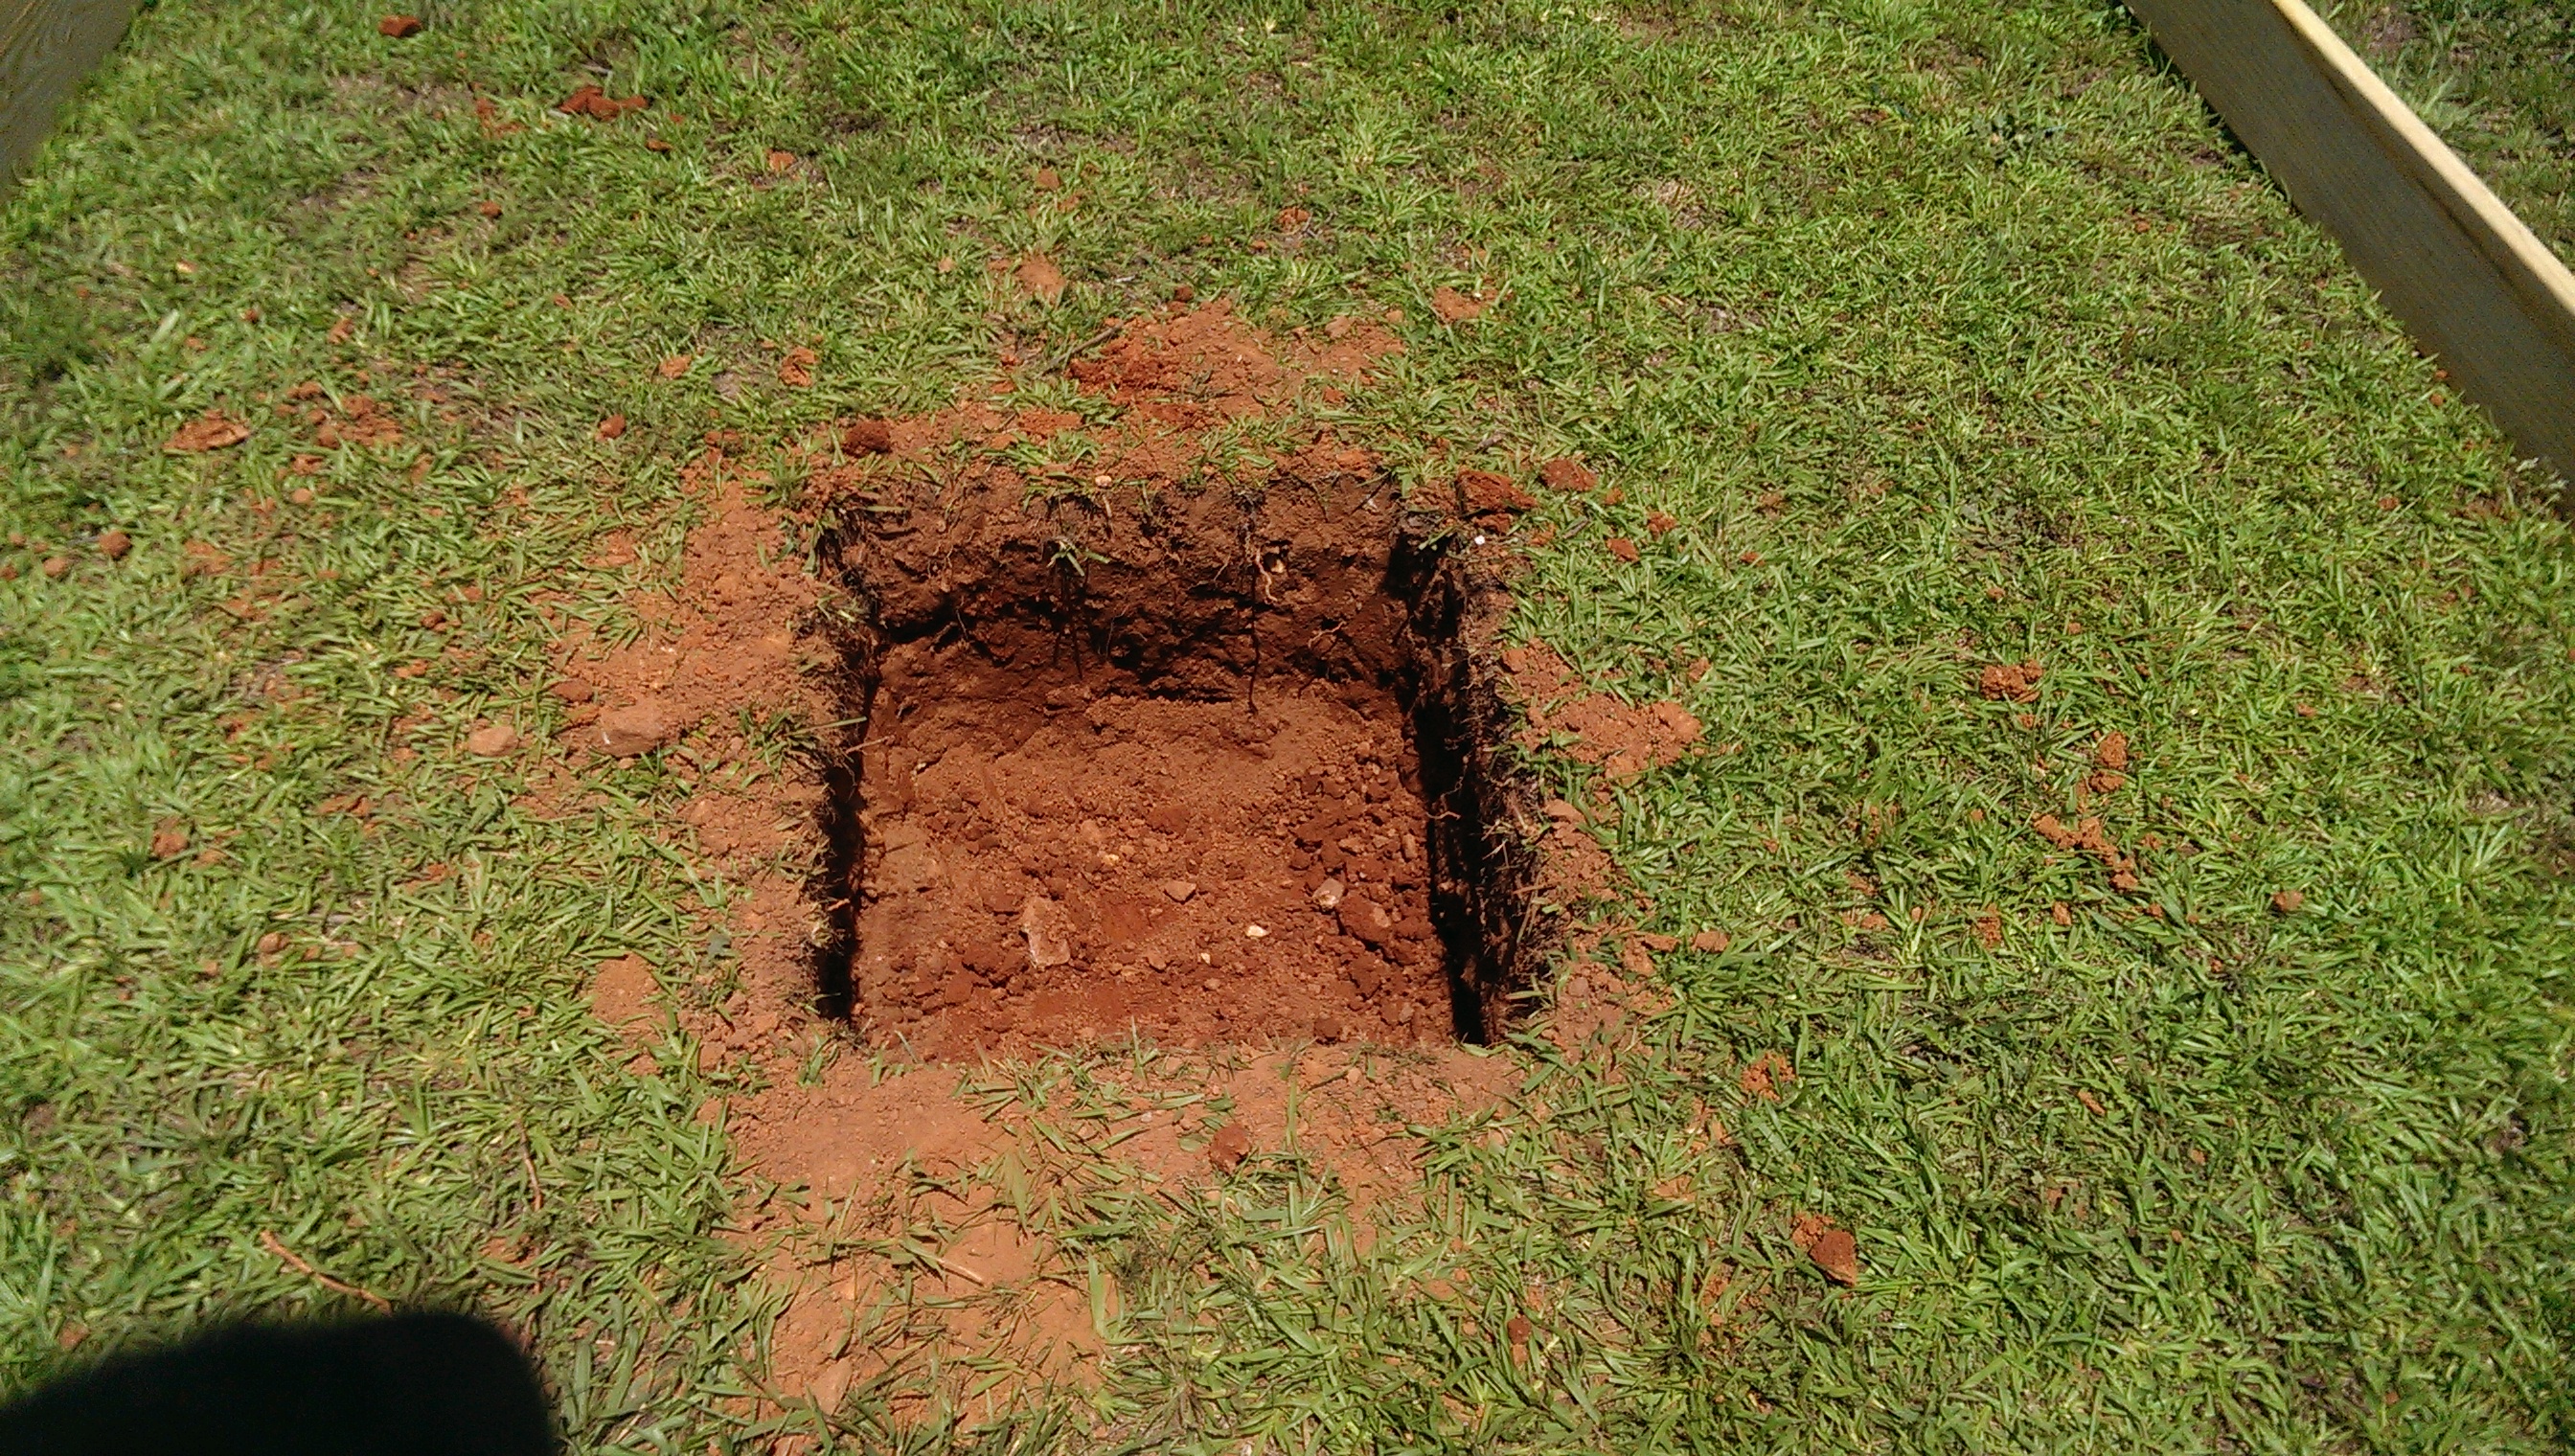
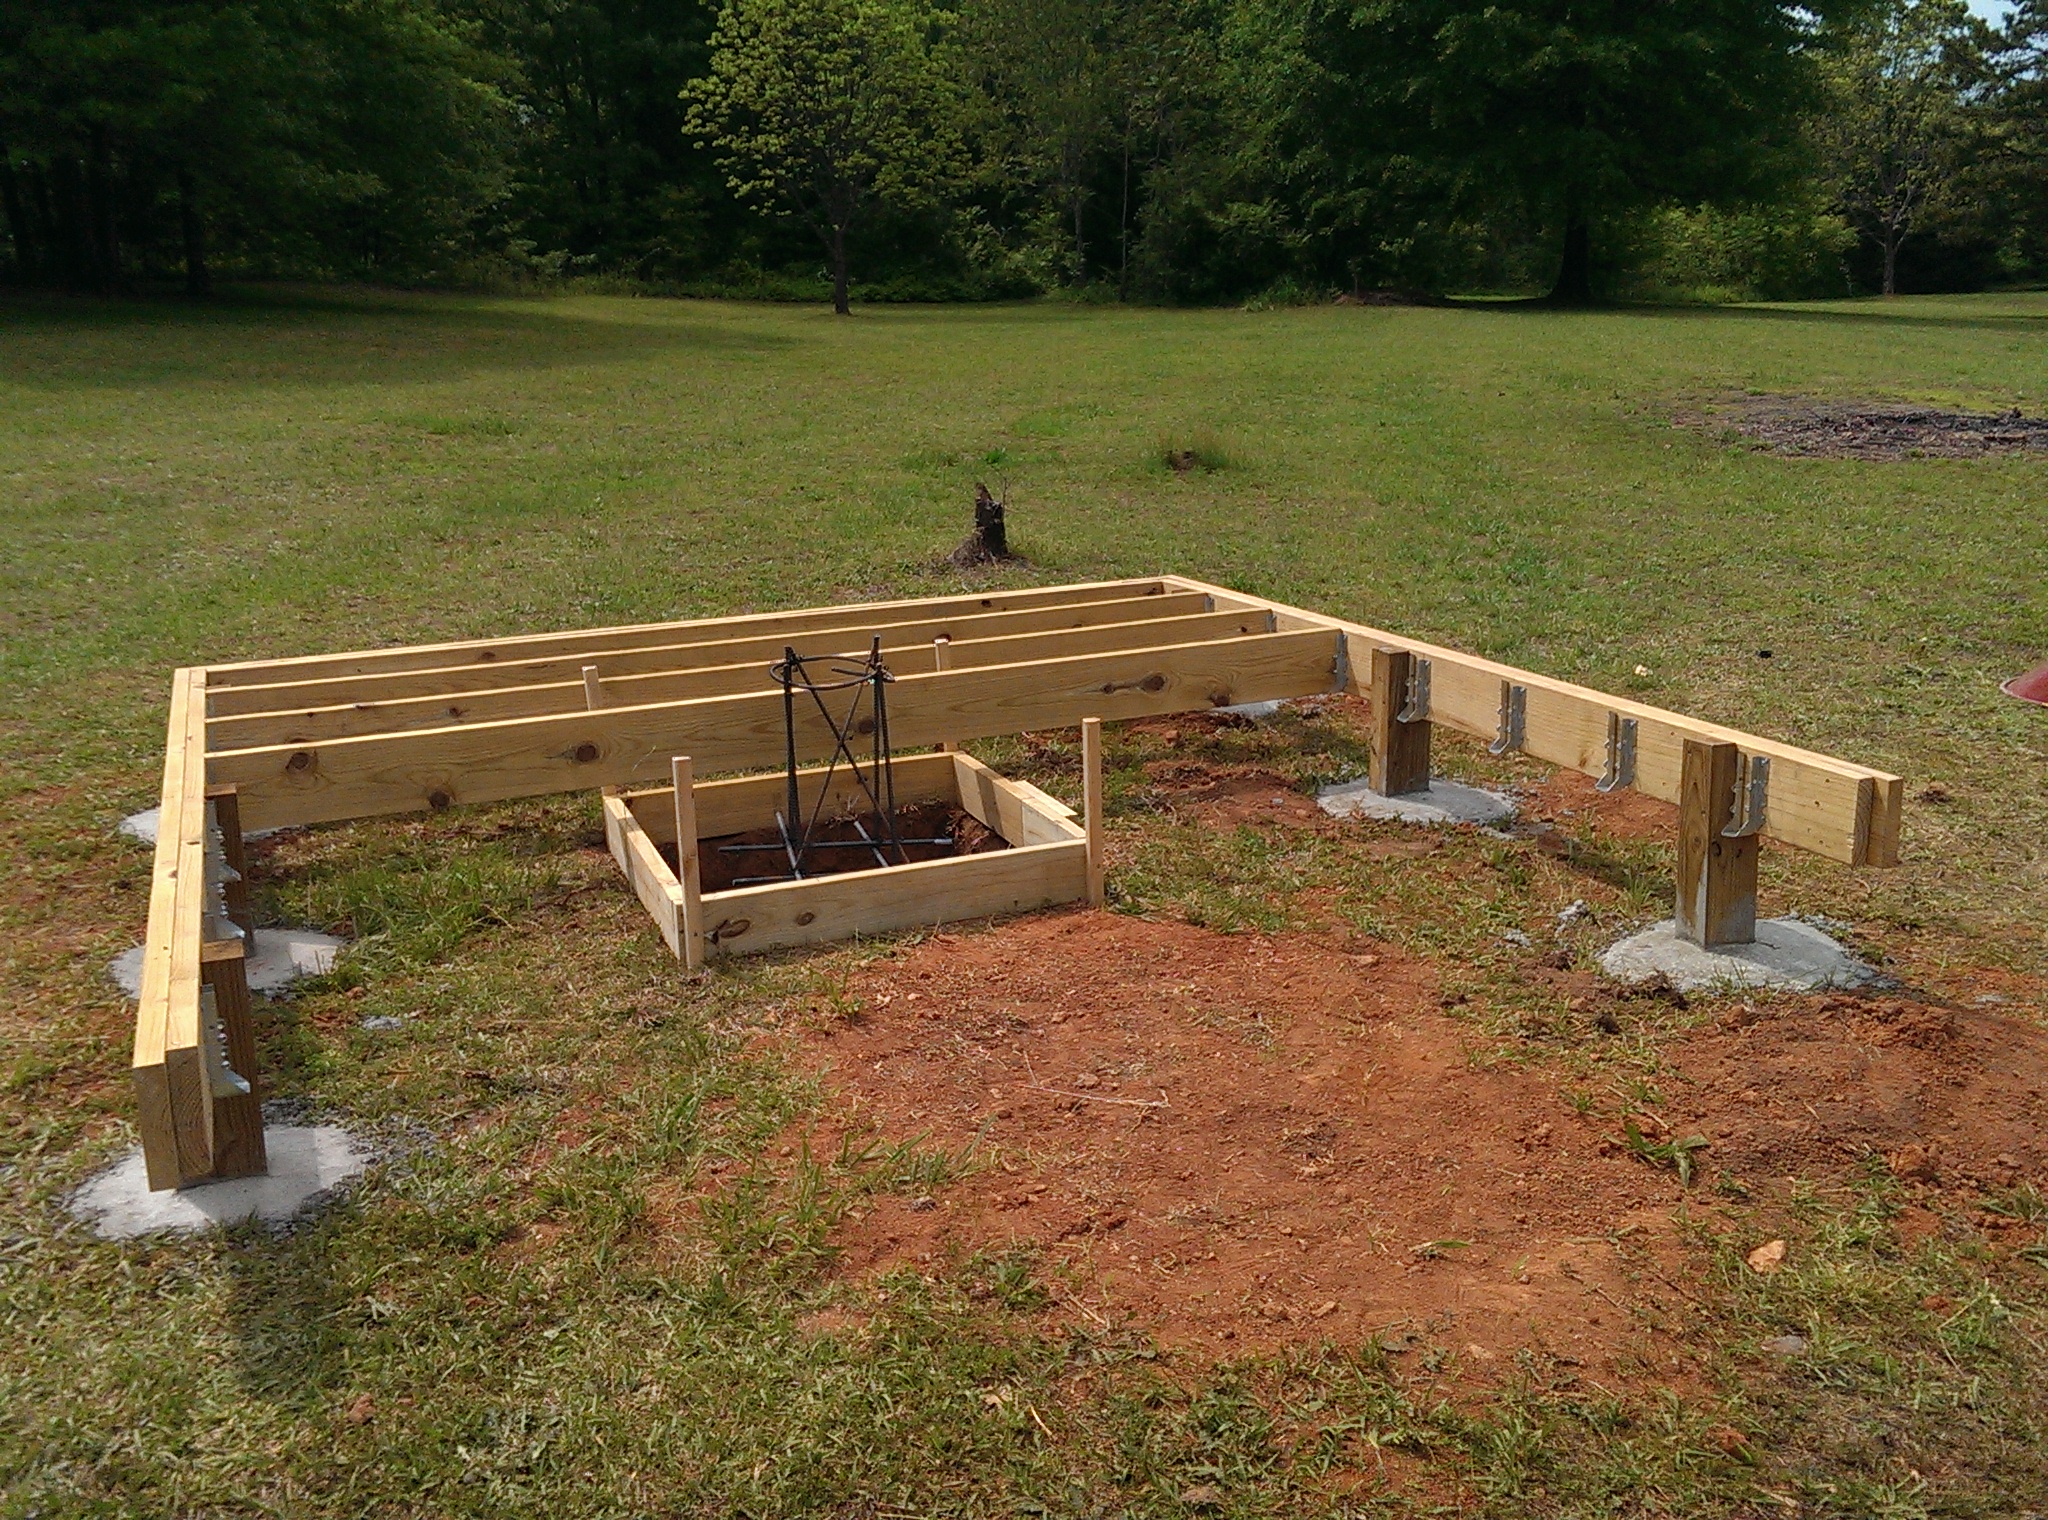
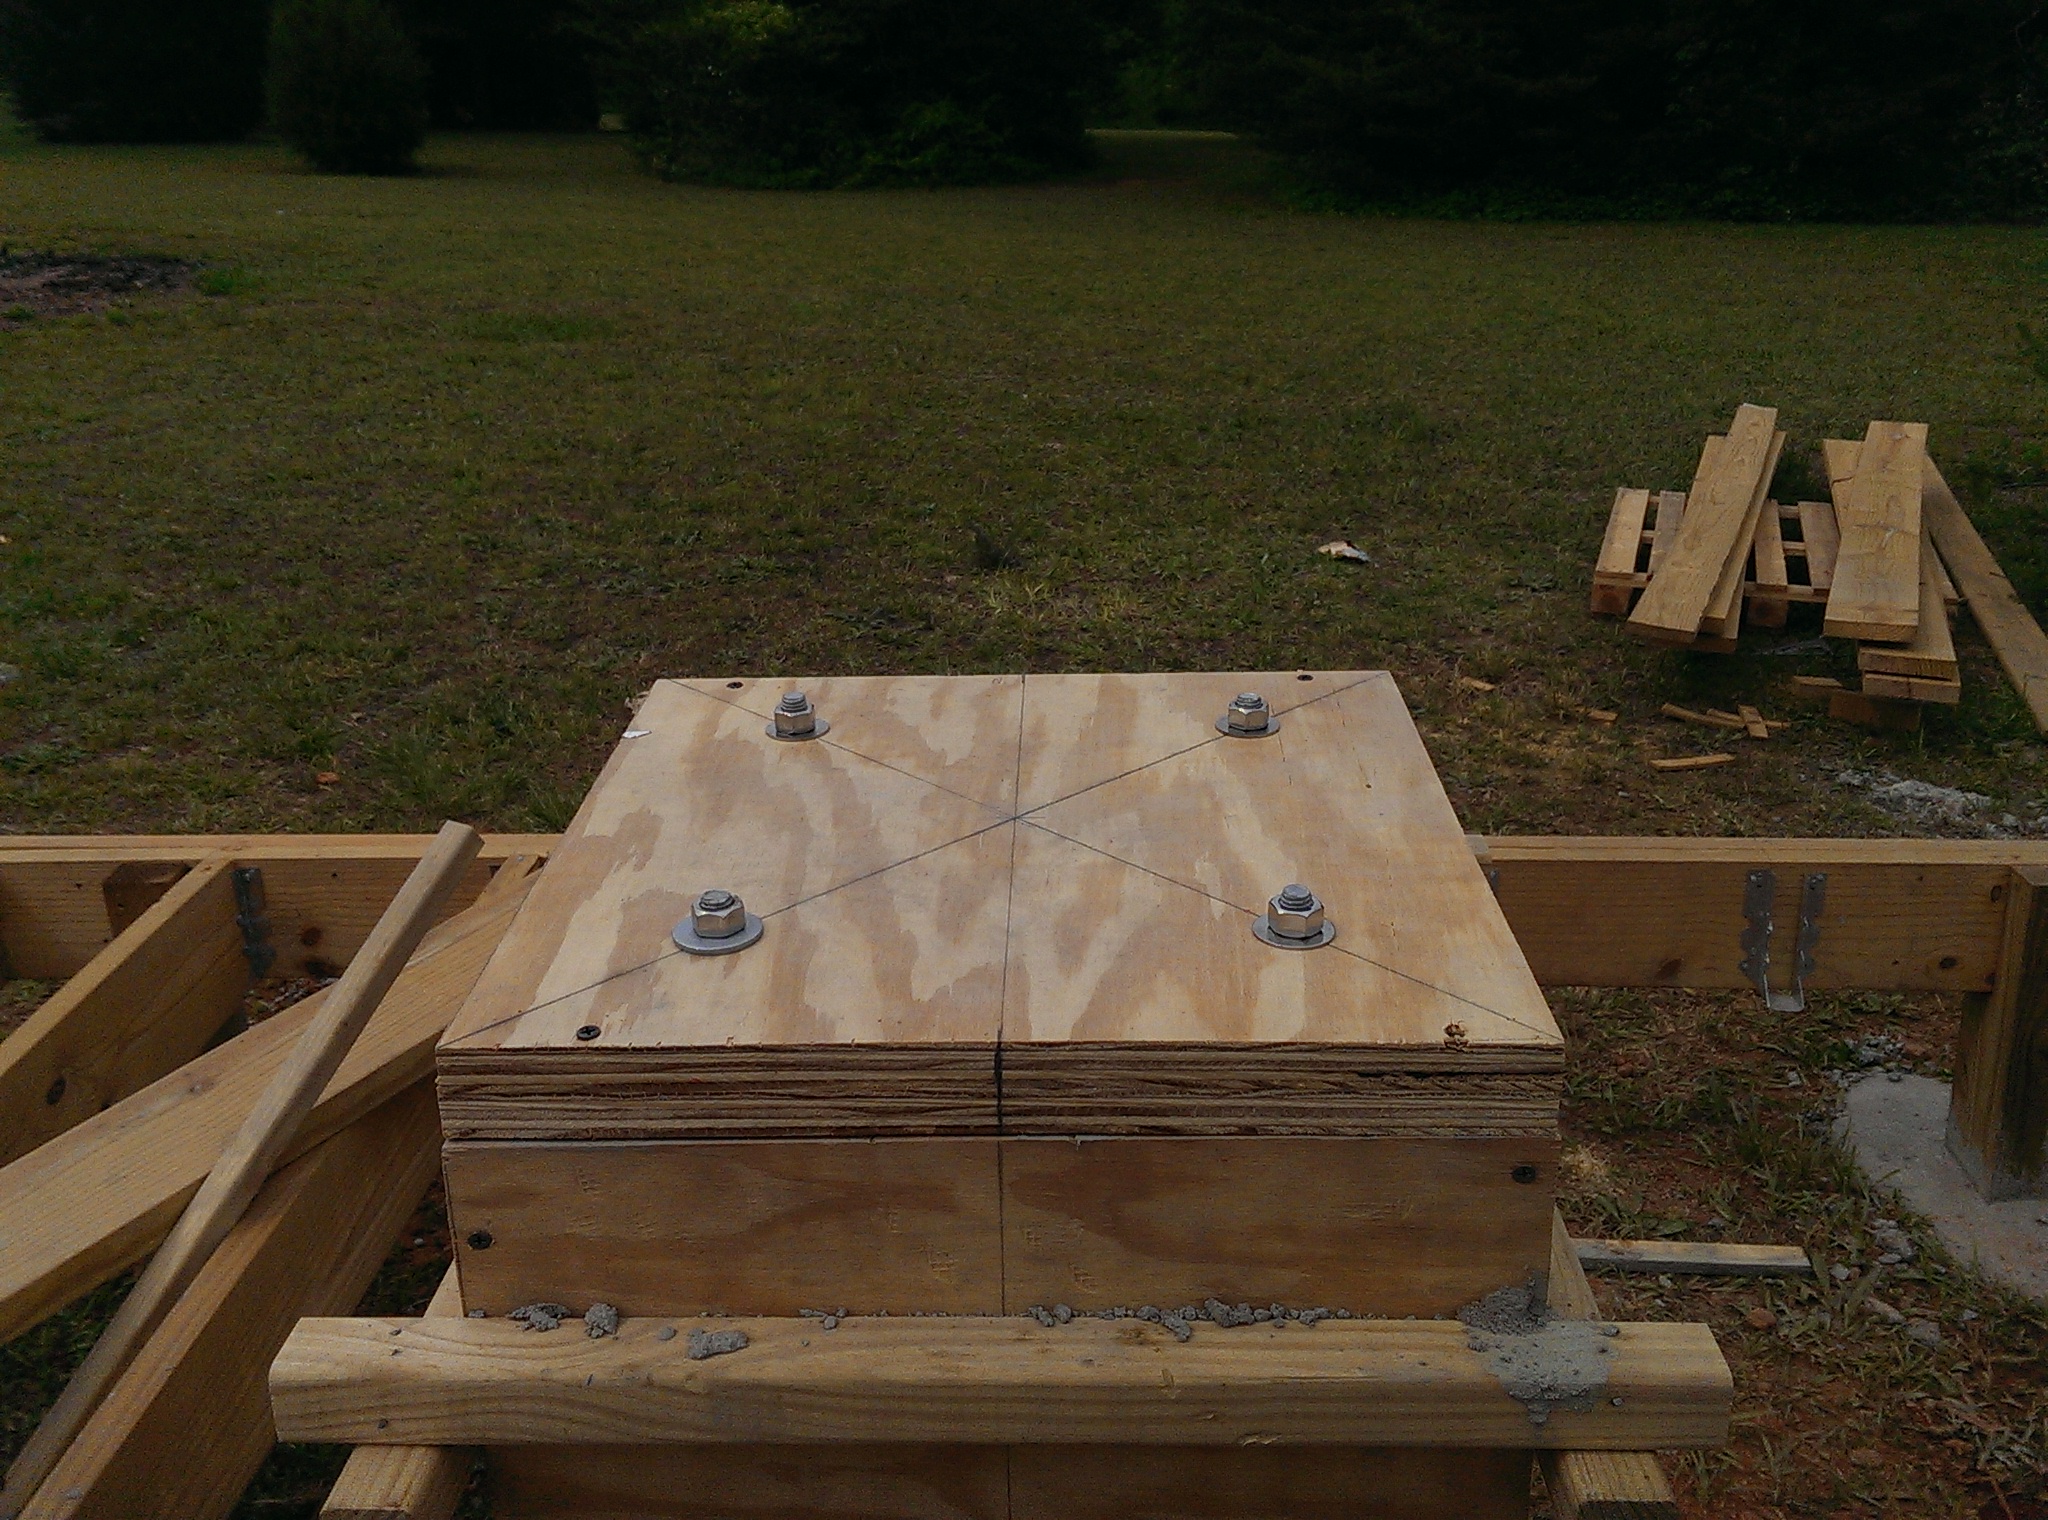
After determining the location for the pier base, I started the unenviable task of digging the hole into the rock hard red clay so common to the area. Thankfully, because of the moderate climate I would not have to go to deep to avoid frost heave. In New York I would have had to go deeper than 4 feet to get below the frost line. Because of the height of the observatory, the pier would be a combination of concrete and steel. That way, if I had to modify the height later on, I could just change the height of the steel pier. I had to dig a 3’x3’x2’ hole in the ground for the concrete base. This took quite a while for me, because of old health issues that occasionally get in the way. Because of that I ended up renting an auger to dig the holes for the deck supports. On top of that was a 14” square concrete pier base 3 feet tall with embedded threaded rod to mount the steel pier which would be four feet tall. The top of the steel pier would be 6 feet above finished floor in the observatory. This would allow plenty of space to maneuver around the telescope. A platform step ladder would be used to observe through the eyepiece during visual use of the telescope.
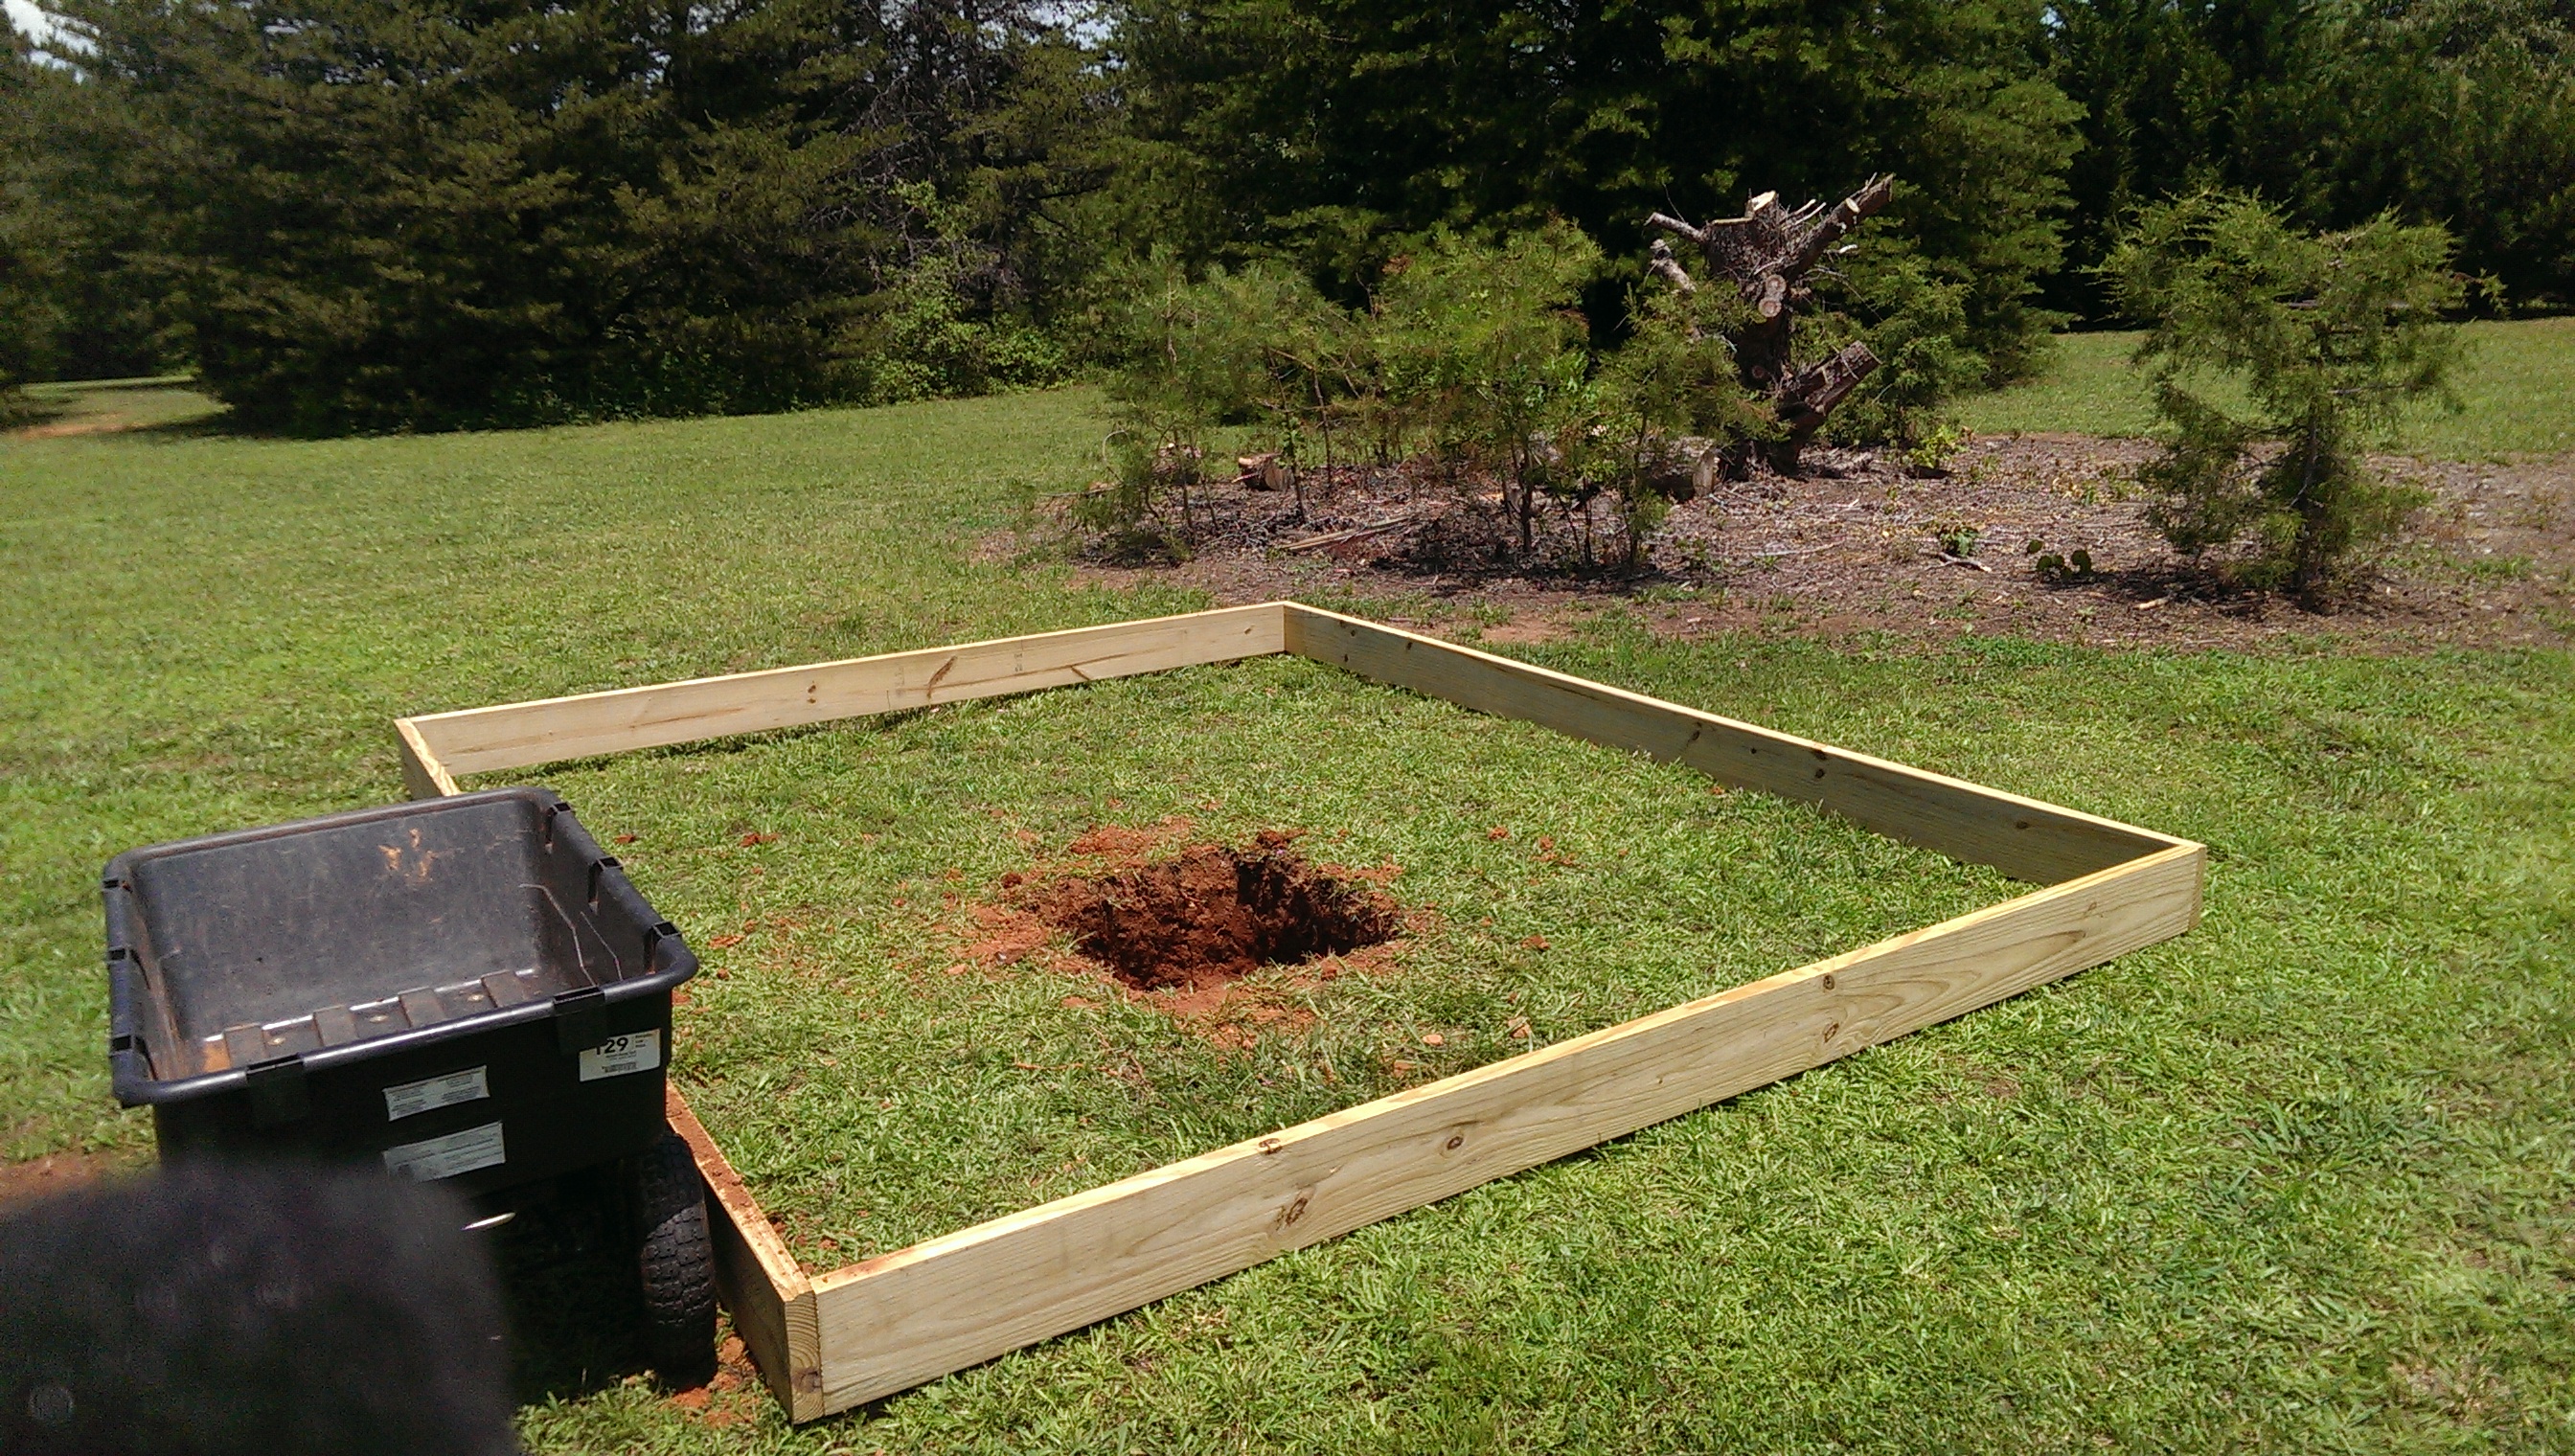
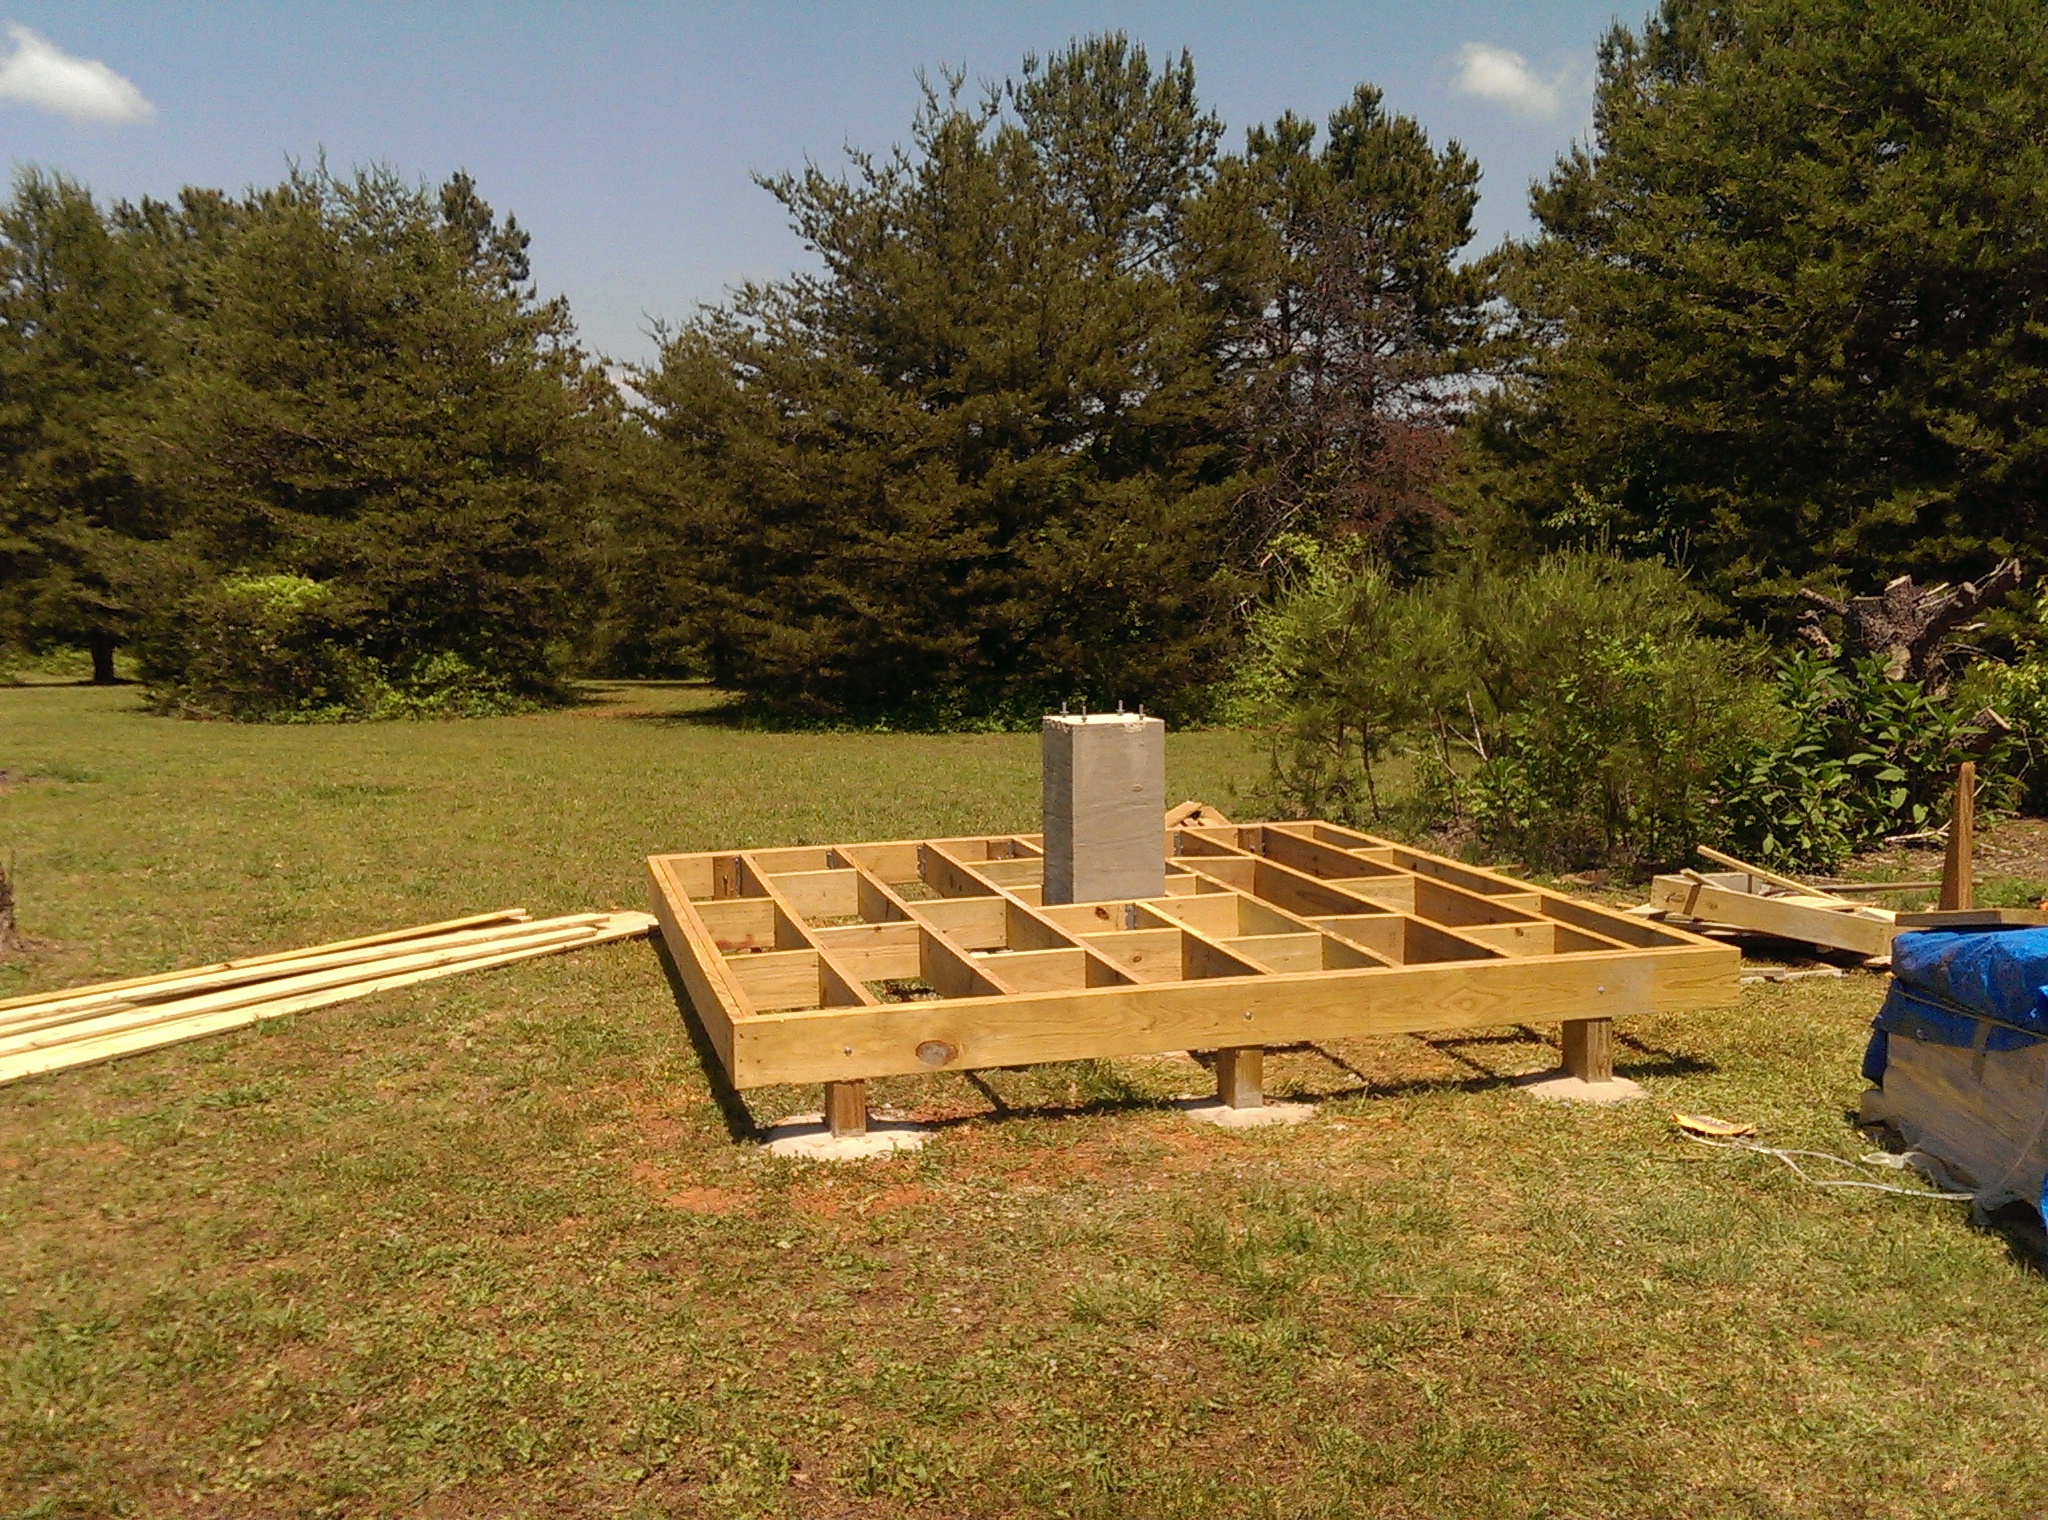
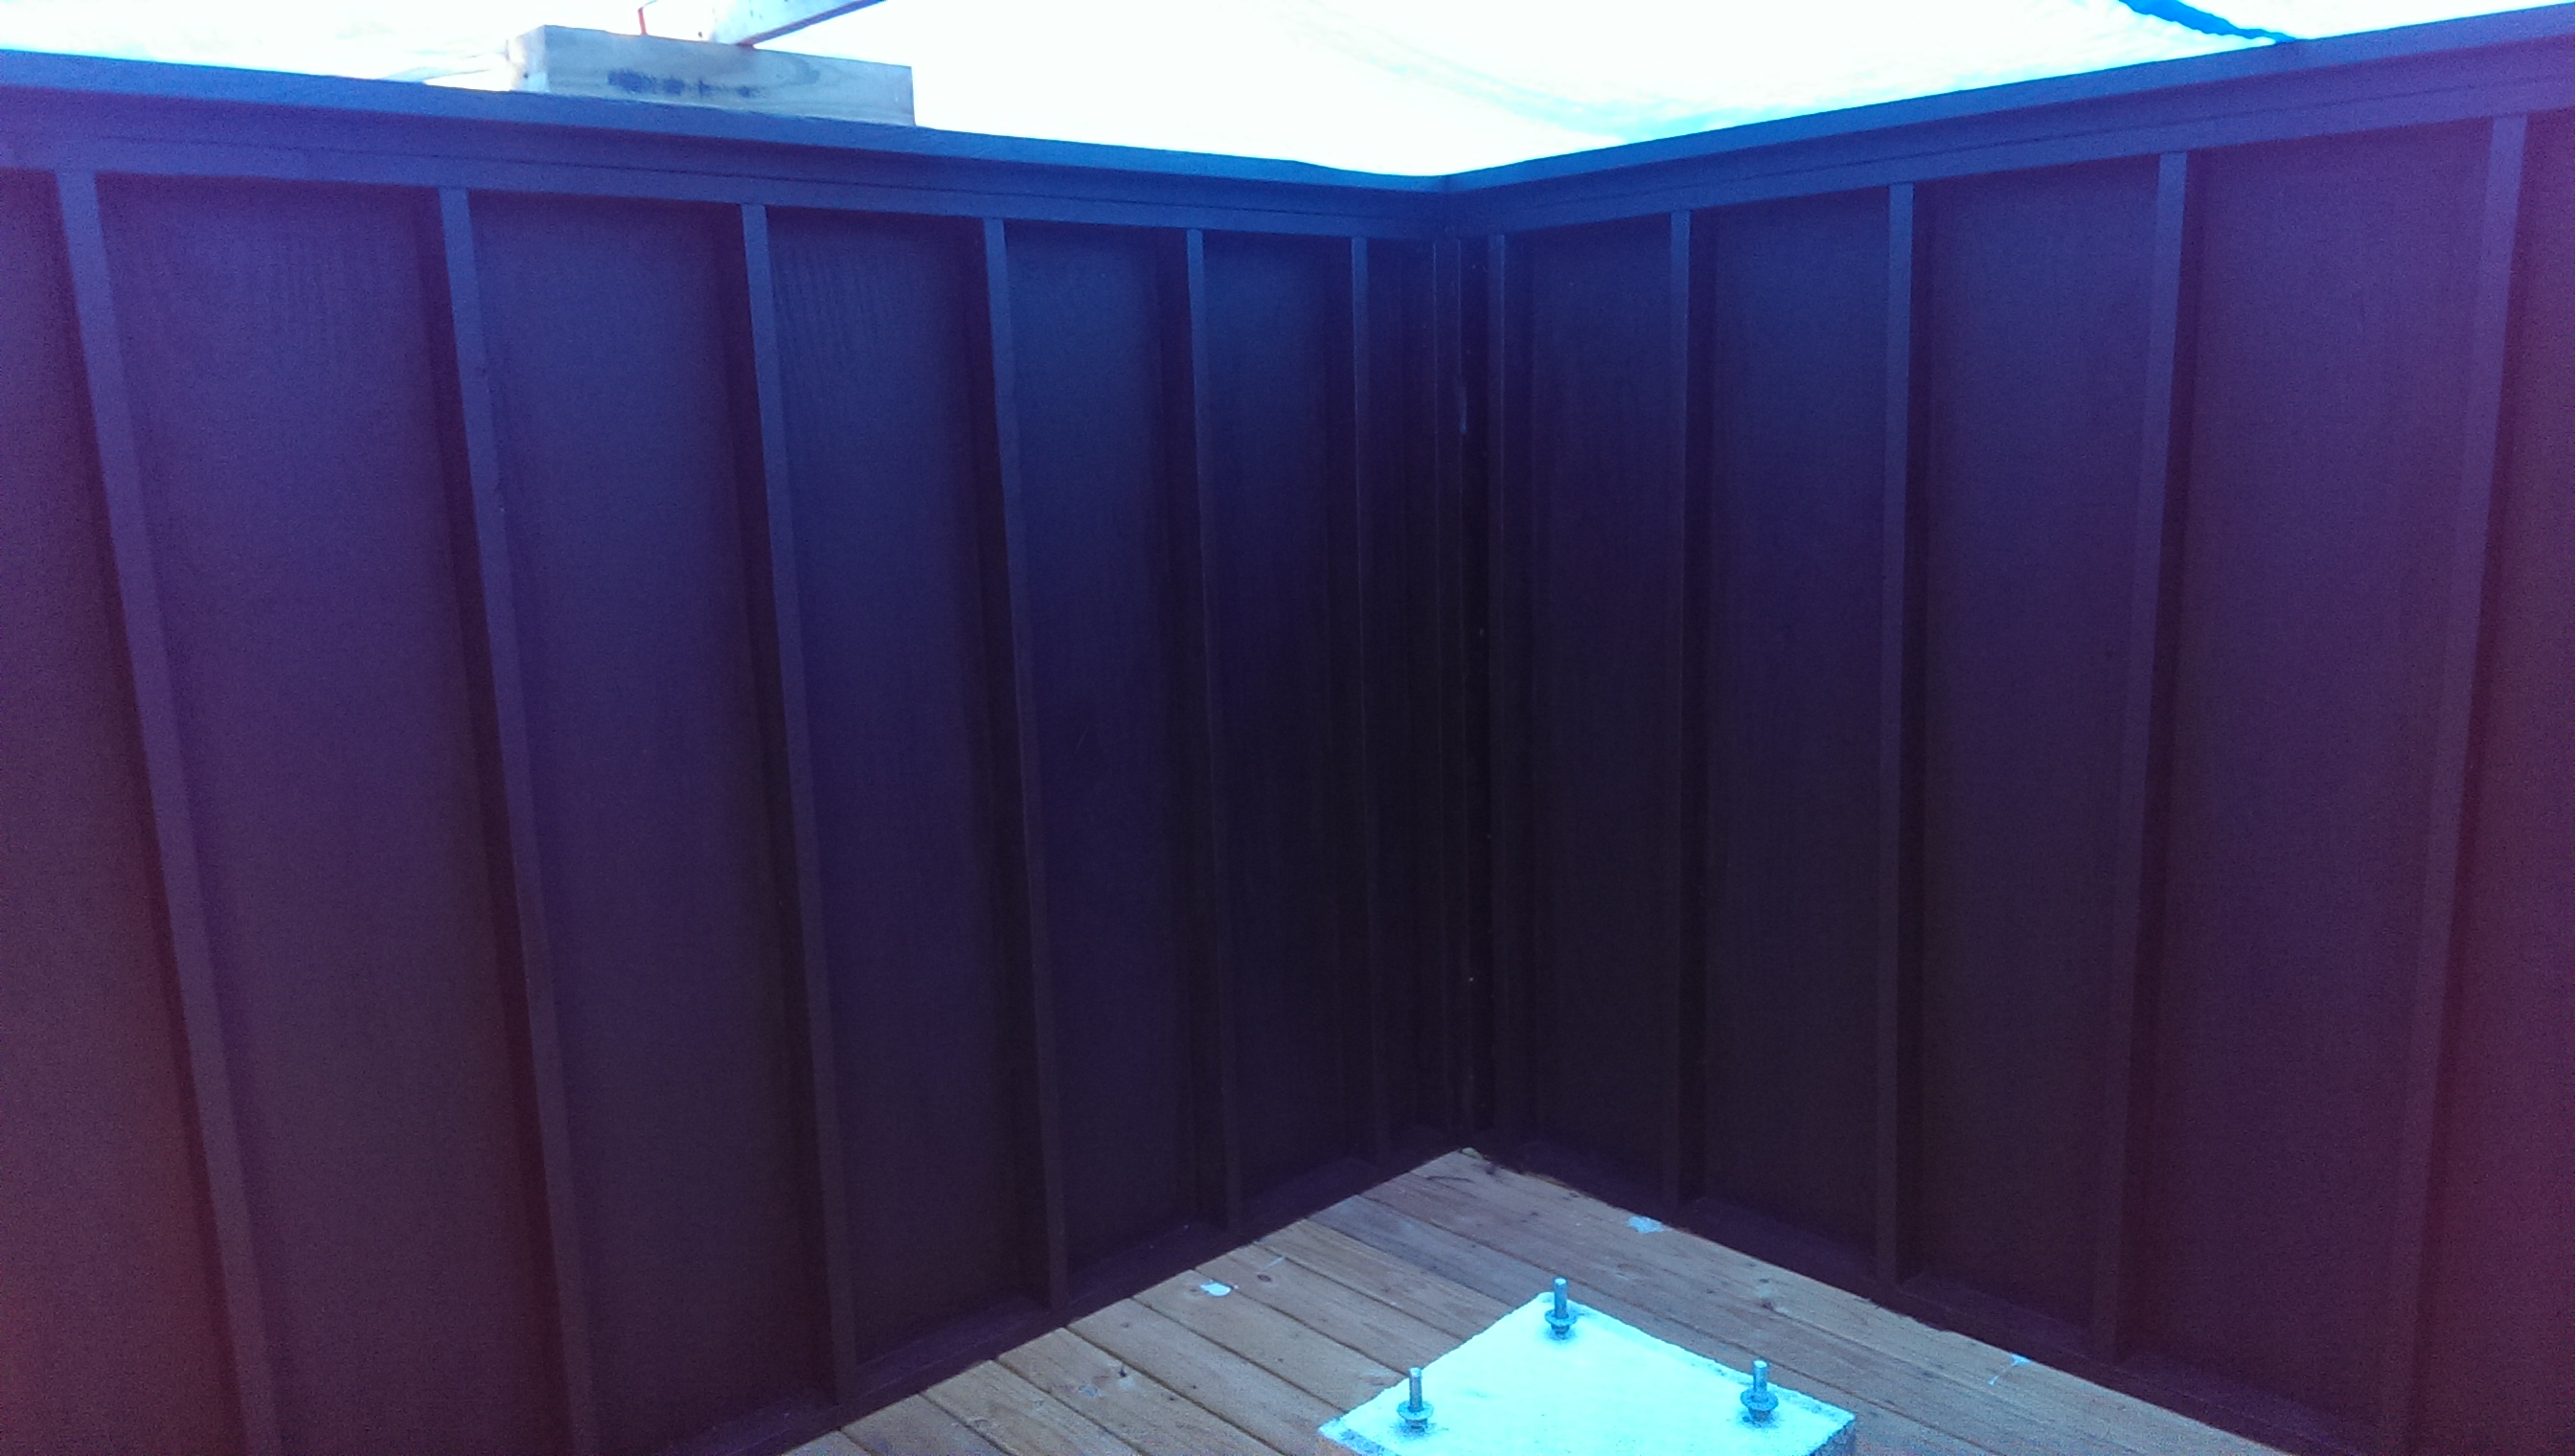
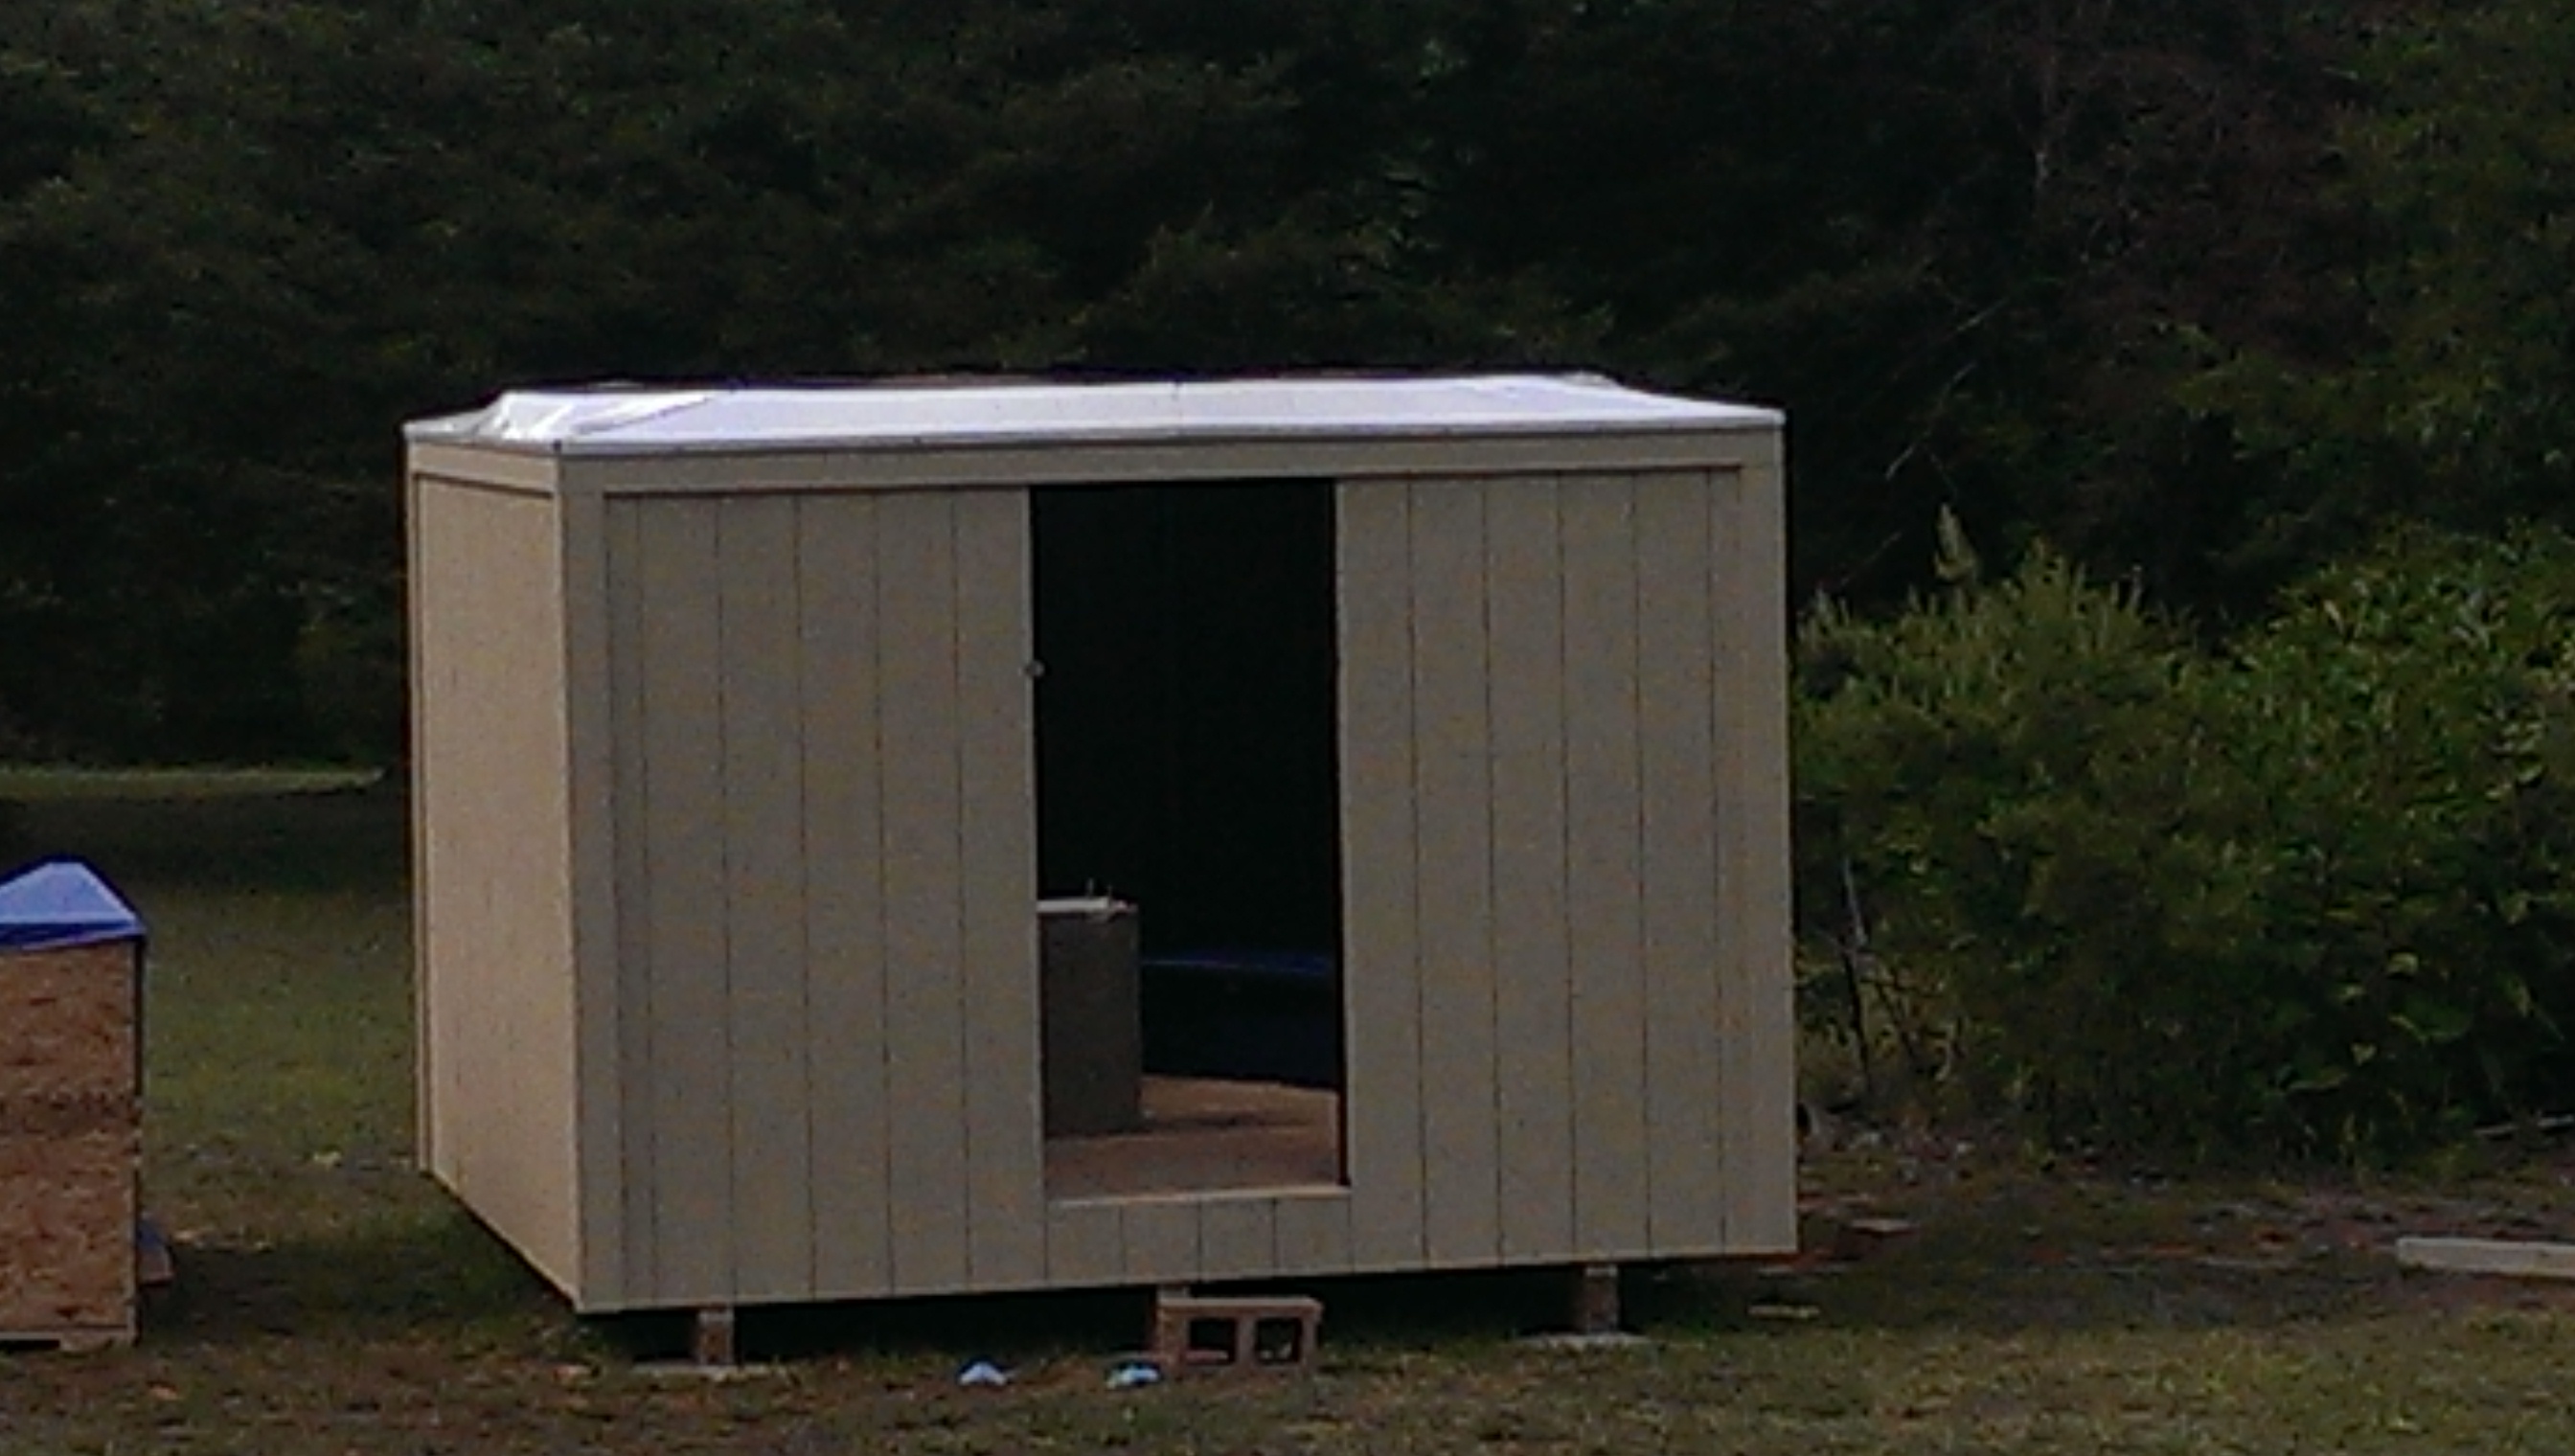
The observatory building was laid out around the pier and dimensioned to 10’6”X10’6”, to accommodate the transition panels to the circular dome. The floor was built on 2×8 joists and 16”o.c. 2×4 lumber was used for the wall framing; standard construction for a building that size. 5/4” decking was used for the floor and T-11 siding for the walls. Interlocking foam padding was placed on the floor for comfort, and to seal out the moisture from below. The interior framing was painted black to darken the interior.
The building part would be the easiest part mentally as I had experience in construction. It would turn out to be the most physical as well. As many of my friends will tell you, I like to do most things on my own, and only ask for help with the stuff I can’t manage myself because of logistics. I likewise don’t like bringing outside contractors in to do work for me. I always find myself fixing or improving on what they did. I guess it’s a little OCD. The hardest part of constructing the building was the digging.
I downloaded the basic diagrams from the manufactures website and started to layout the building. I then got the first taste of some of the issues I would face using this manufacturer. The building had to be sized to fit under the transition panels. I looked at the dimensions on the diagrams and the numbers were conflicting with each other. I had to call the owner of the company to sort out what the correct numbers were. Even doing that, the numbers he gave me were slightly over and I had some difficulty when it came time to mount the transition panels.
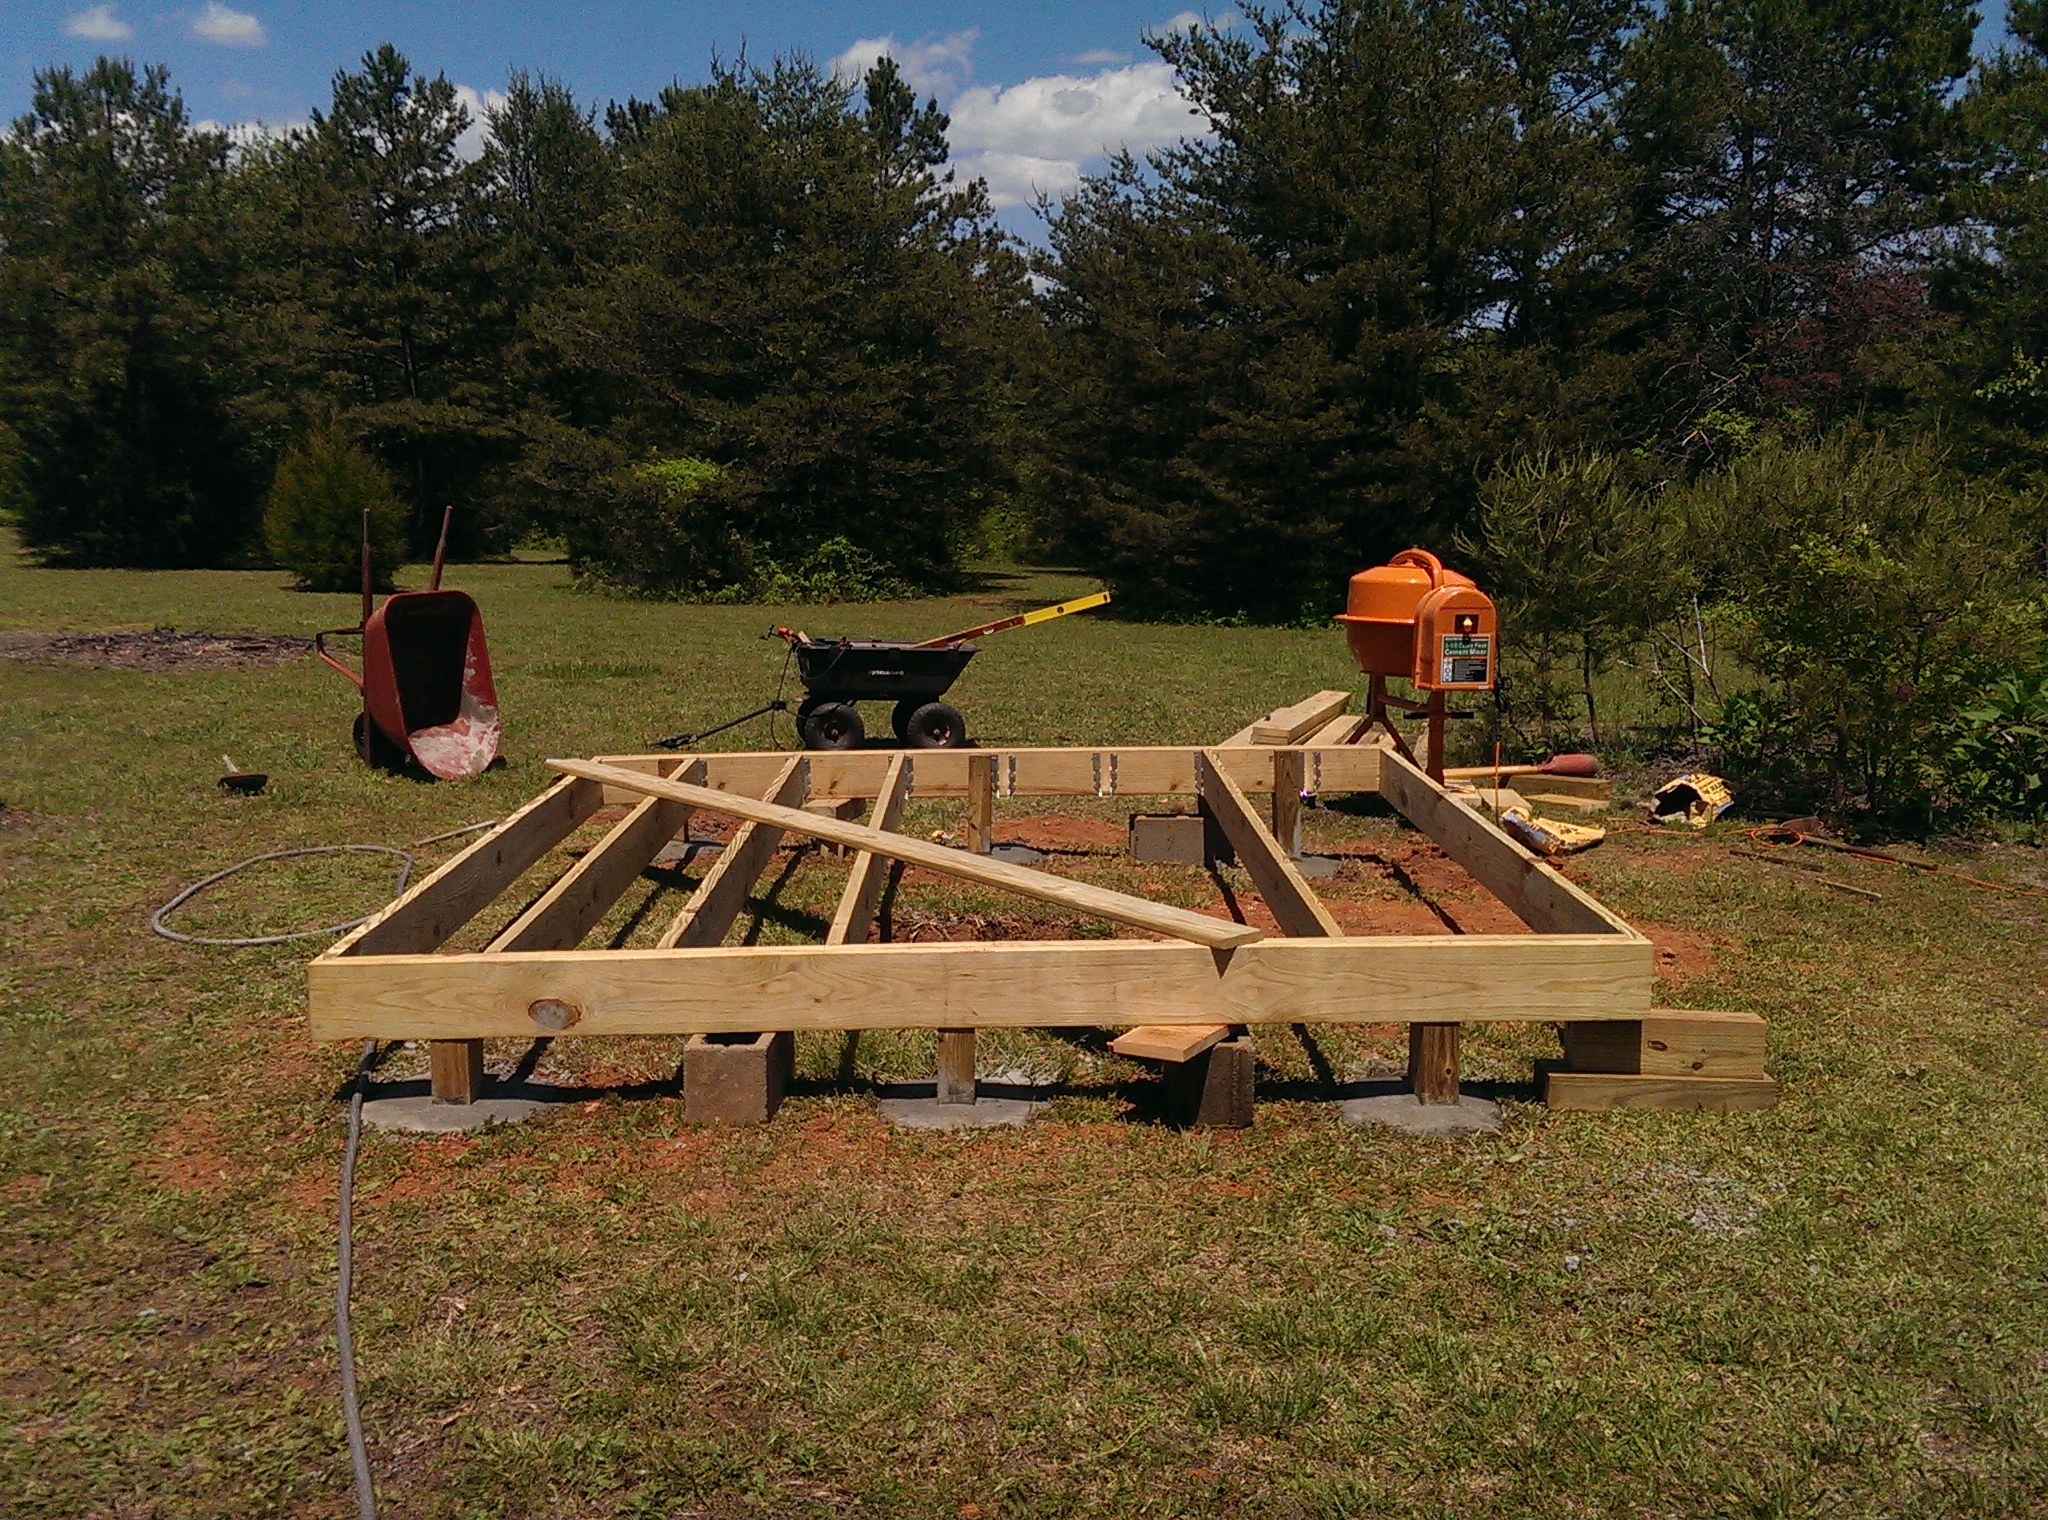
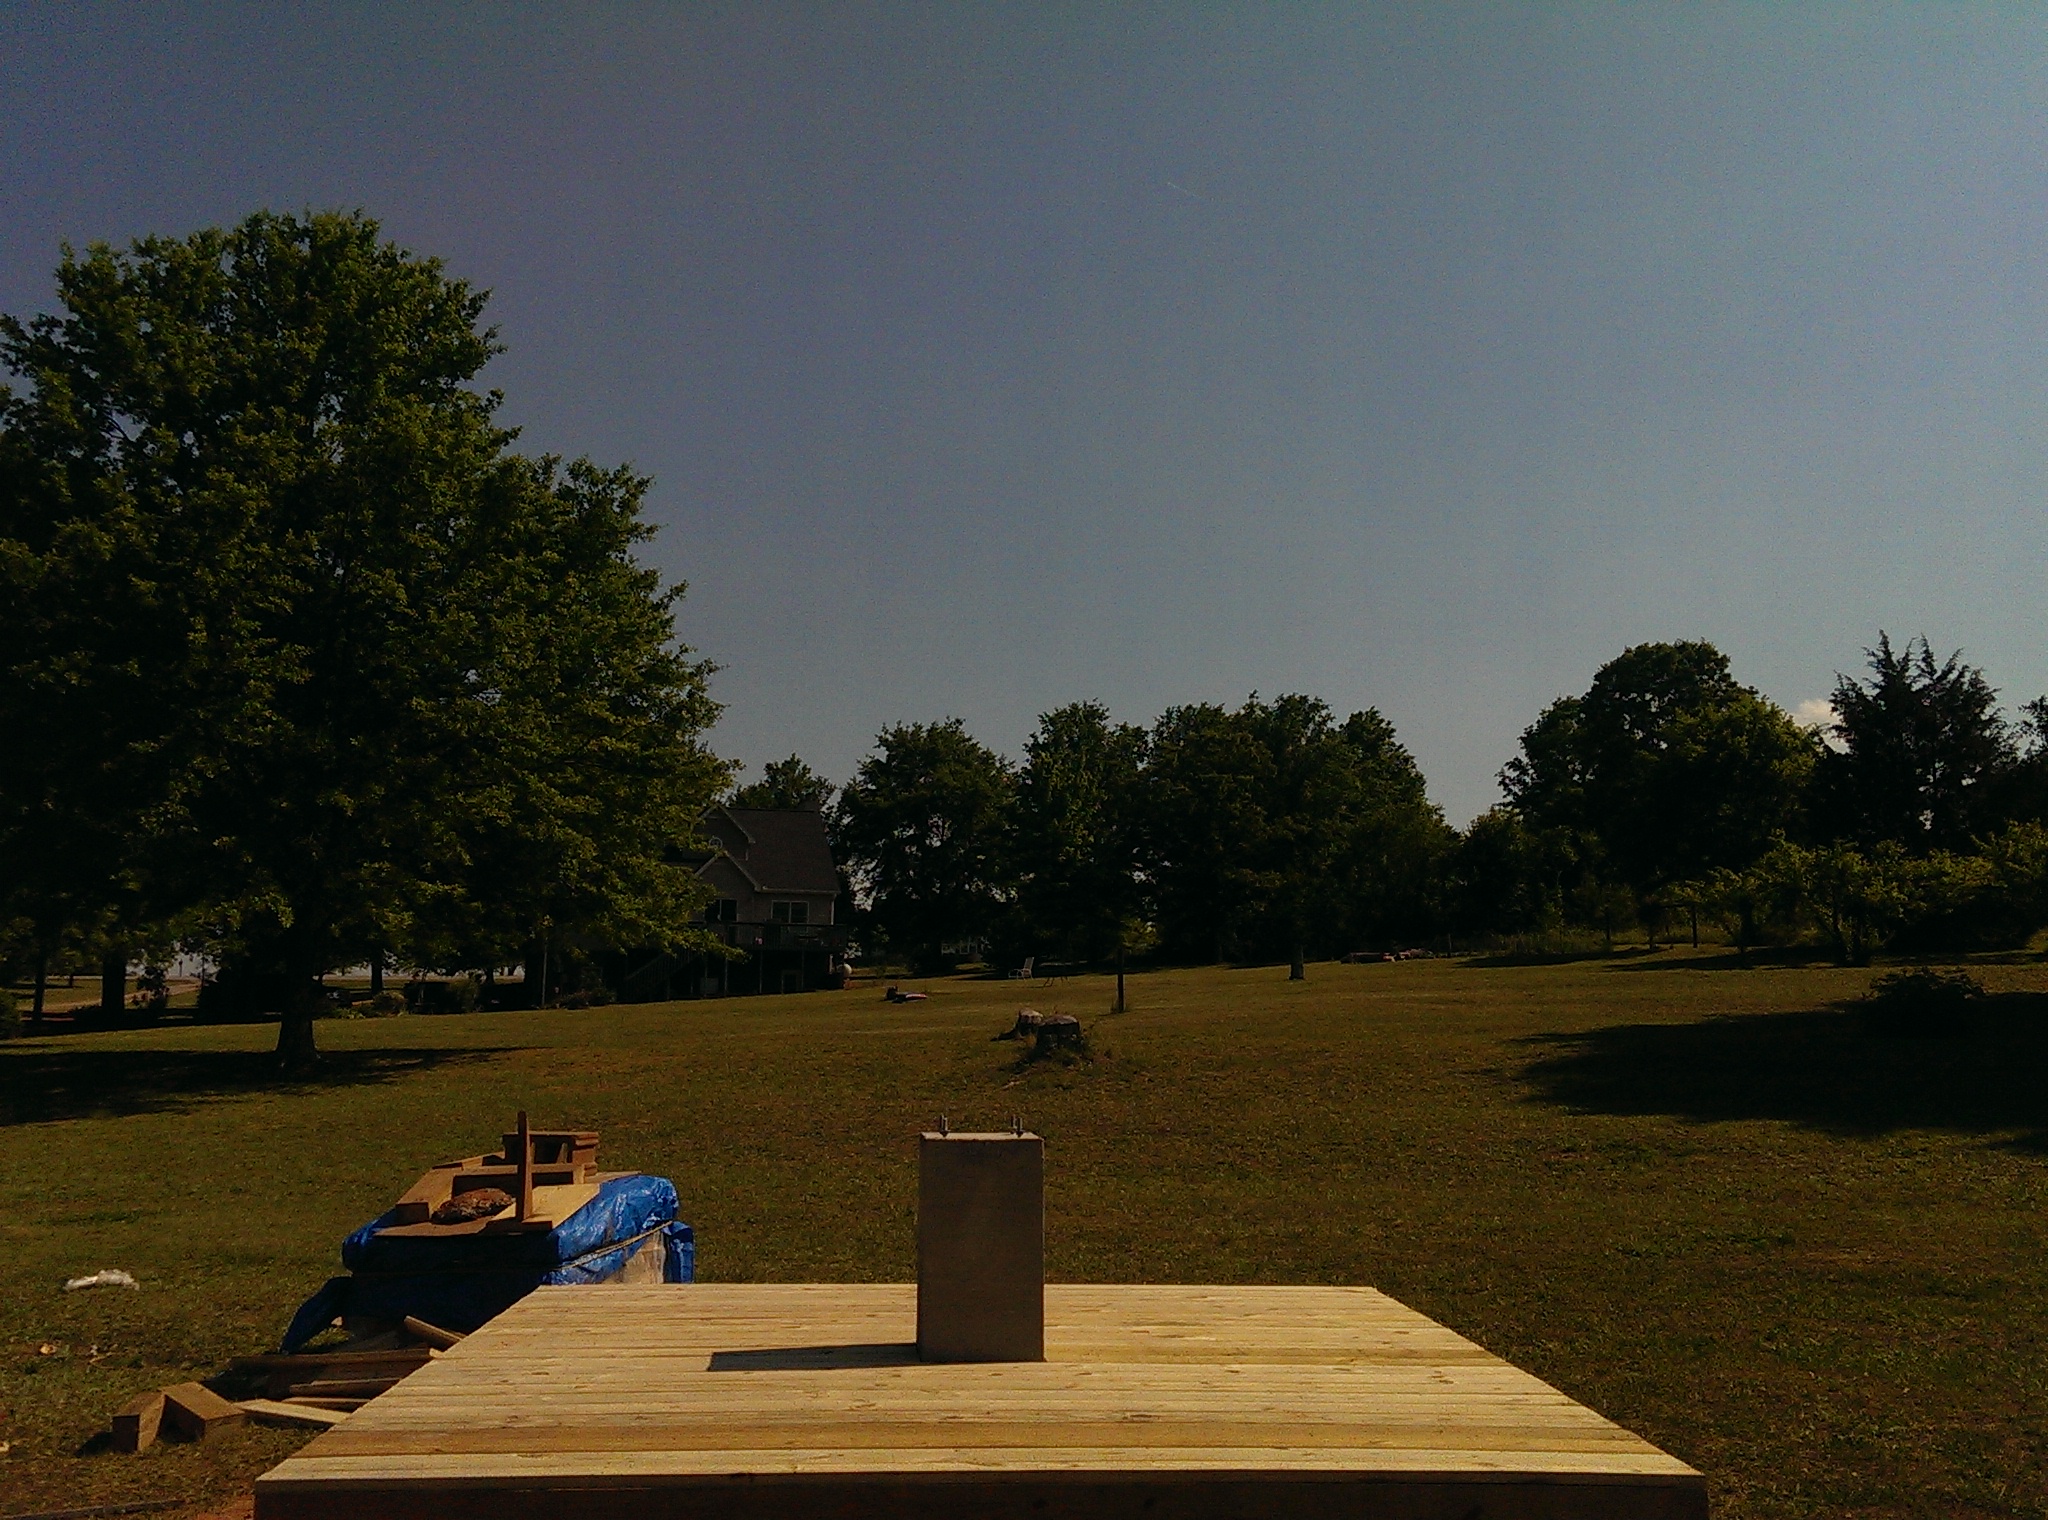
With the sizes determined it was time to start building. I like to go little larger when sizing and spacing lumber for structures so there is no question of support. I used 2×8 joists with a pair of double 2×8’s for beams underneath to support them. 4×6 posts would support the beams. Everything pressure treated lumber. The framing was 2×4, 16” O.C. . I used 5/4 pressure treated decking for the floor instead of plywood for a couple of reasons. First, I expected there to be a good amount of moisture under the building and the pressure treated wood would stand up to it better. I also knew that it would be a while before the dome arrived and it would take time to assemble it, so the decking would stand up to the elements. Even though I left no space between the decking boards as they went in, I knew there would be shrinkage and a gap would form between them. I had allowed for this, as I was installing 3/8” interlocking foam padding on the floor inside. Besides cutting off the moisture, the padding would add some insulation, and protection for any dropped equipment.
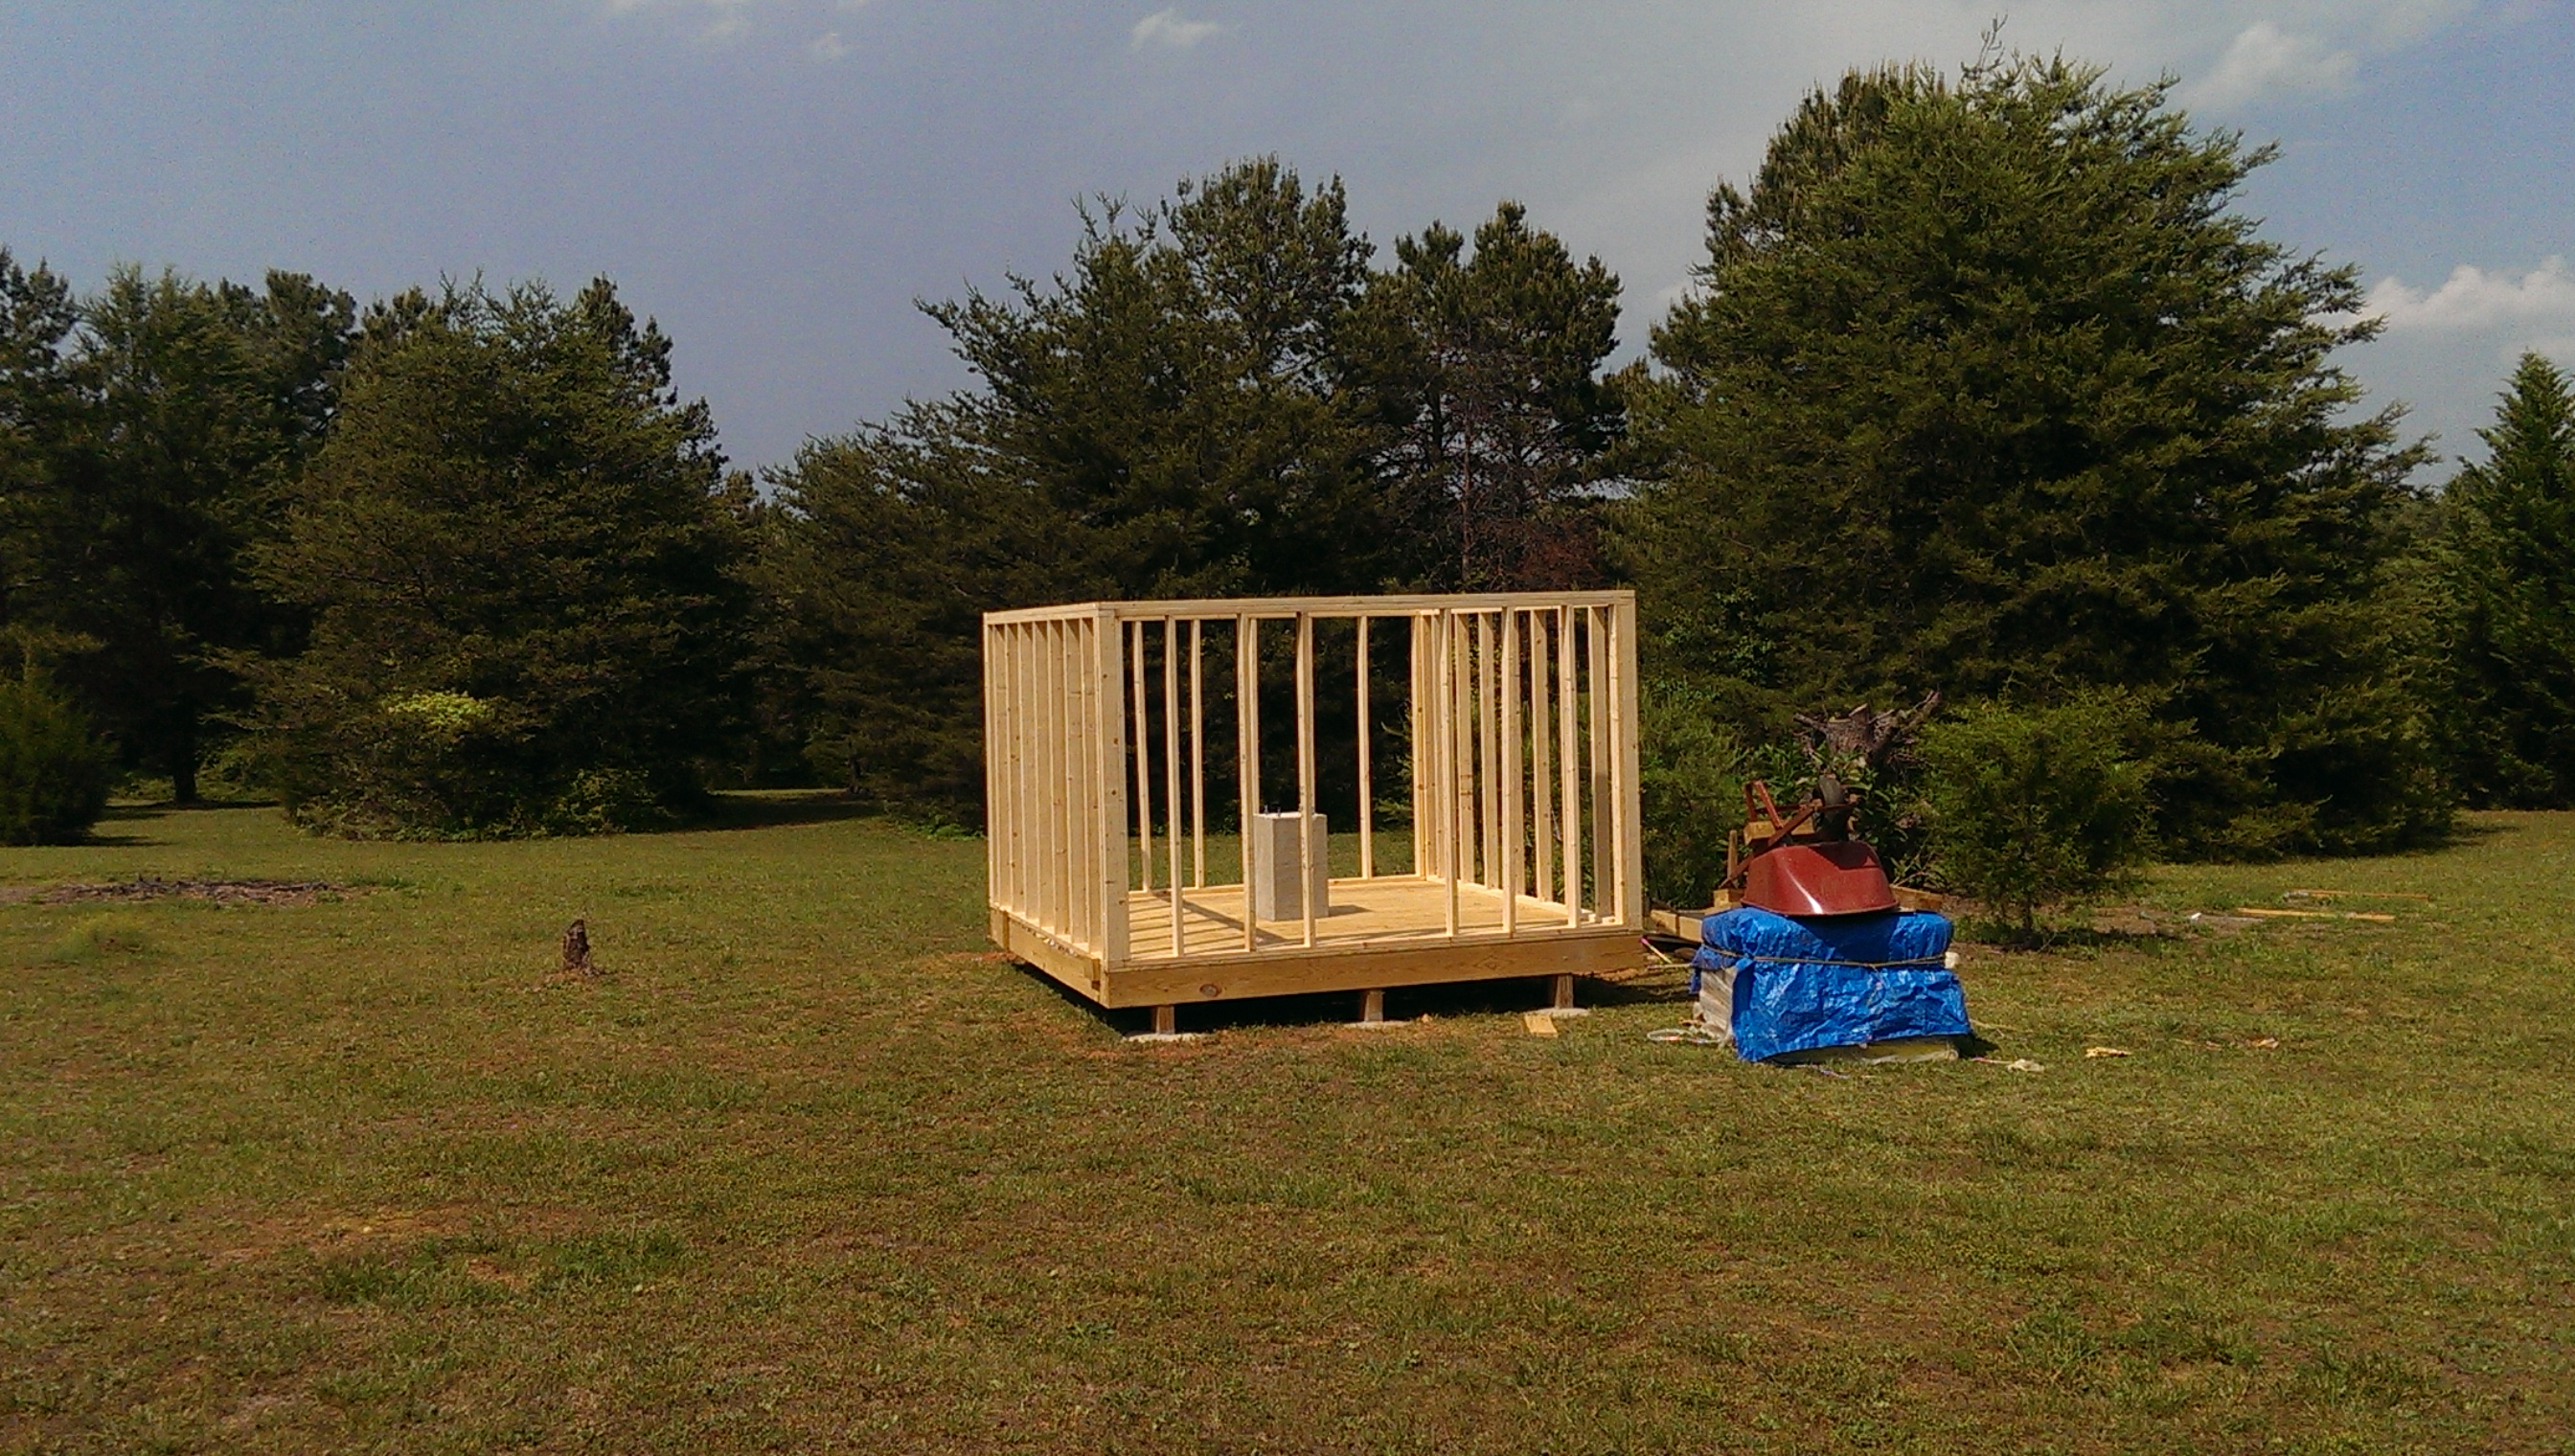
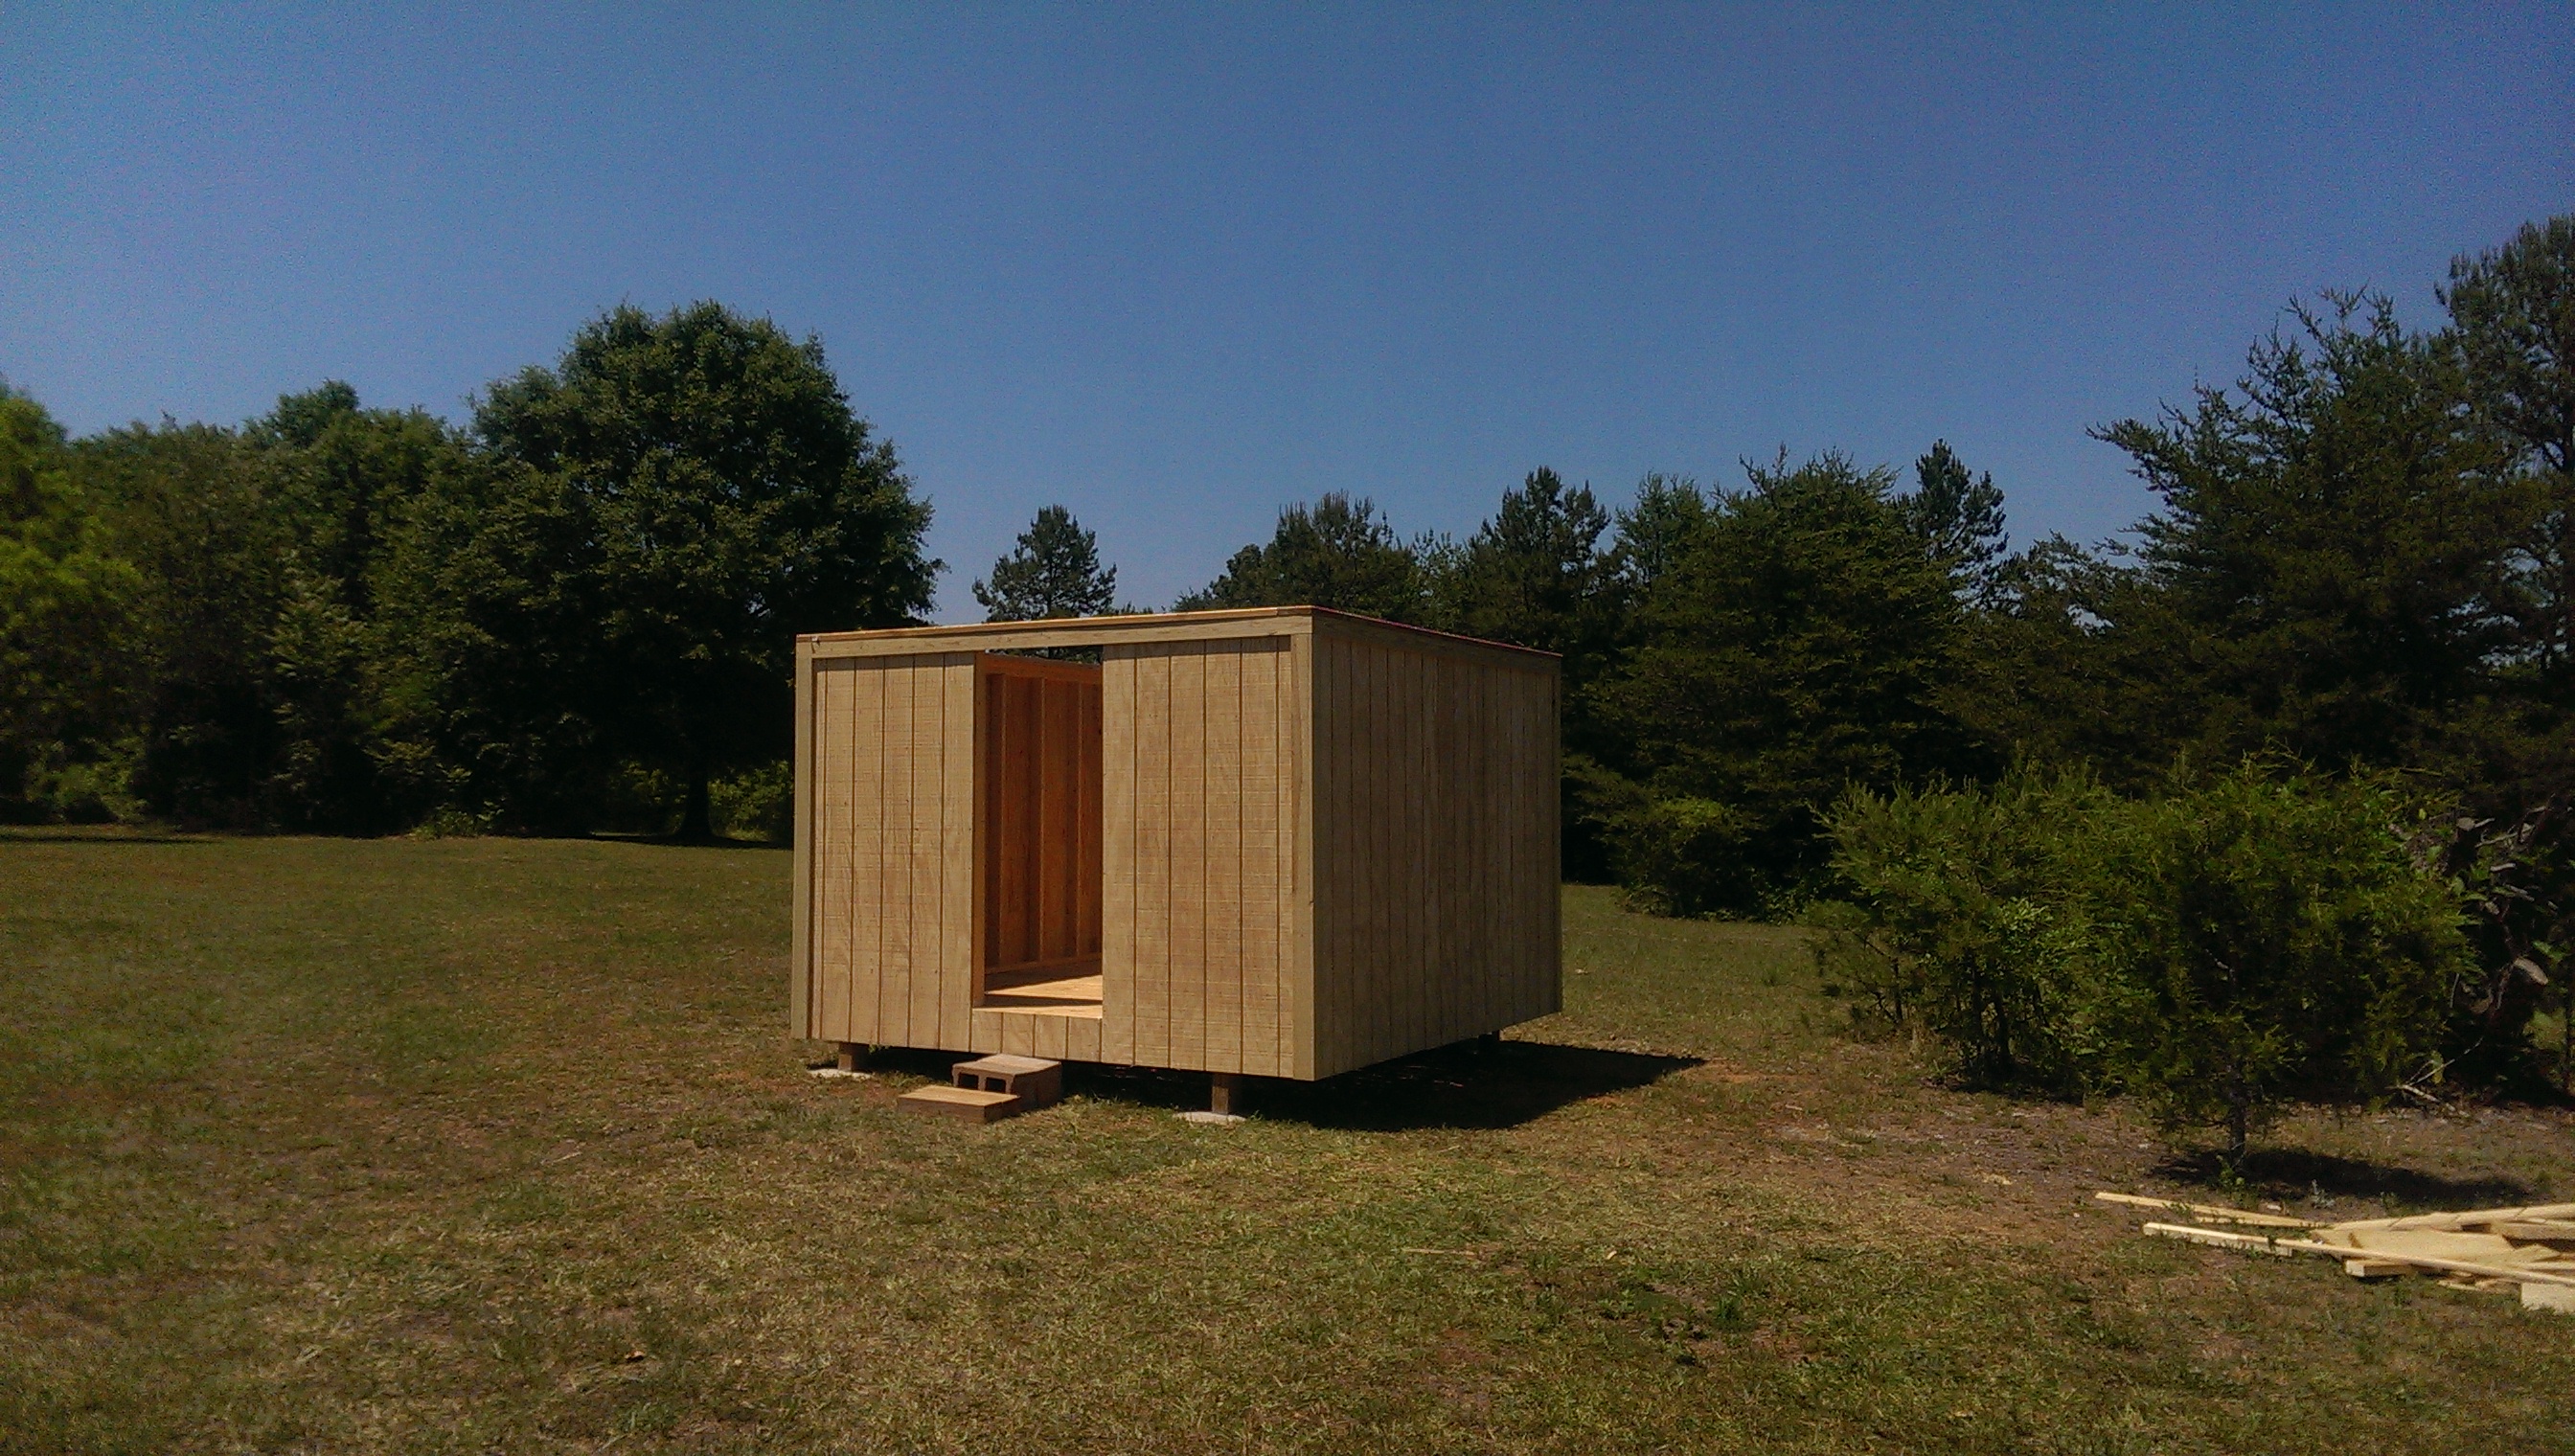
After the platform was in place I started on the wall framing. I used standard 2×4’s and spaced them 16” to add stiffness to the walls with a double overlapped top plate to lock the walls together. I’ve used the T-11 siding before, and liked the way it looked, so I went with it on this building as well. A 32” opening was left in the front wall to accommodate a door. I considered moving the door to one side at the corner of the building, in case I wanted to raise the floor later on, and add interior steps, but decided to leave it in the middle. [Note: The eyepiece height might be over 8 feet from the floor, but since the observatory was primarily for imaging, I decided to forgo raising the floor, and instead, purchased a six foot platform ladder to accommodate the times I might want to use the telescope visually. As it stood now there is plenty of room to maneuver around the observatory.] I used 1×4 pine trim to finish off the building exterior. I also added an additional 2×8 around the top of the building to add support for mounting the transition panels. Later, when installing the transition panels, I had to add wooden supports inside the dome to support the 4” rise to the dome from the outside wall height.
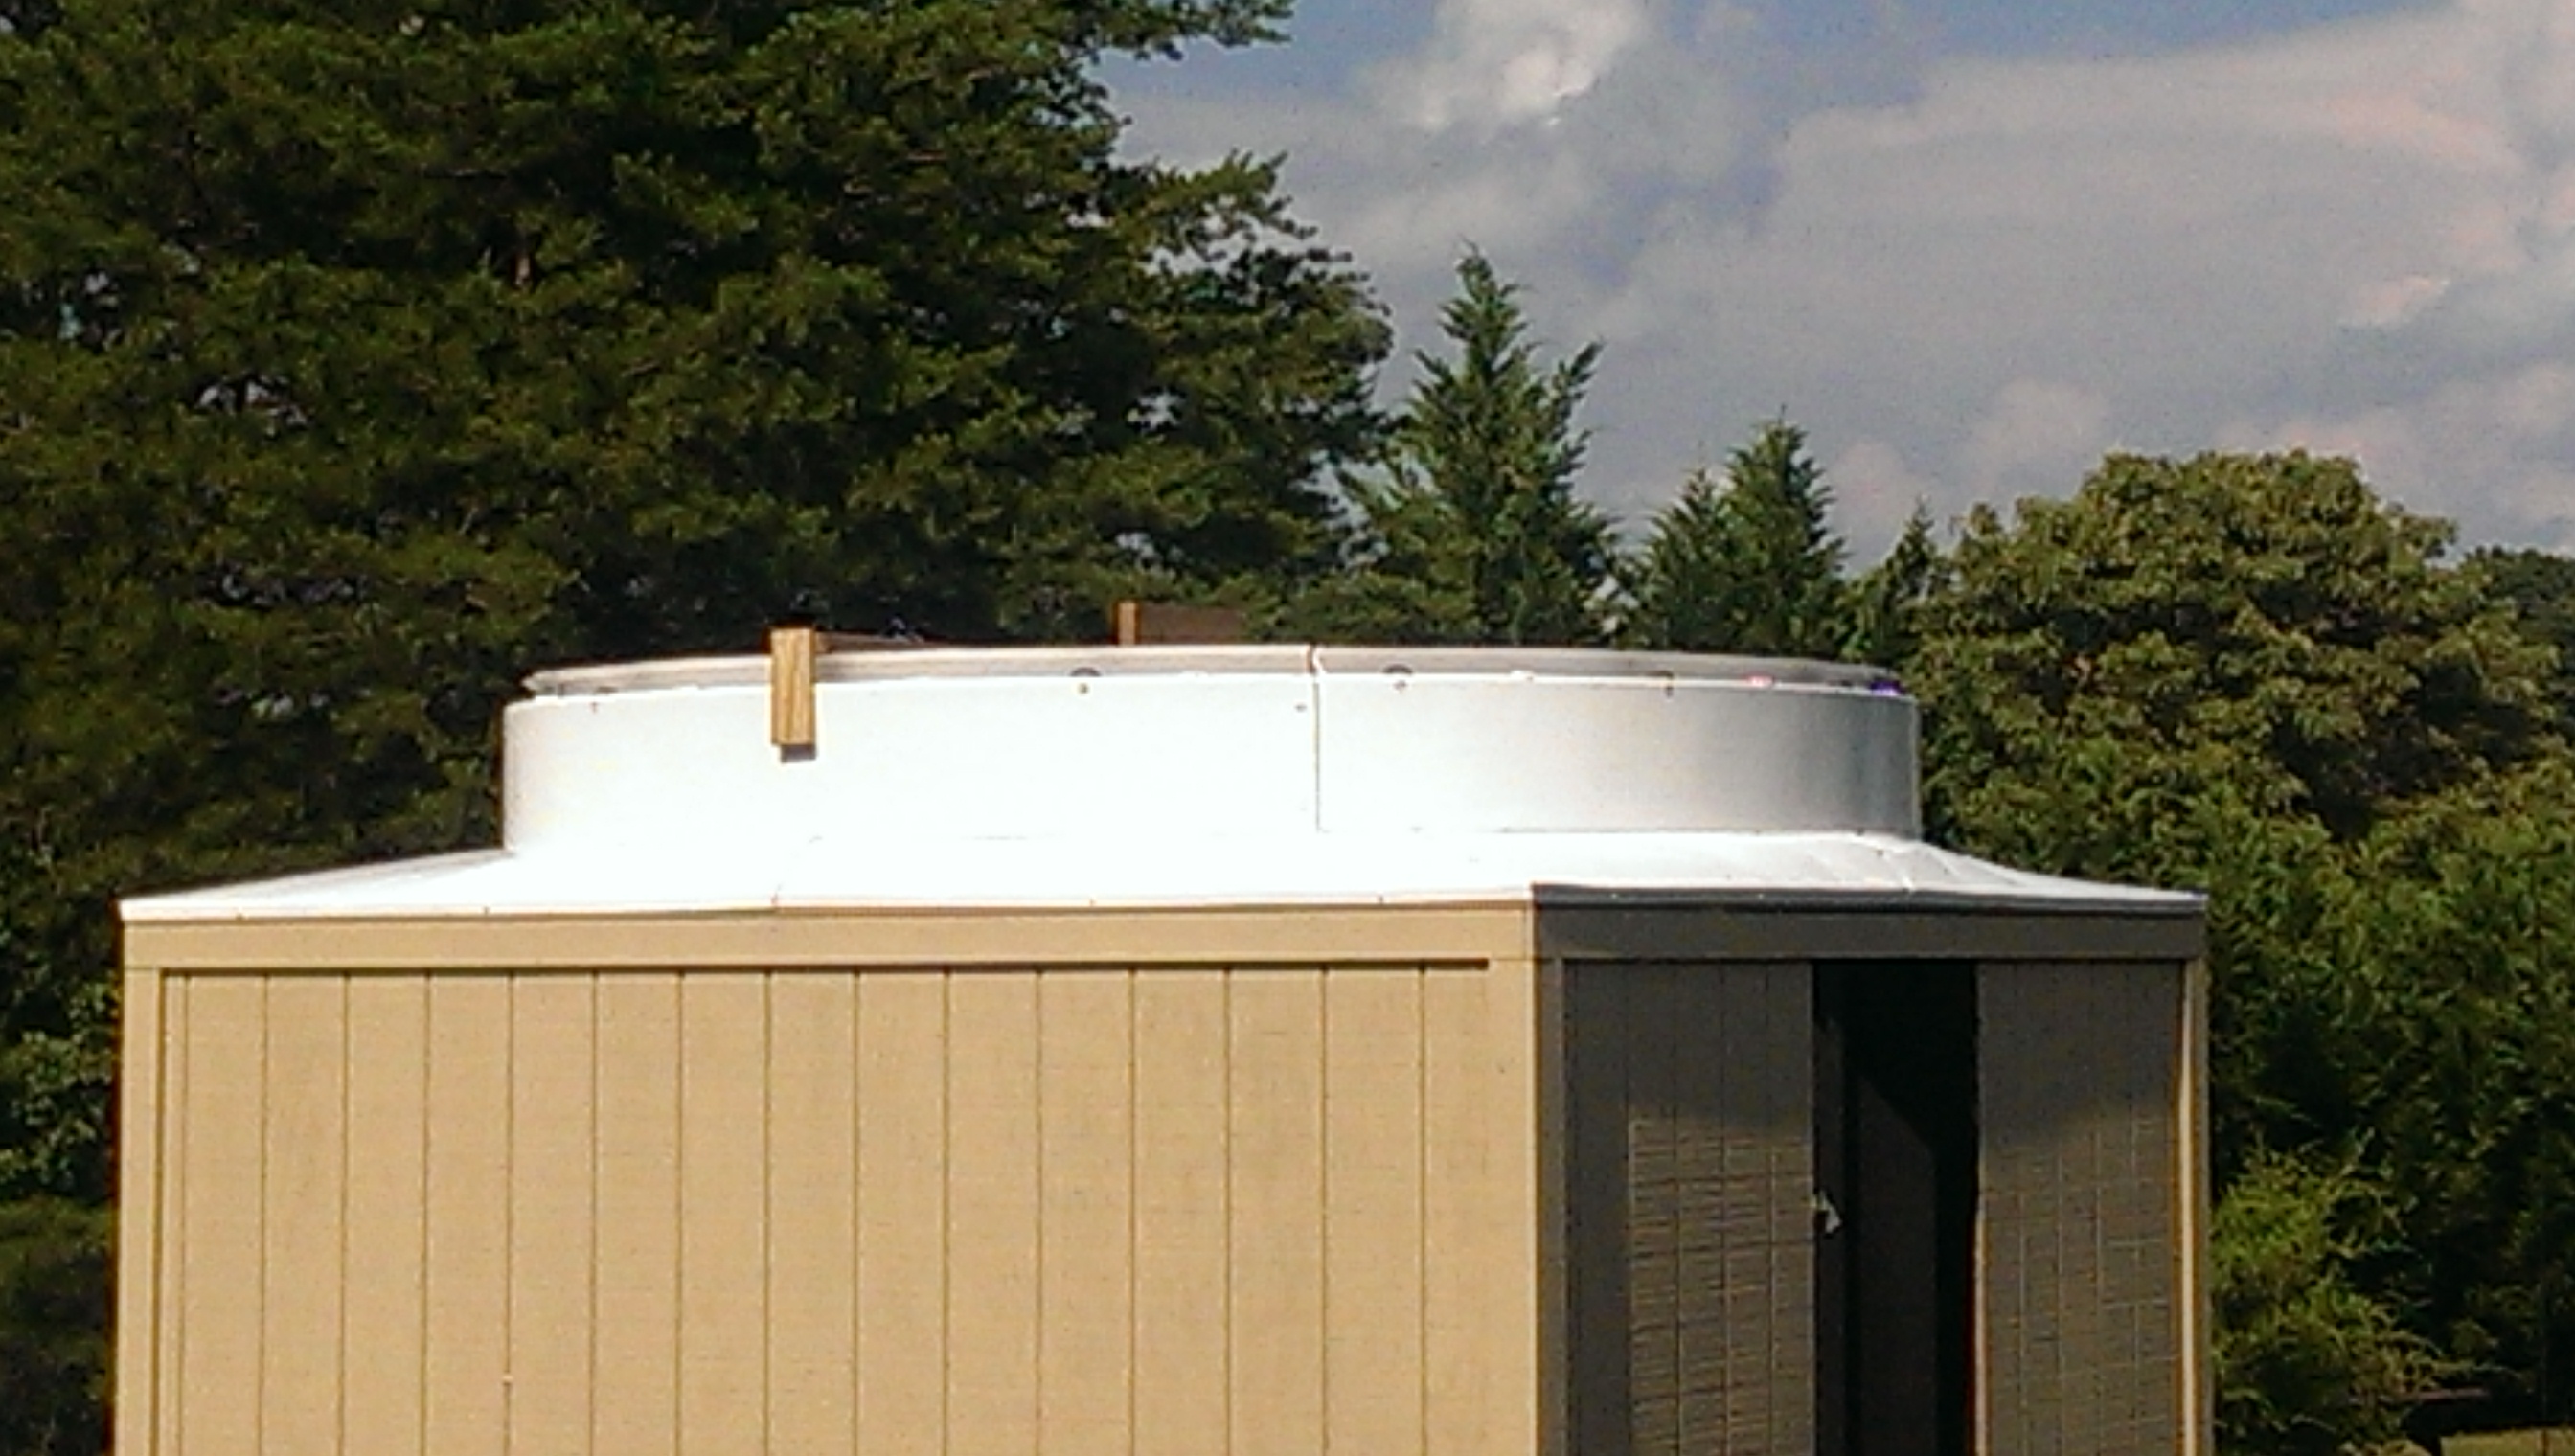
The exterior was stained and the interior was painted black to avoid stray light getting into the telescope. The structure was covered with a tarp as I awaited the arrival of the dome.

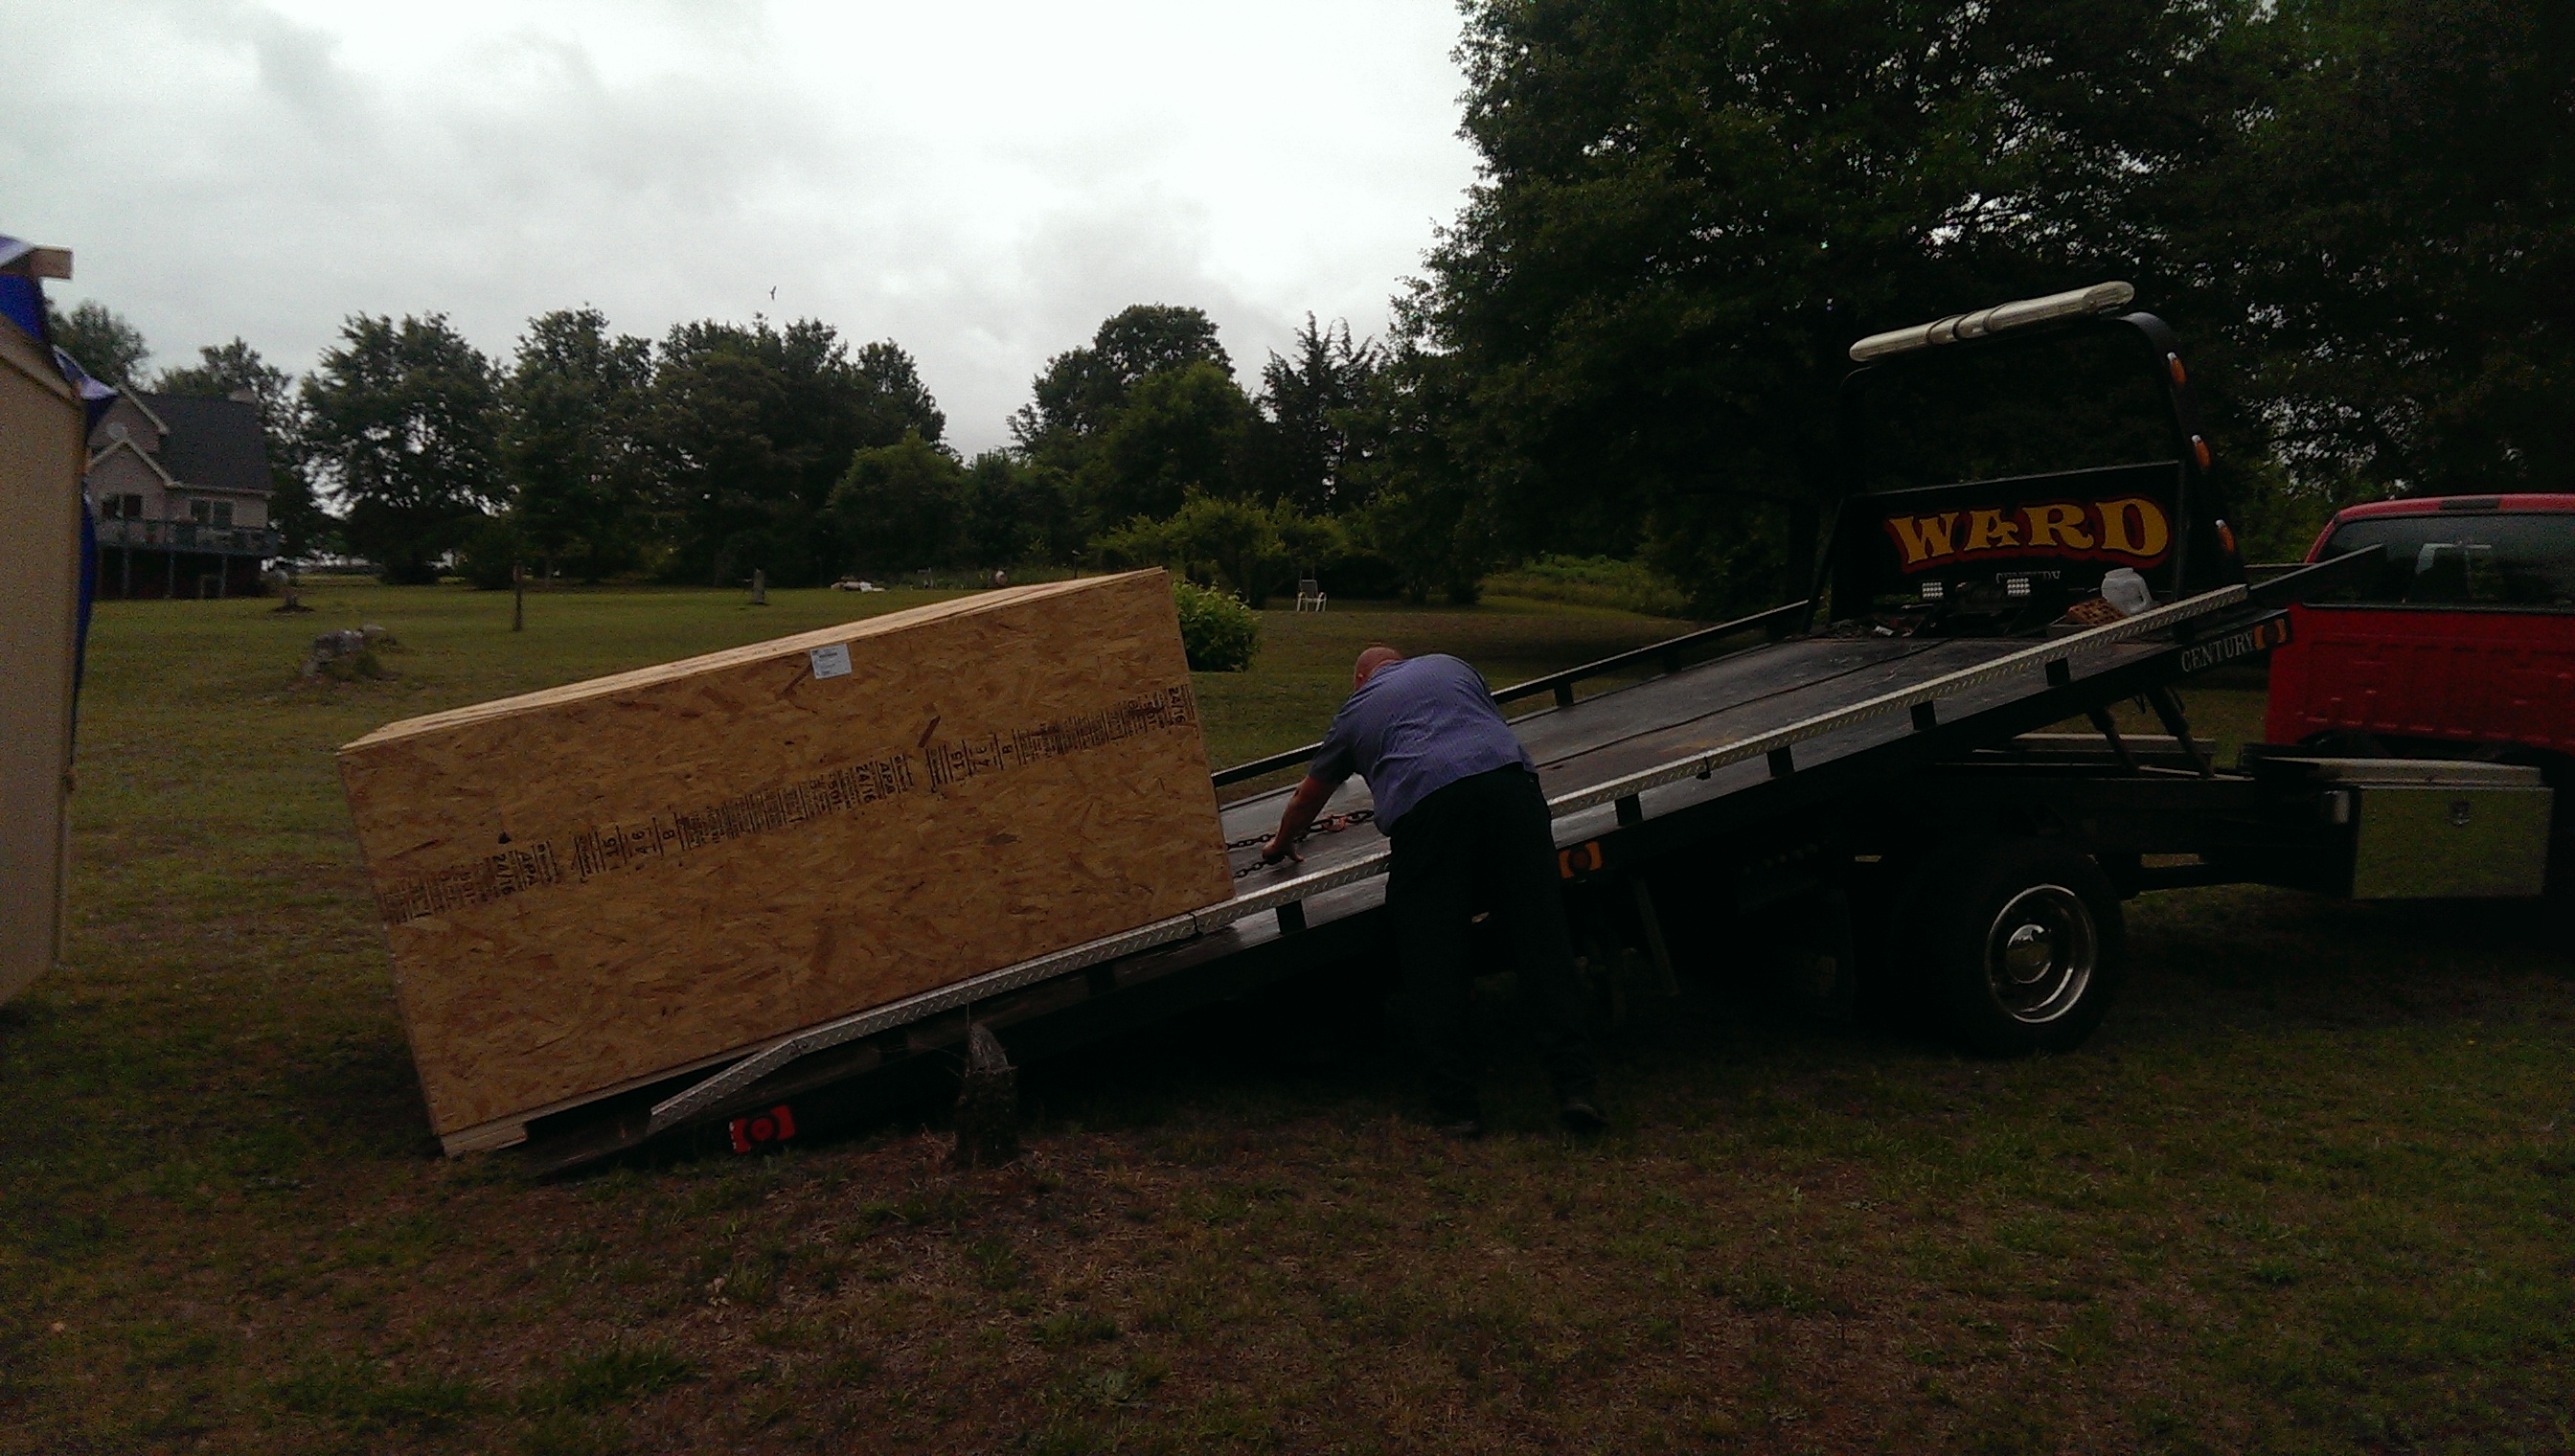
When the dome arrived I was a bit overwhelmed. Whereas the Exploradome was a one piece dome, the Home Dome was a kit that had to be put together. It came in a huge crate that had to be transferred to a smaller truck from the tractor trailer to get it to the spot on the property. There was a large box with a whole bunch of unfamiliar hardware inside and two 30+ page instruction manuals. One manual was for dome assembly, and the other for the hardware assembly and software setup for the automation system.
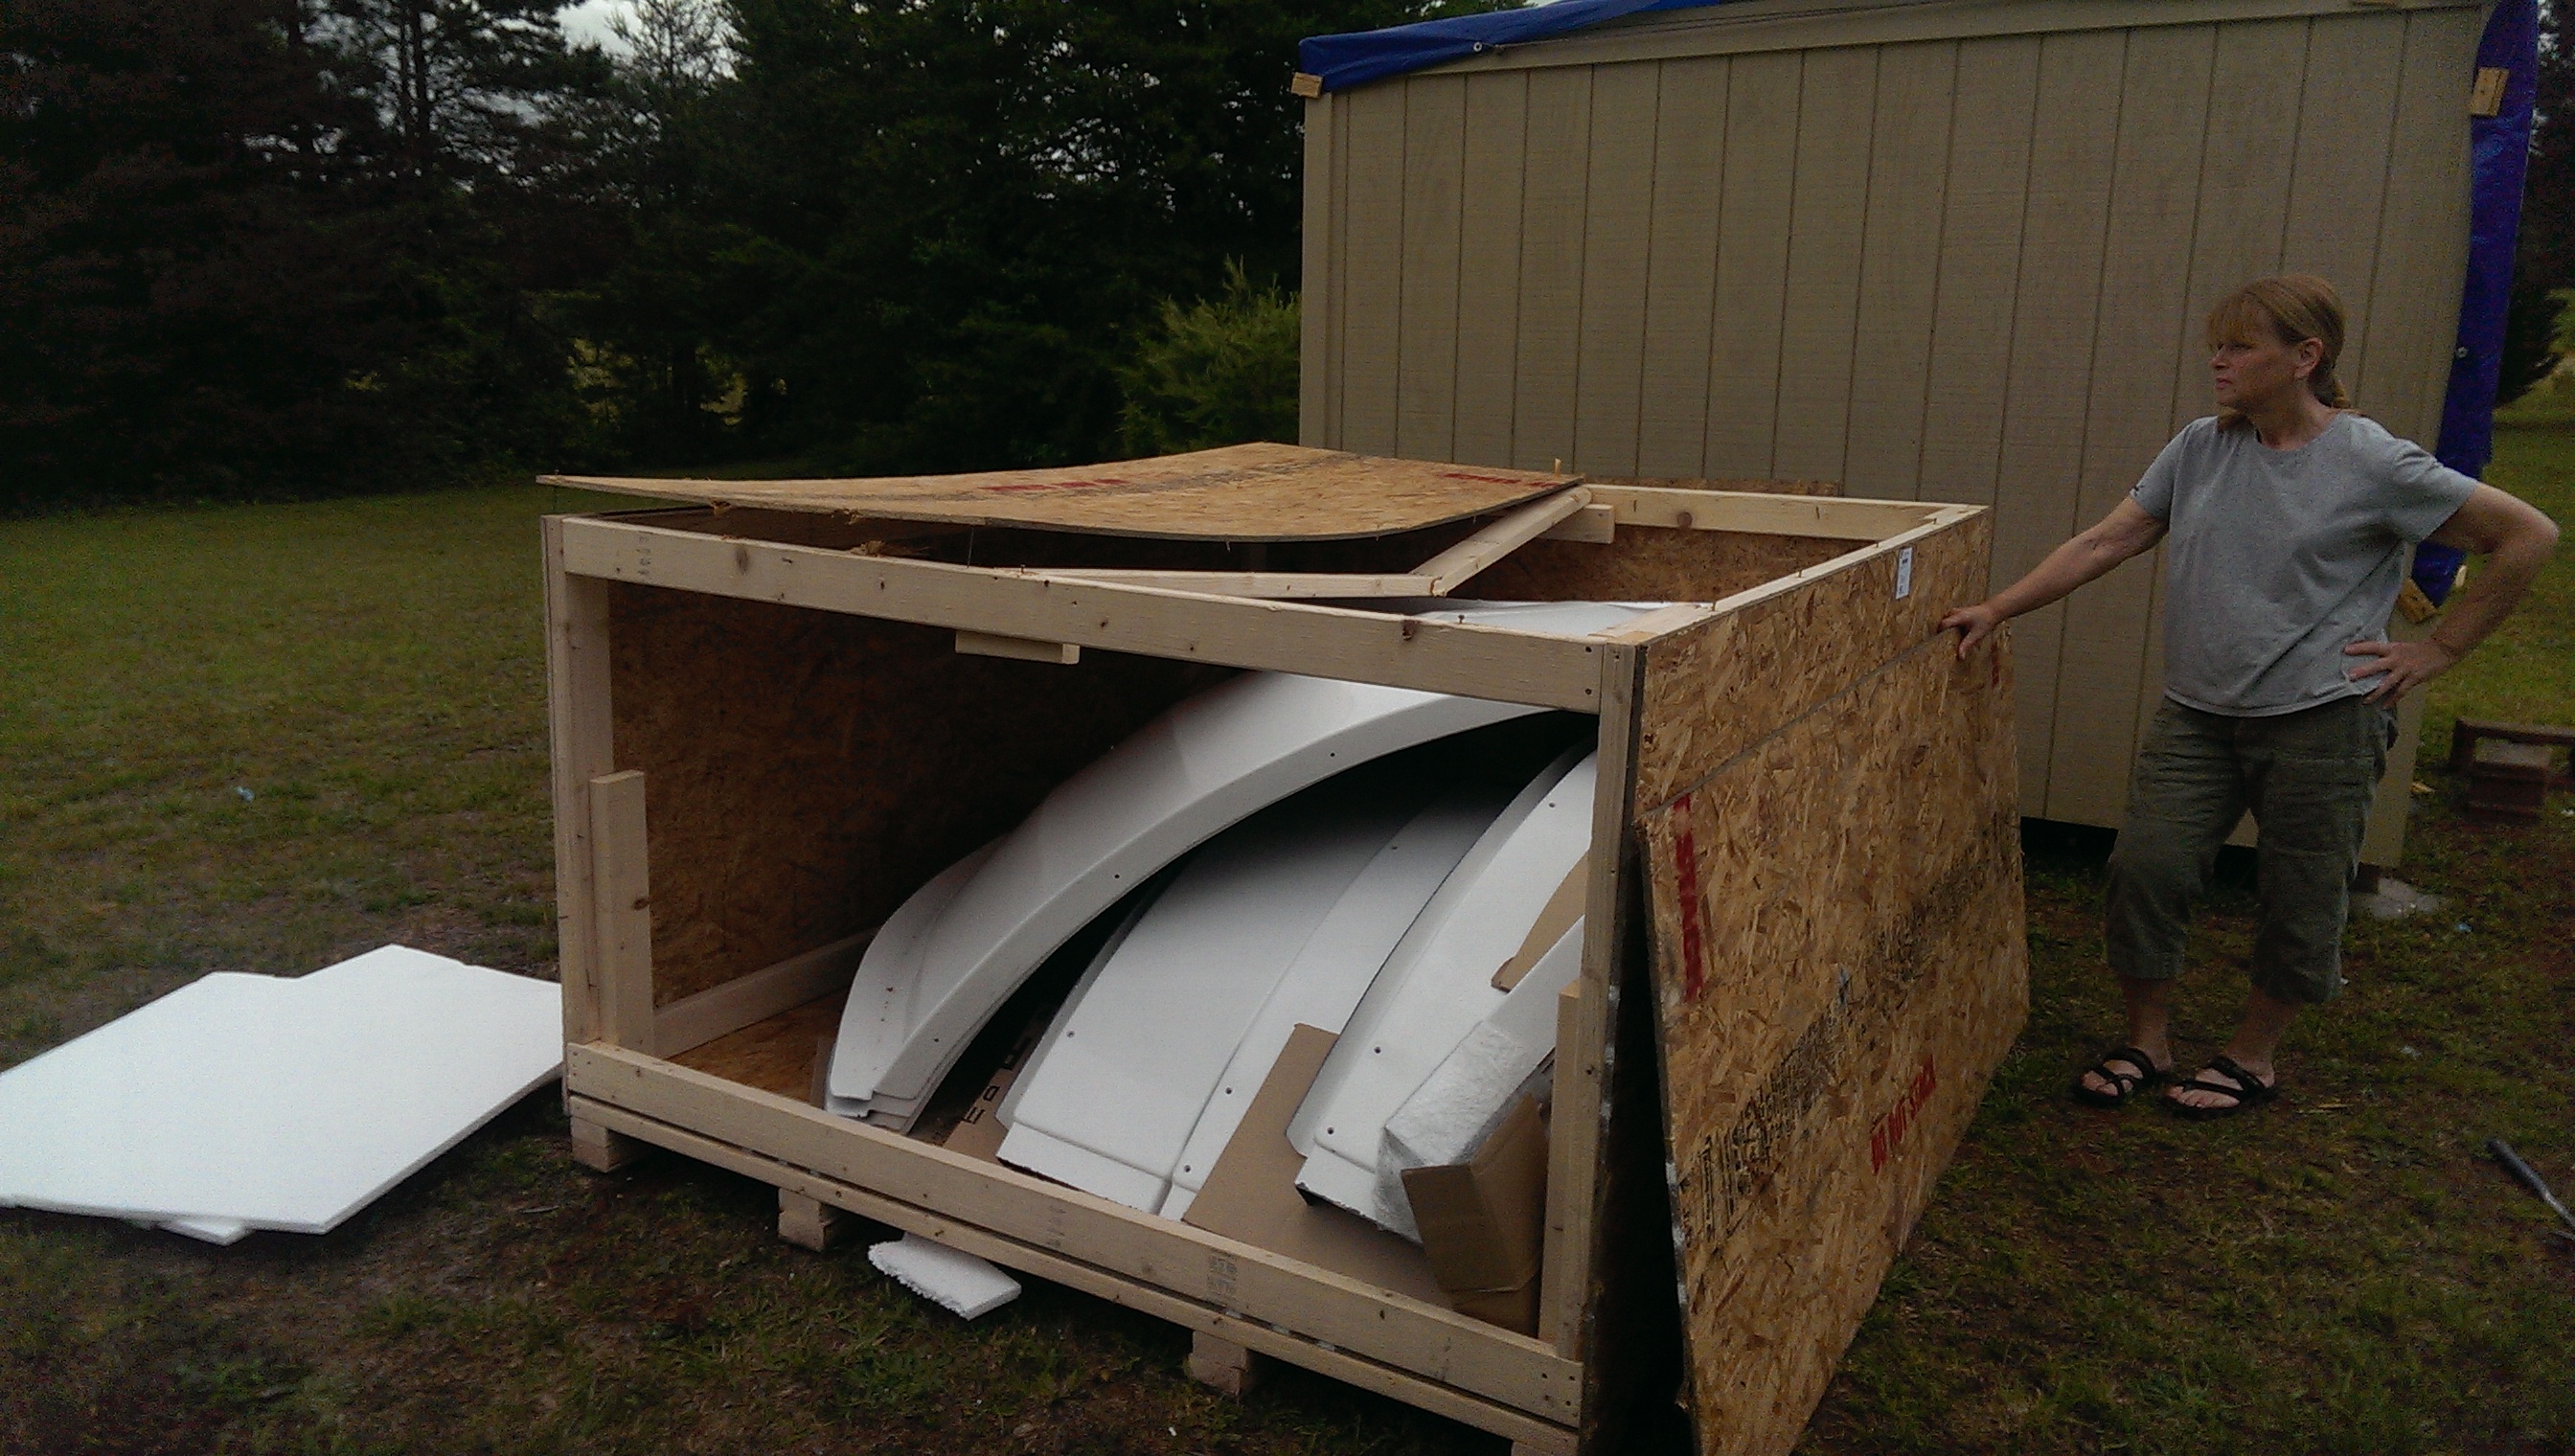
The size of the crate used to ship the dome and hardware was large 8’x8’, so it was shipped via tractor-trailer. Unfortunately because of the country road I live on, I had to make arrangements with a local trucker to use a flatbed trailer to transfer the crate from the trailer so it could be delivered to the observatory location on the property. This went more smoothly than I anticipated. I opened the crate and removed the large dome panels and hardware box for inspection. The dome panels were all there and damage free. The hardware box was full of many unrecognizable proprietary parts, and could only be verified as I deciphered the assembly instructions. I could find no master list of parts in the two assembly “books” that accompanied the dome, to check off the various pieces.
Sorting out the proprietary parts and the assembly instructions turned out to be the most difficult part of assembling the dome. The instruction manual was detailed, but the accompanying illustrations were hand drawn, and difficult to visualize. That, with the custom named parts made it a slow process at each step of the assembly process. It took me some time to match the parts with their names and the descriptions of how they were assembled. The directions would have been better served if there were labeled pictures of the parts along with photos of them mounted on the dome.
The 10 foot Homedome would be supported on a circular base ring that would have the rotation motors and wheels to carry and guide the dome as it turned. That meant circular walls, which would be more difficult to fabricate, and would confine the interior space. I decided to purchase the optional transition panels, which would bring the round dome to a square building.
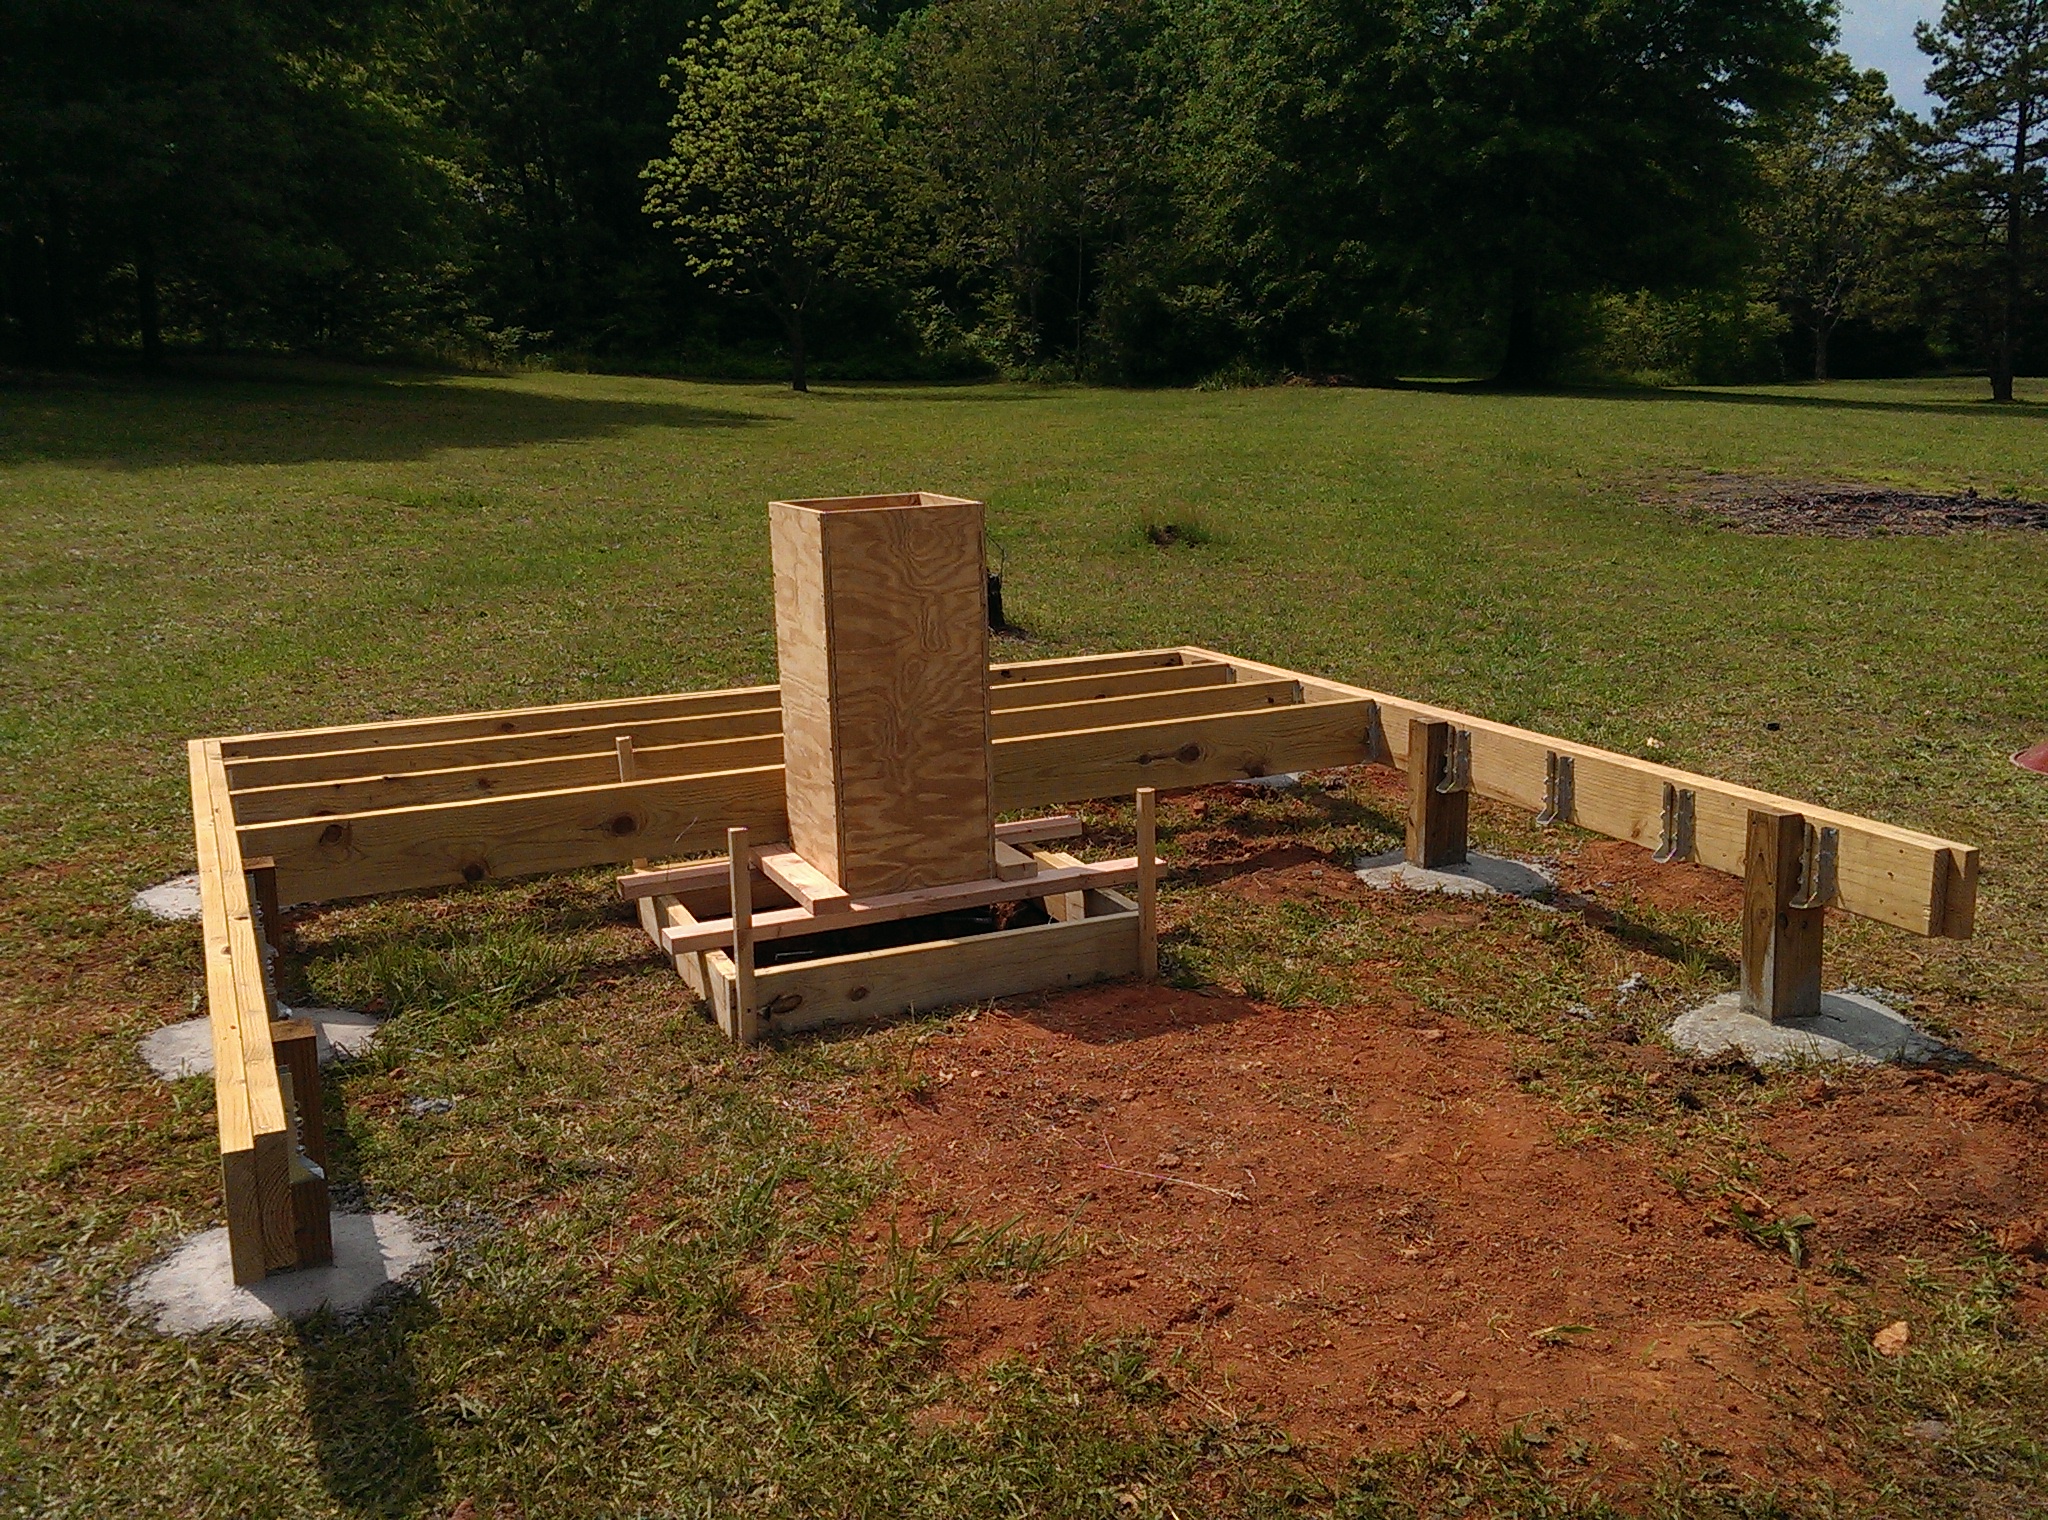
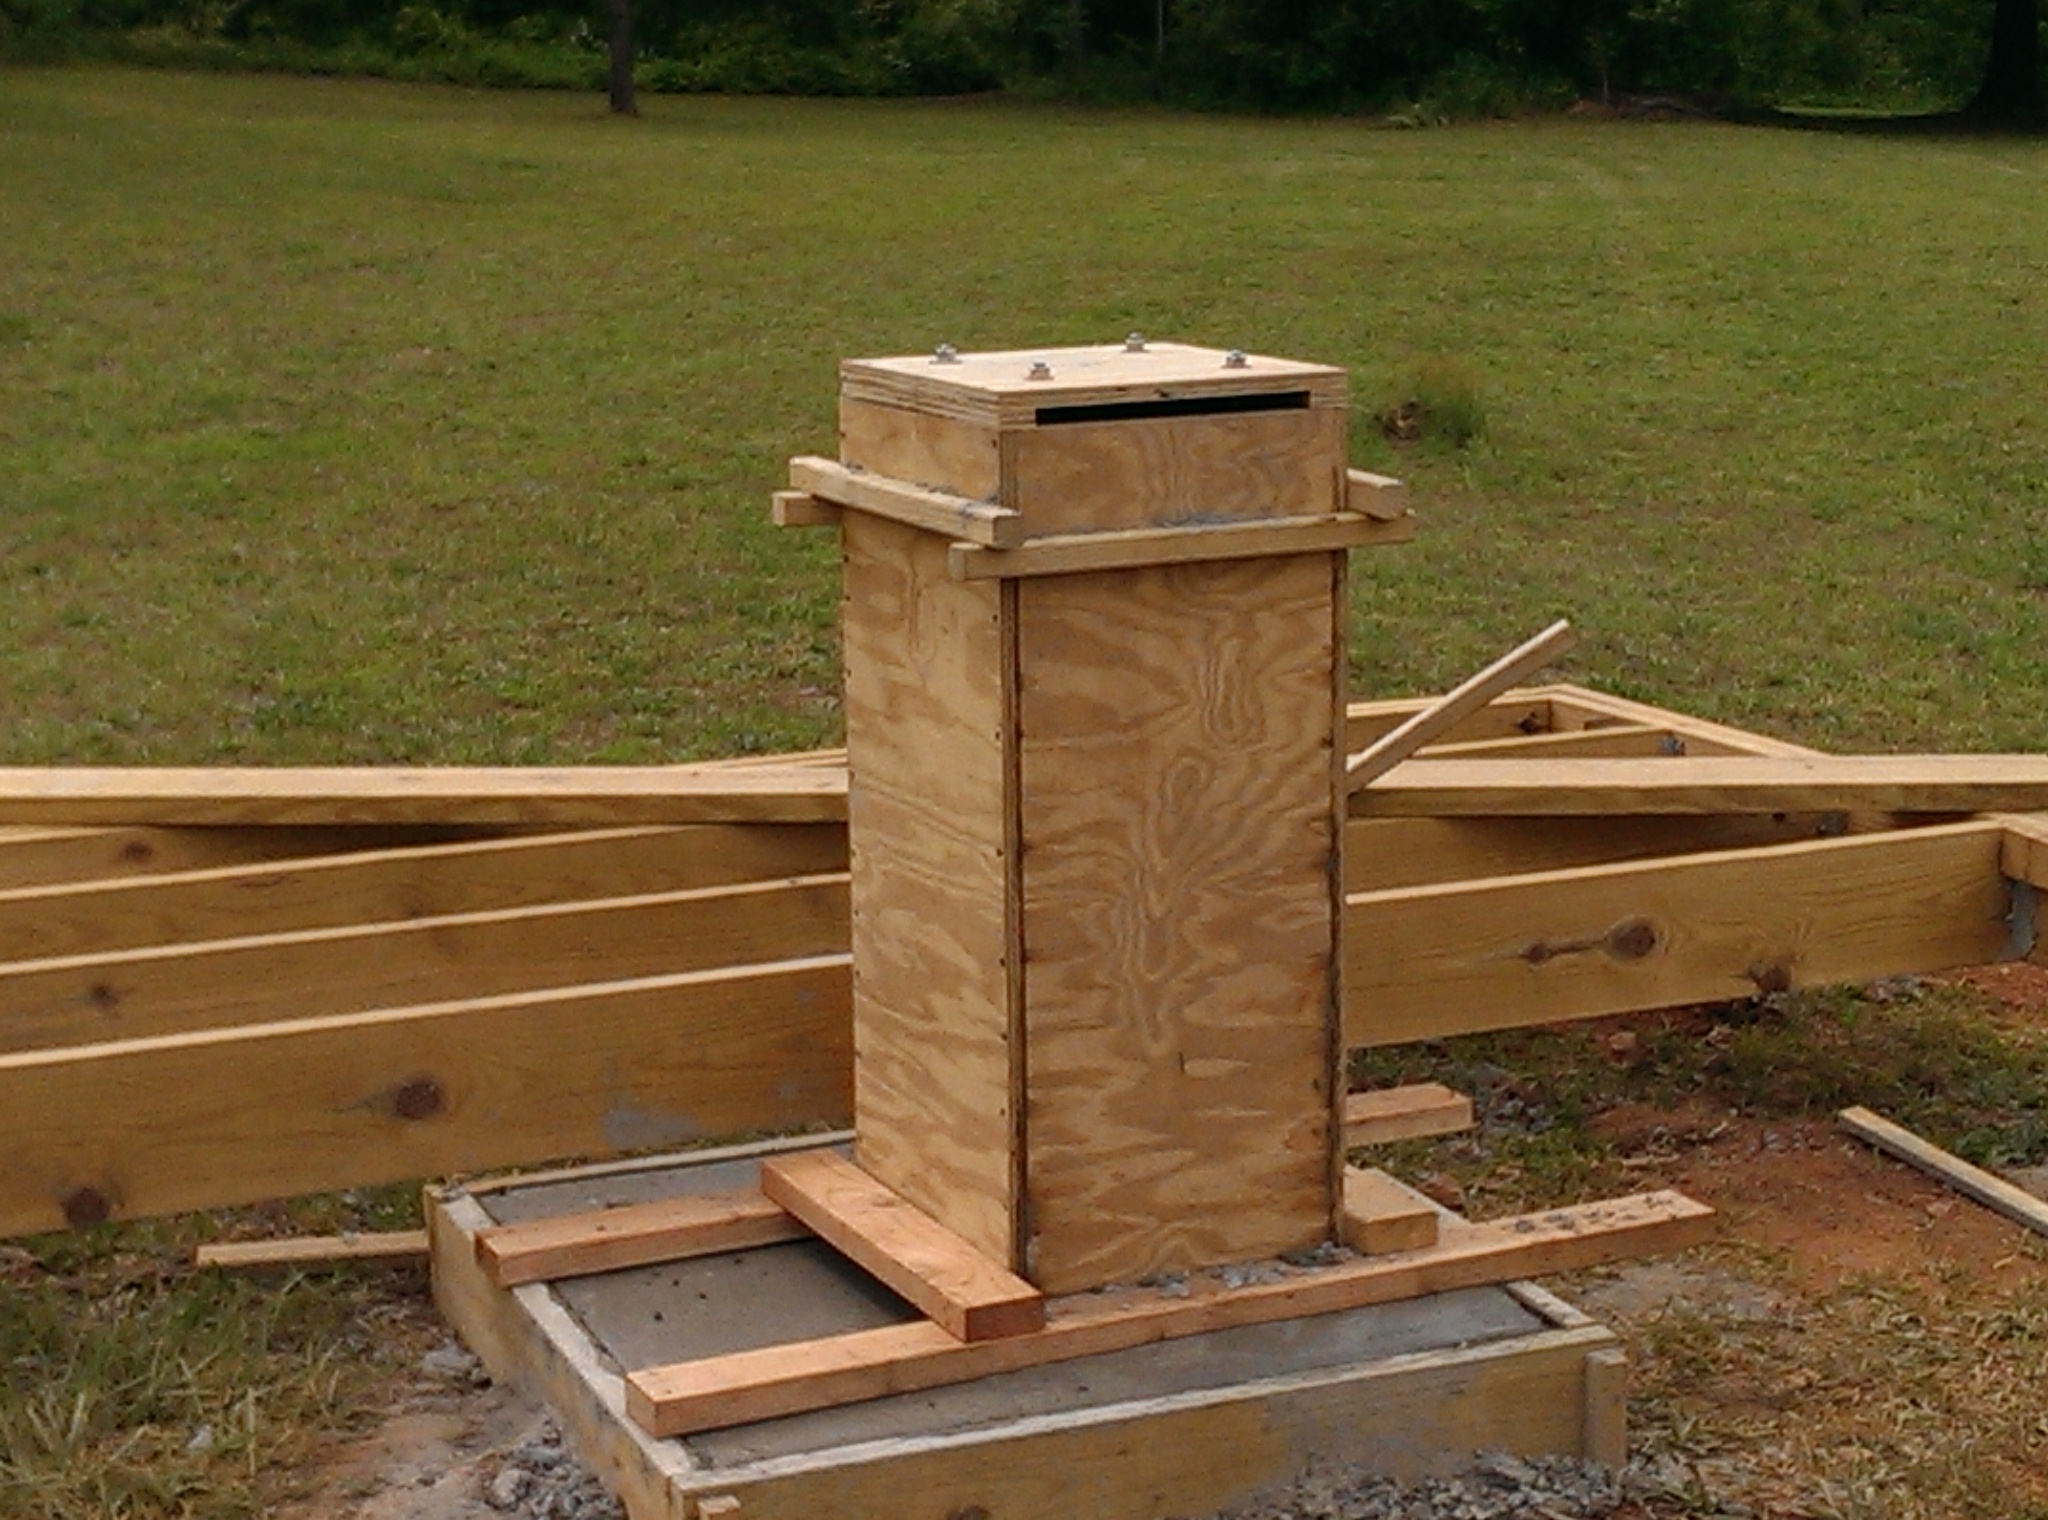
The pier for the telescope mount would be concrete and steel. I decided to combine both so that if, at a later date, I decided I wanted to change the configuration, it would be easier to accomplish. The 3’x’3’ pier footing would extend up 6” from the ground and then a 12”x12” column would continue another 2 feet to meet the steel pier. The 4” steel pier would bring the pier to its finished height, 6 feet above the floor of the observatory.
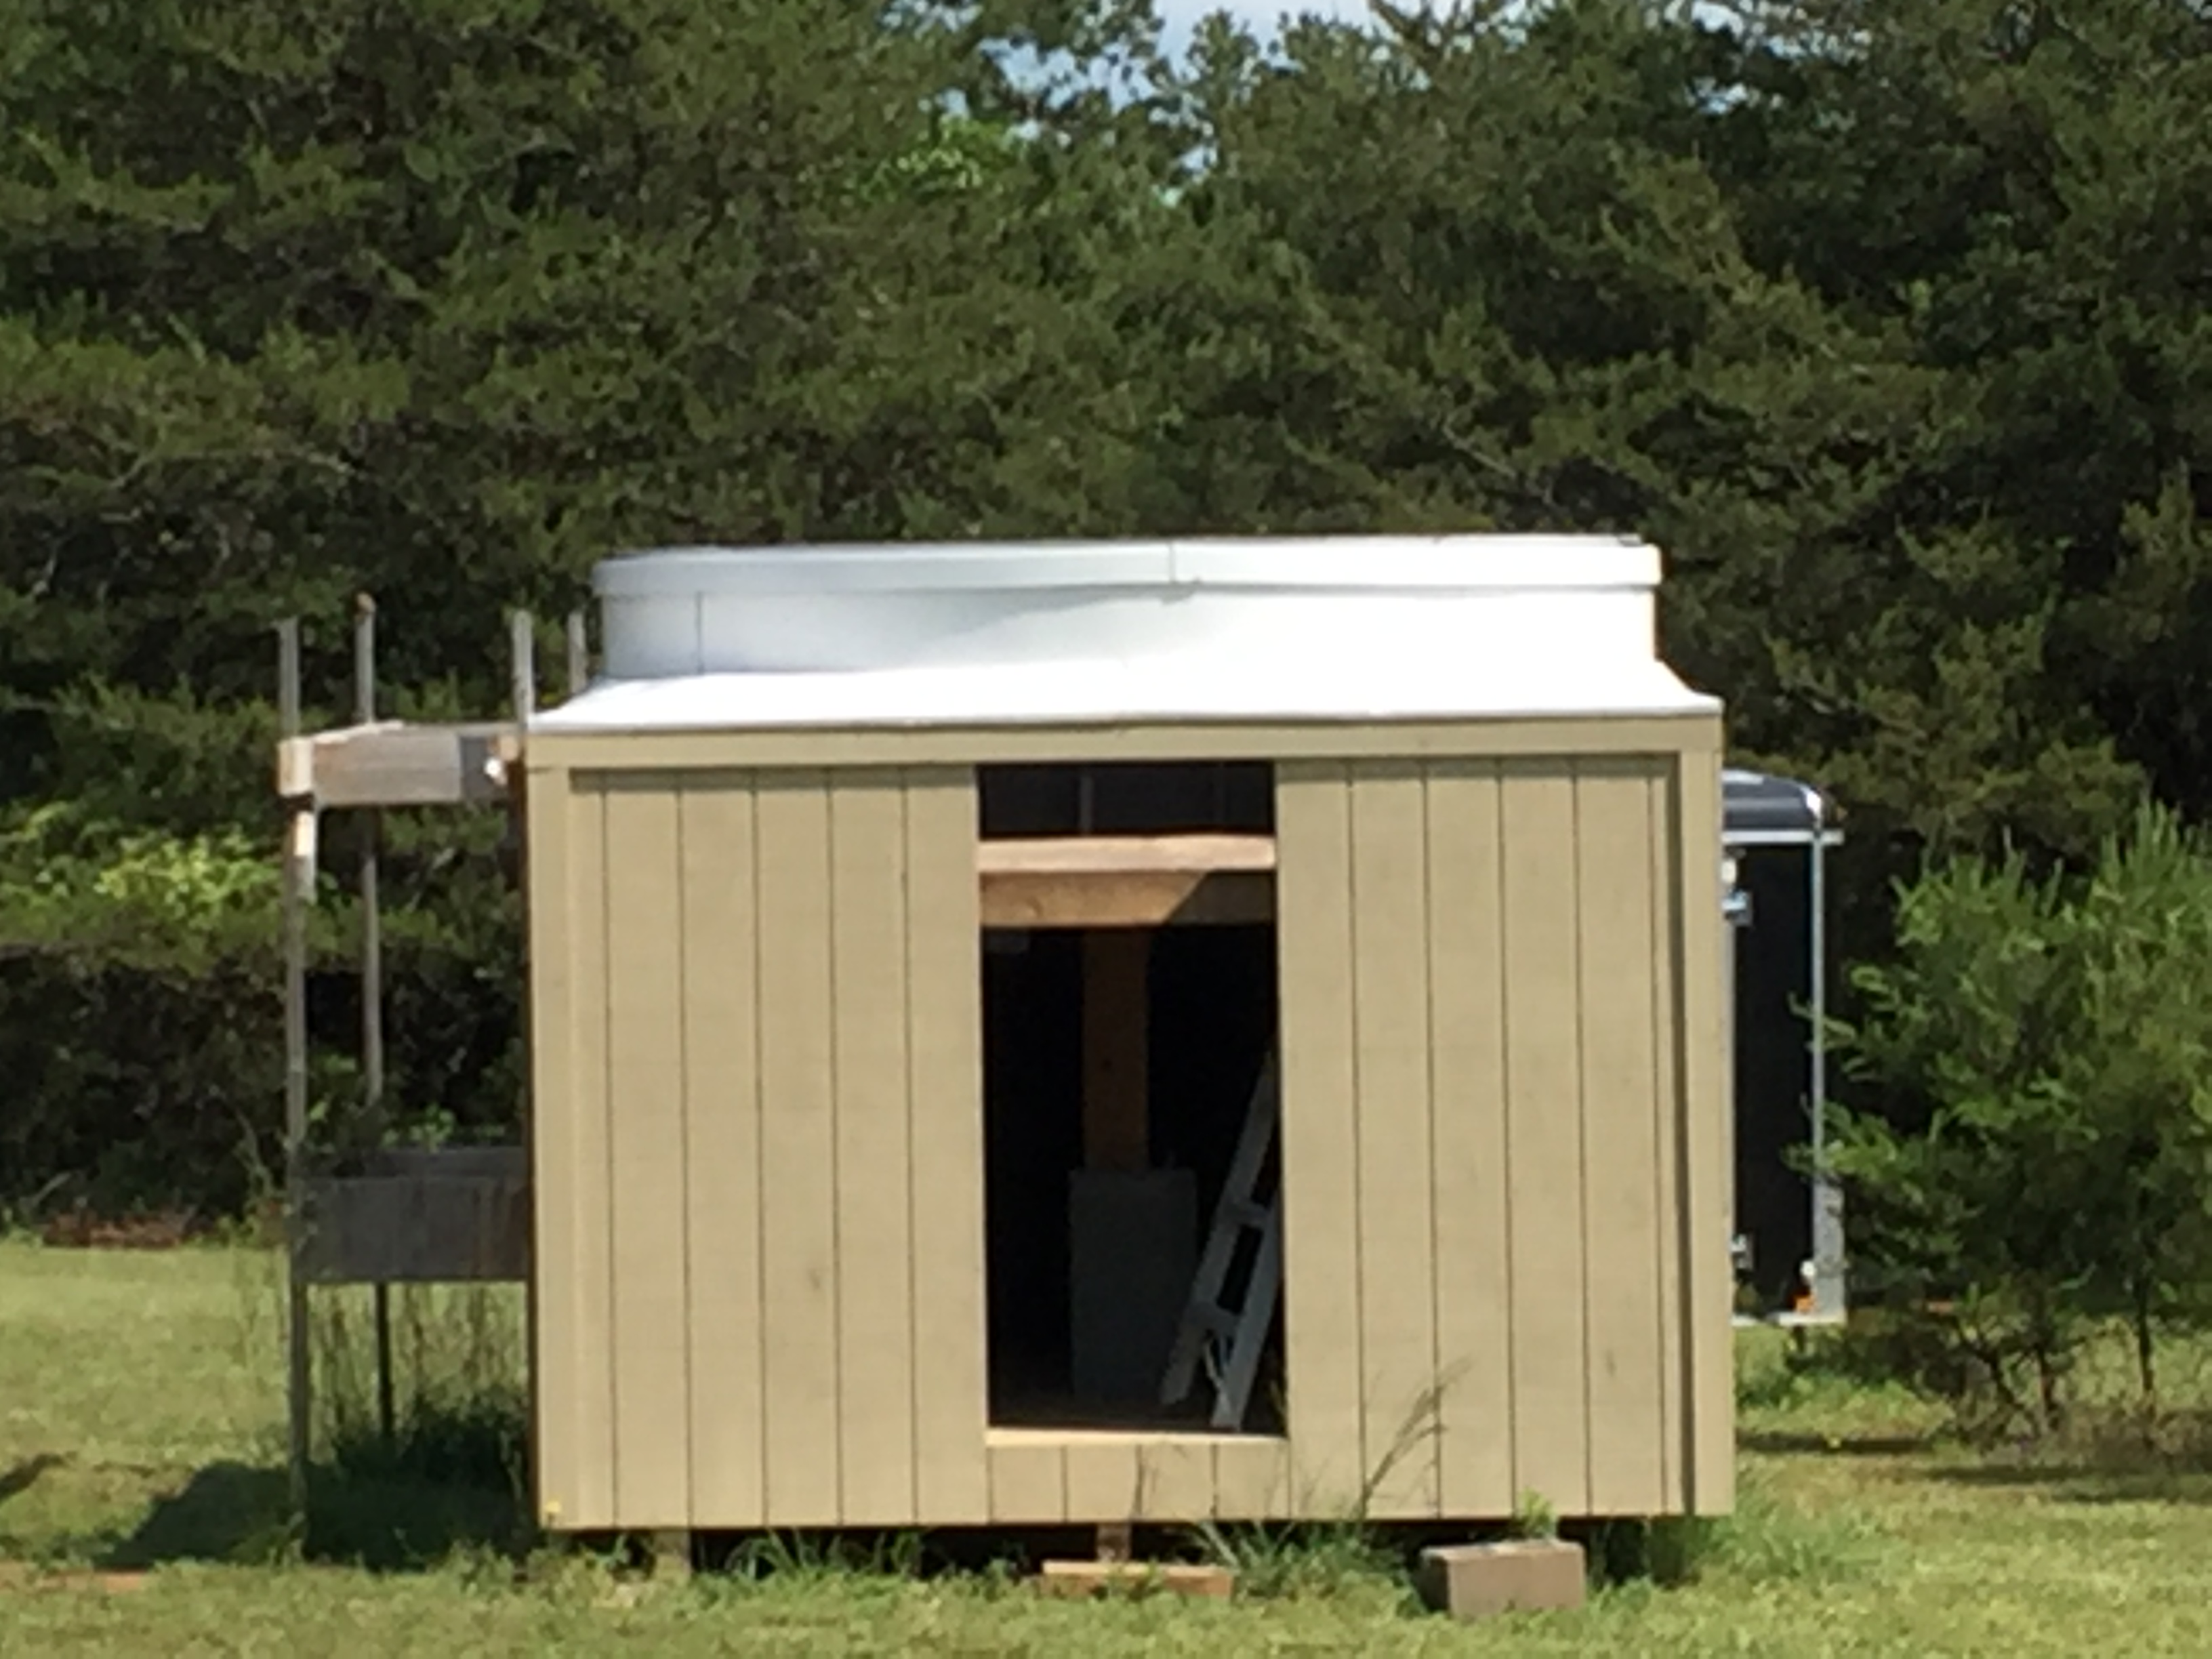
The dome skirt was the first part of assembly followed by the assembly and mounting of the dome support ring. I mounted the skirt to the building and then adjusted the height of the dome ring using blocking mounted diagonally across the walls of the building. After checking and rechecking the position and height of the transition panels, I bolted the eight pieces together to form the transition from square building to round dome.
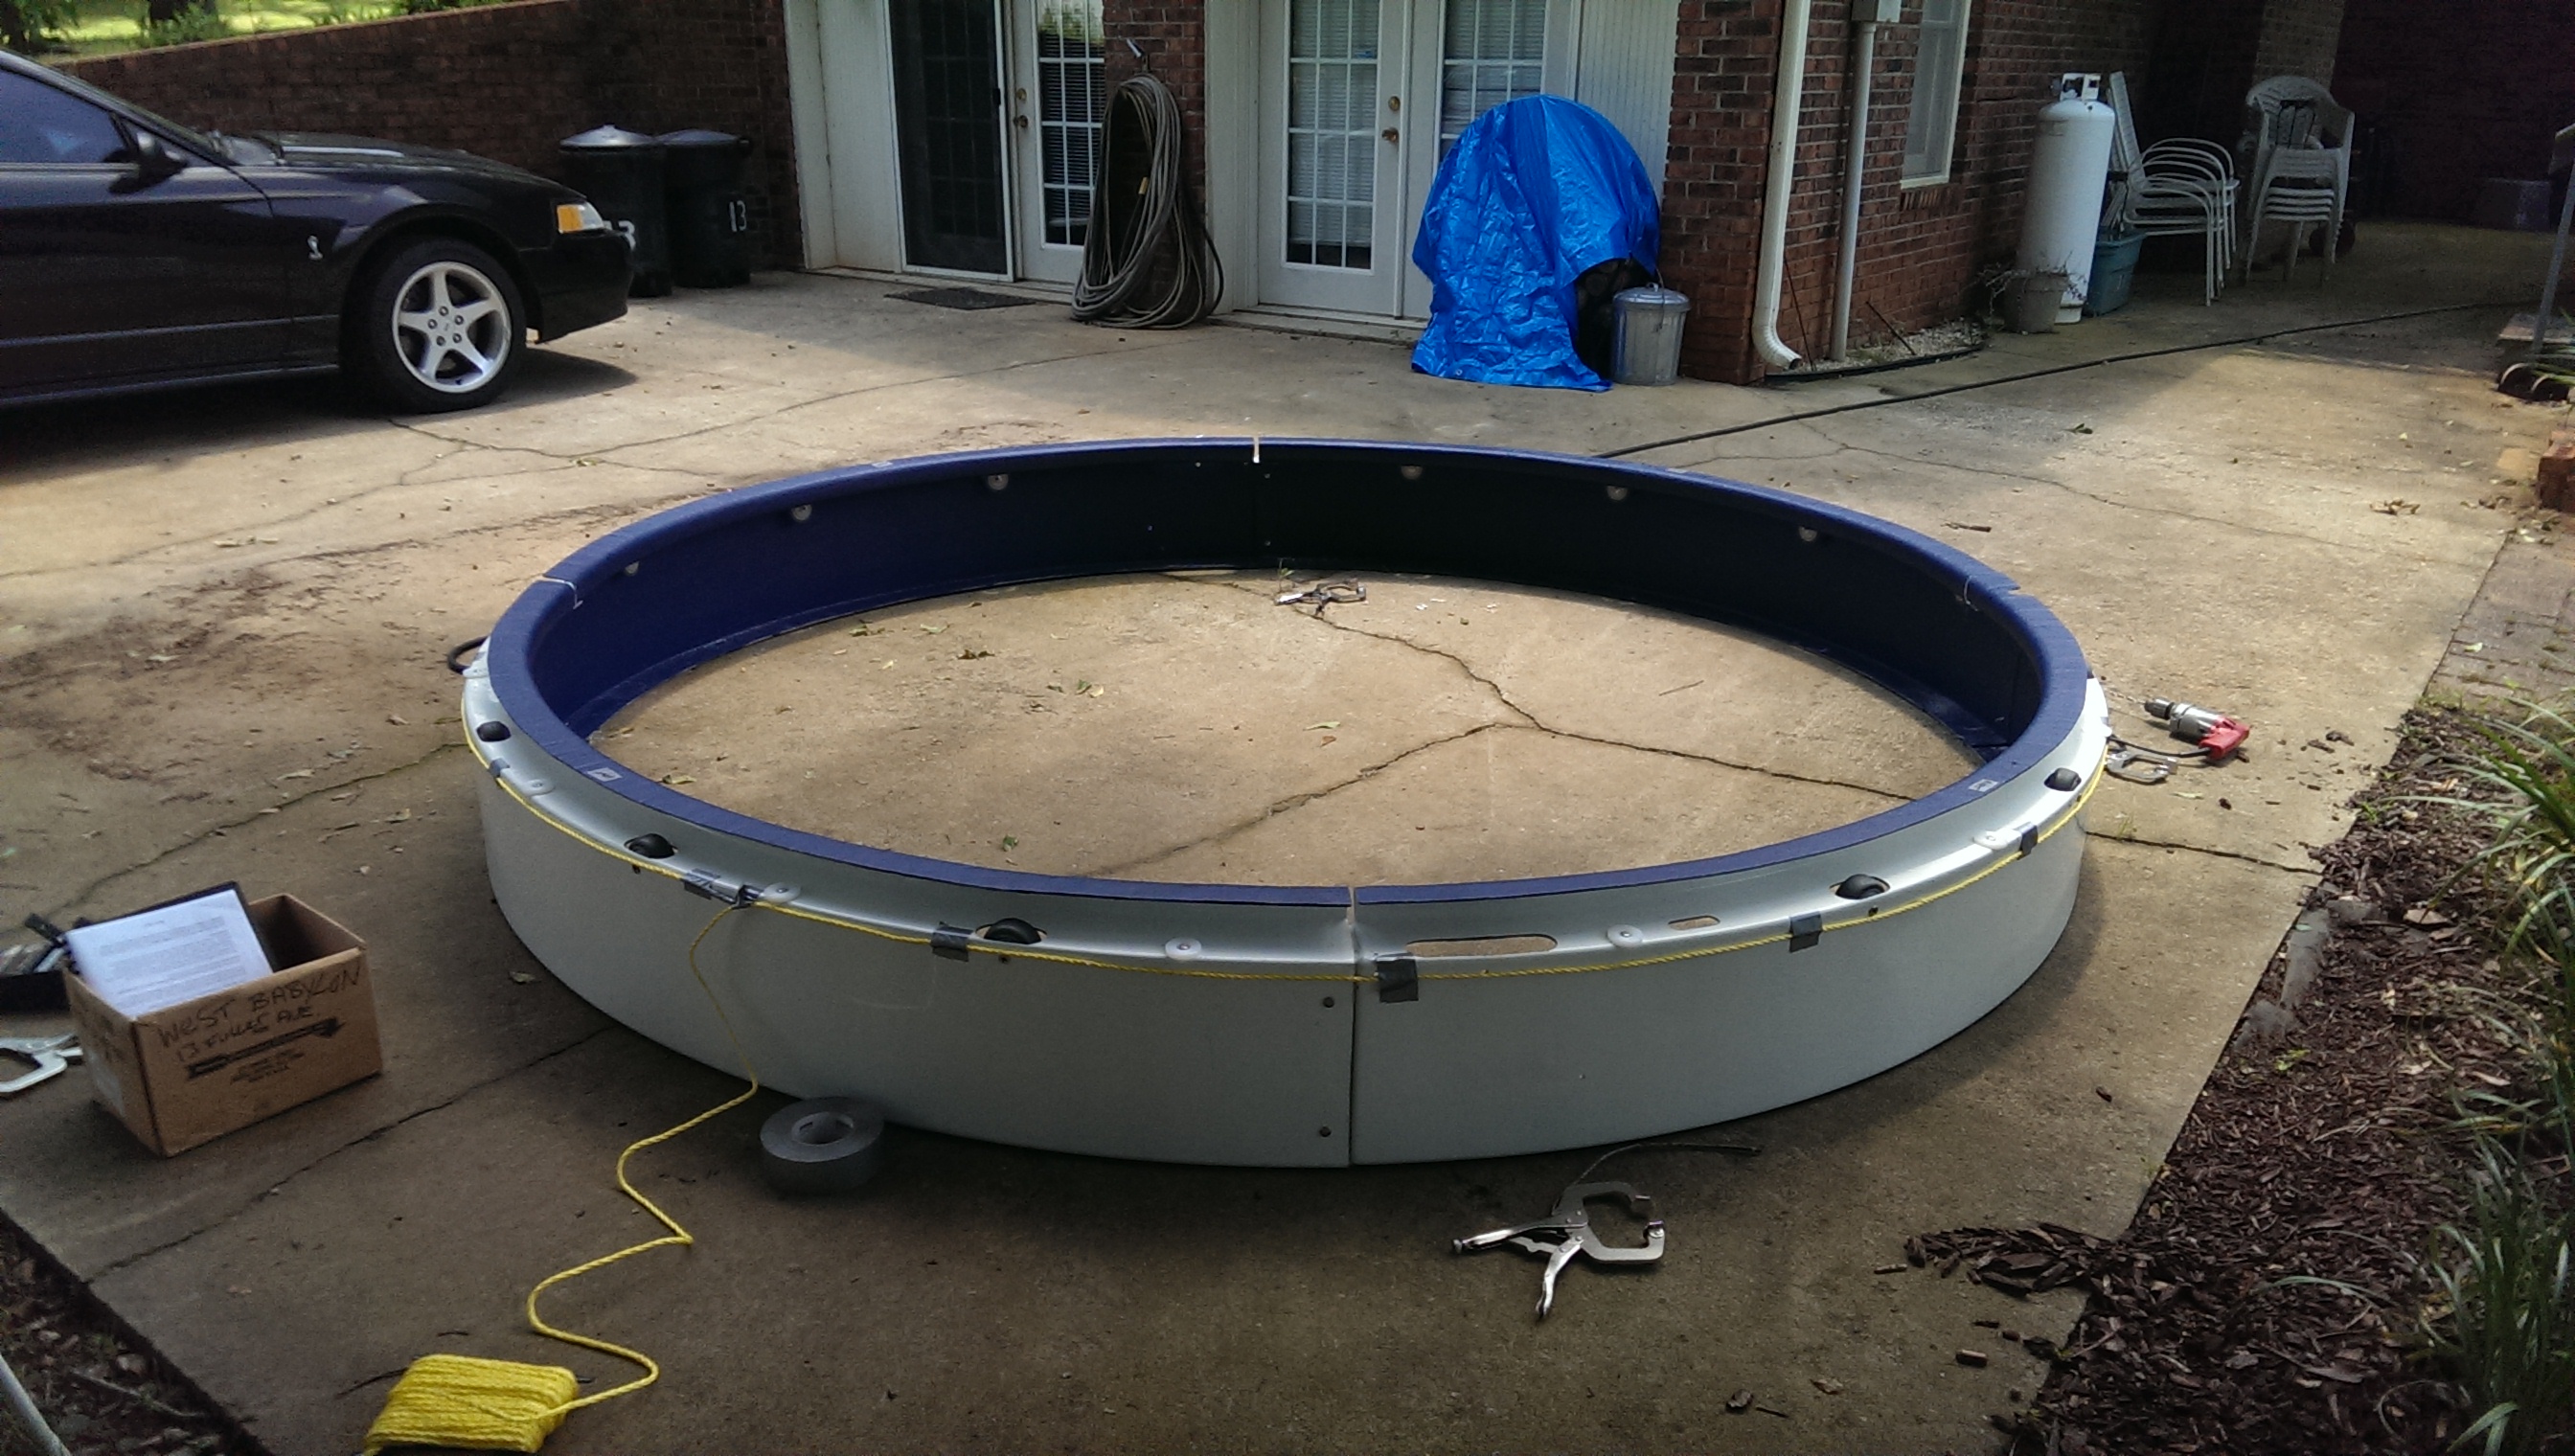
The dome support ring is one of the critical pieces in the assembly of the dome. The first step was to mount the dome rotation wheels and side guides in the precut slots in the DSR. Then I laid out the four panels that make up the DSR on a flat surface so I could measure the proper diameter. This is critical because if the ring is too large the dome will rub and not operate properly and if it’s too small there will be too much play and the might not operate smoothly or could be blown off in high winds. The dome is designed so that the bottom flange of the dome has a return which sits under the top of the DSR, preventing it from lifting off in high winds, so the dimensioning is important.
After the DSR was laid out and the dimensions checked the four pieces were drilled and bolted together. I then disassembled the DSR and remounted the pieces on top of the transition panels. I used a story pole with the proper diameter to set the DSR and then bolted the pieces together to hold its shape. I erected a scaffold inside of the building itself to facilitate the mounting of the DSR and eventually, the dome itself.
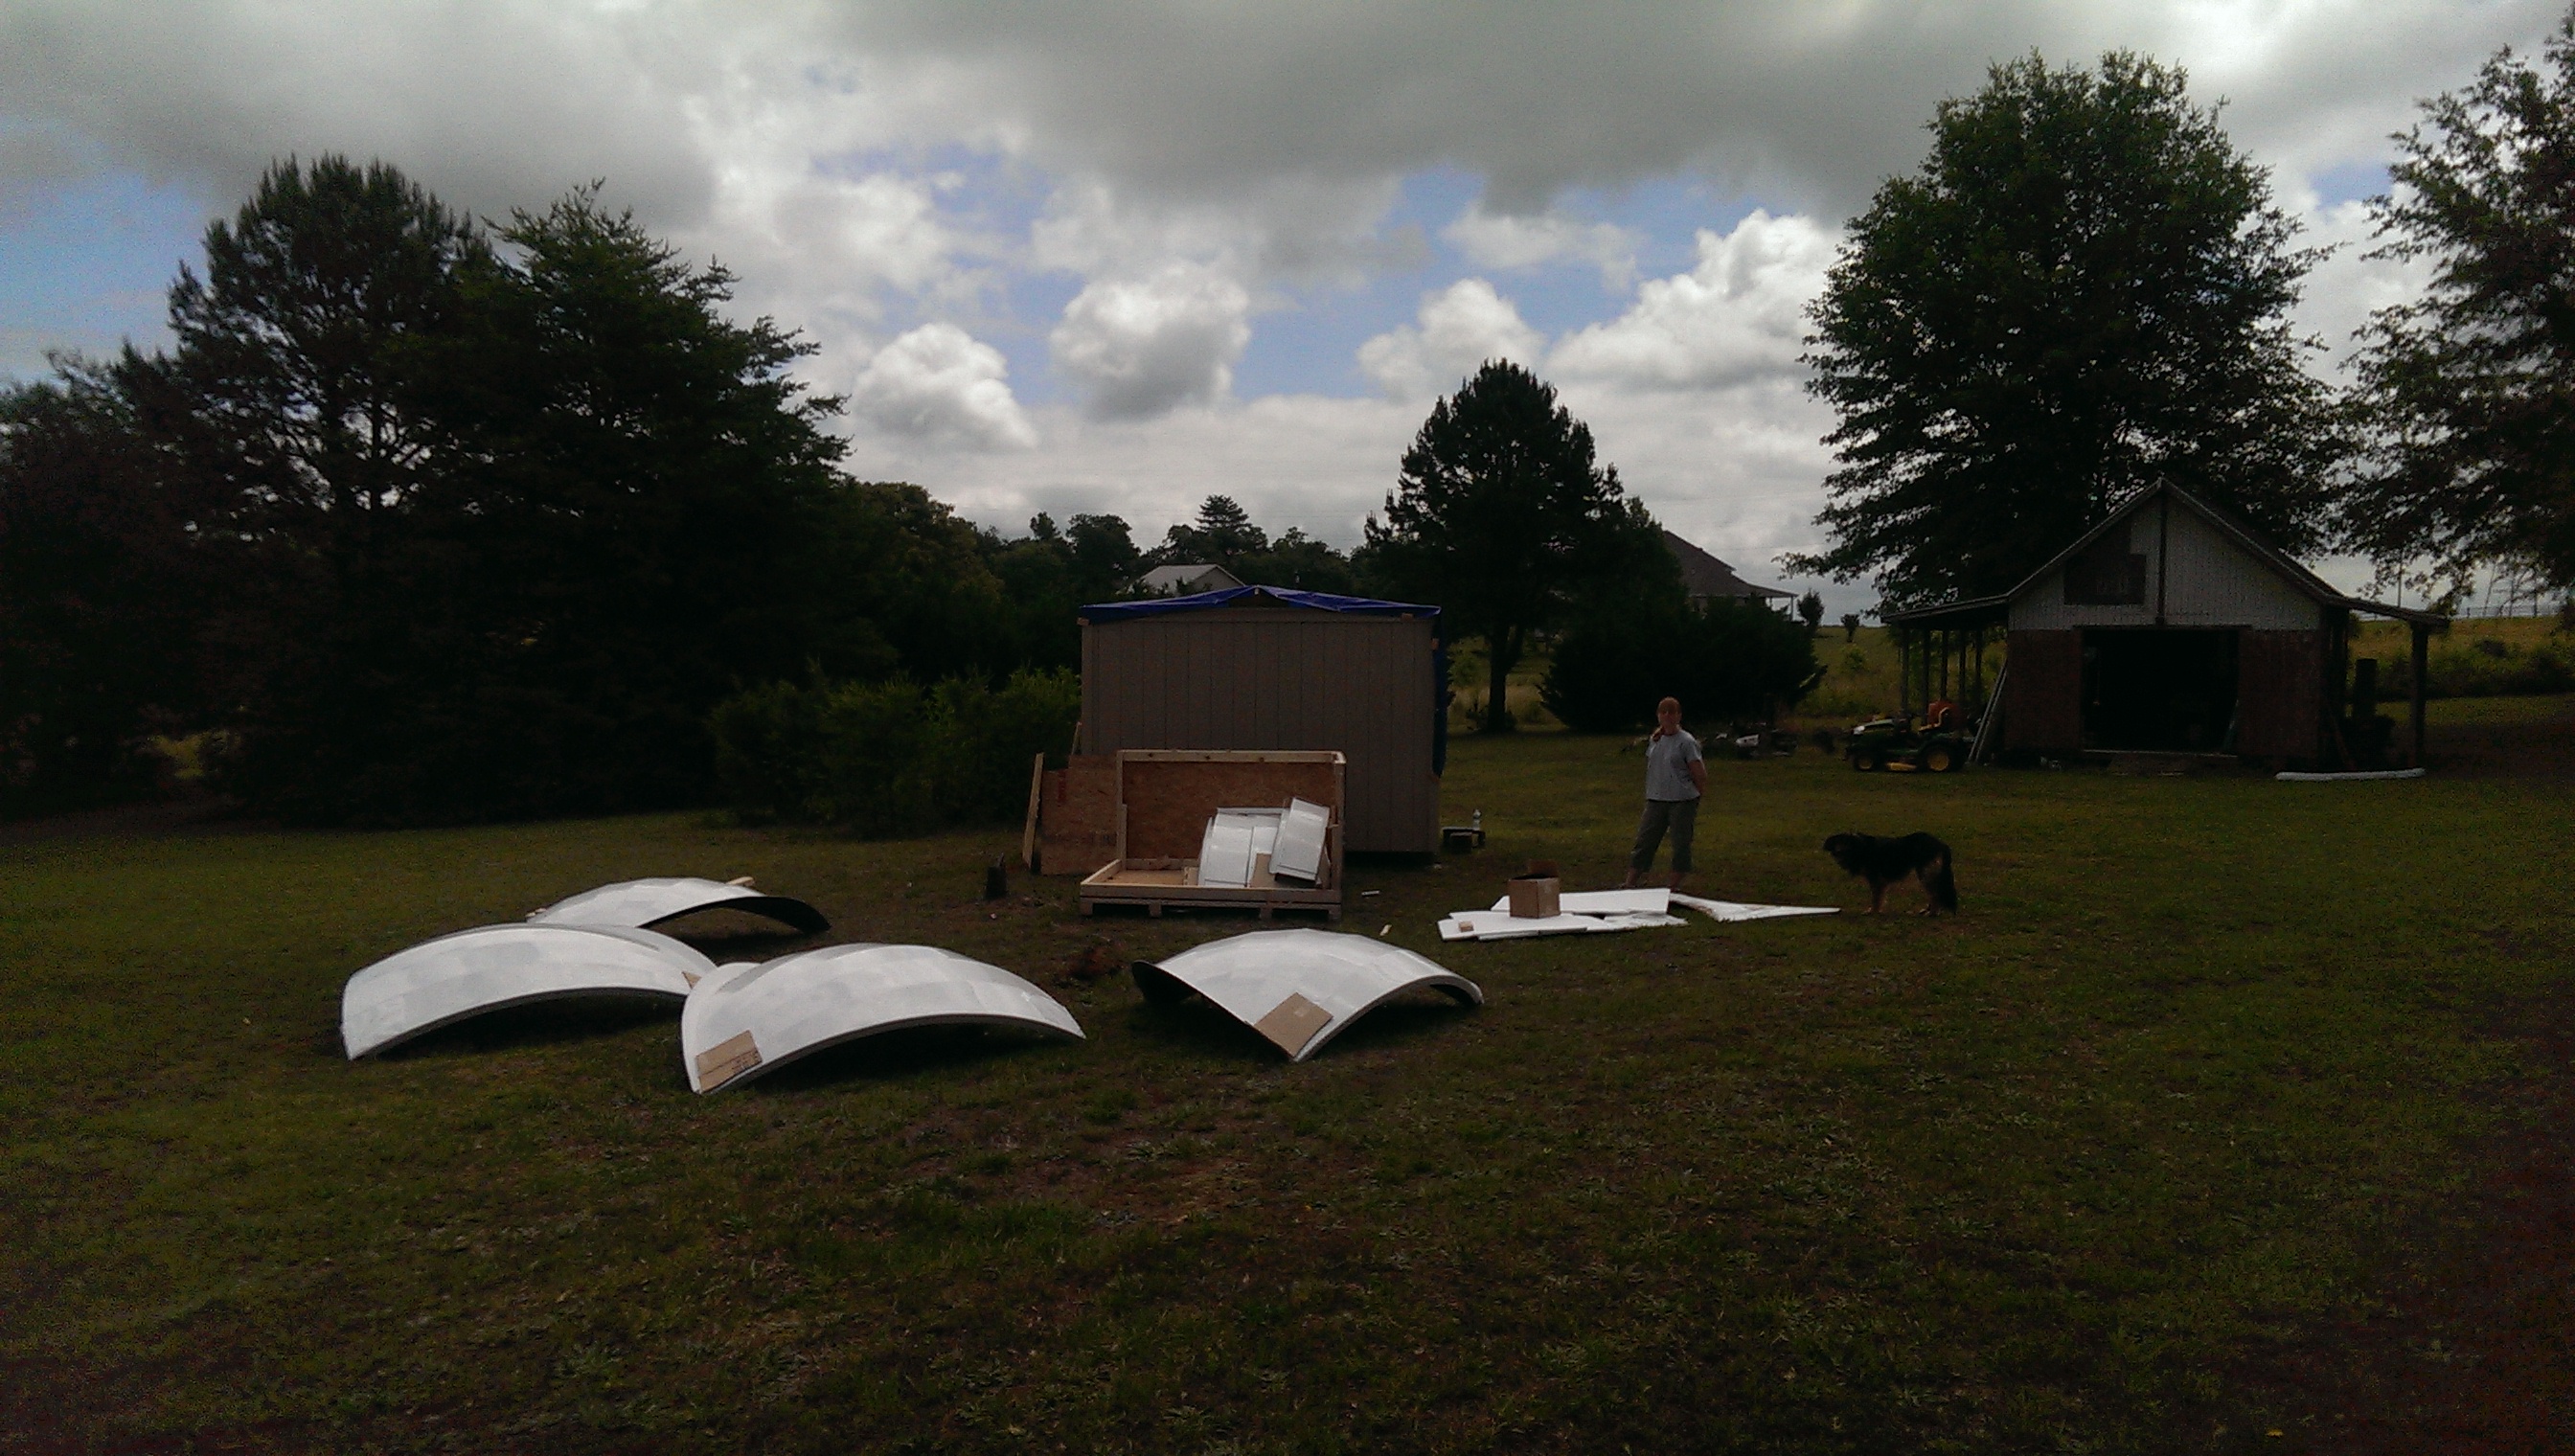
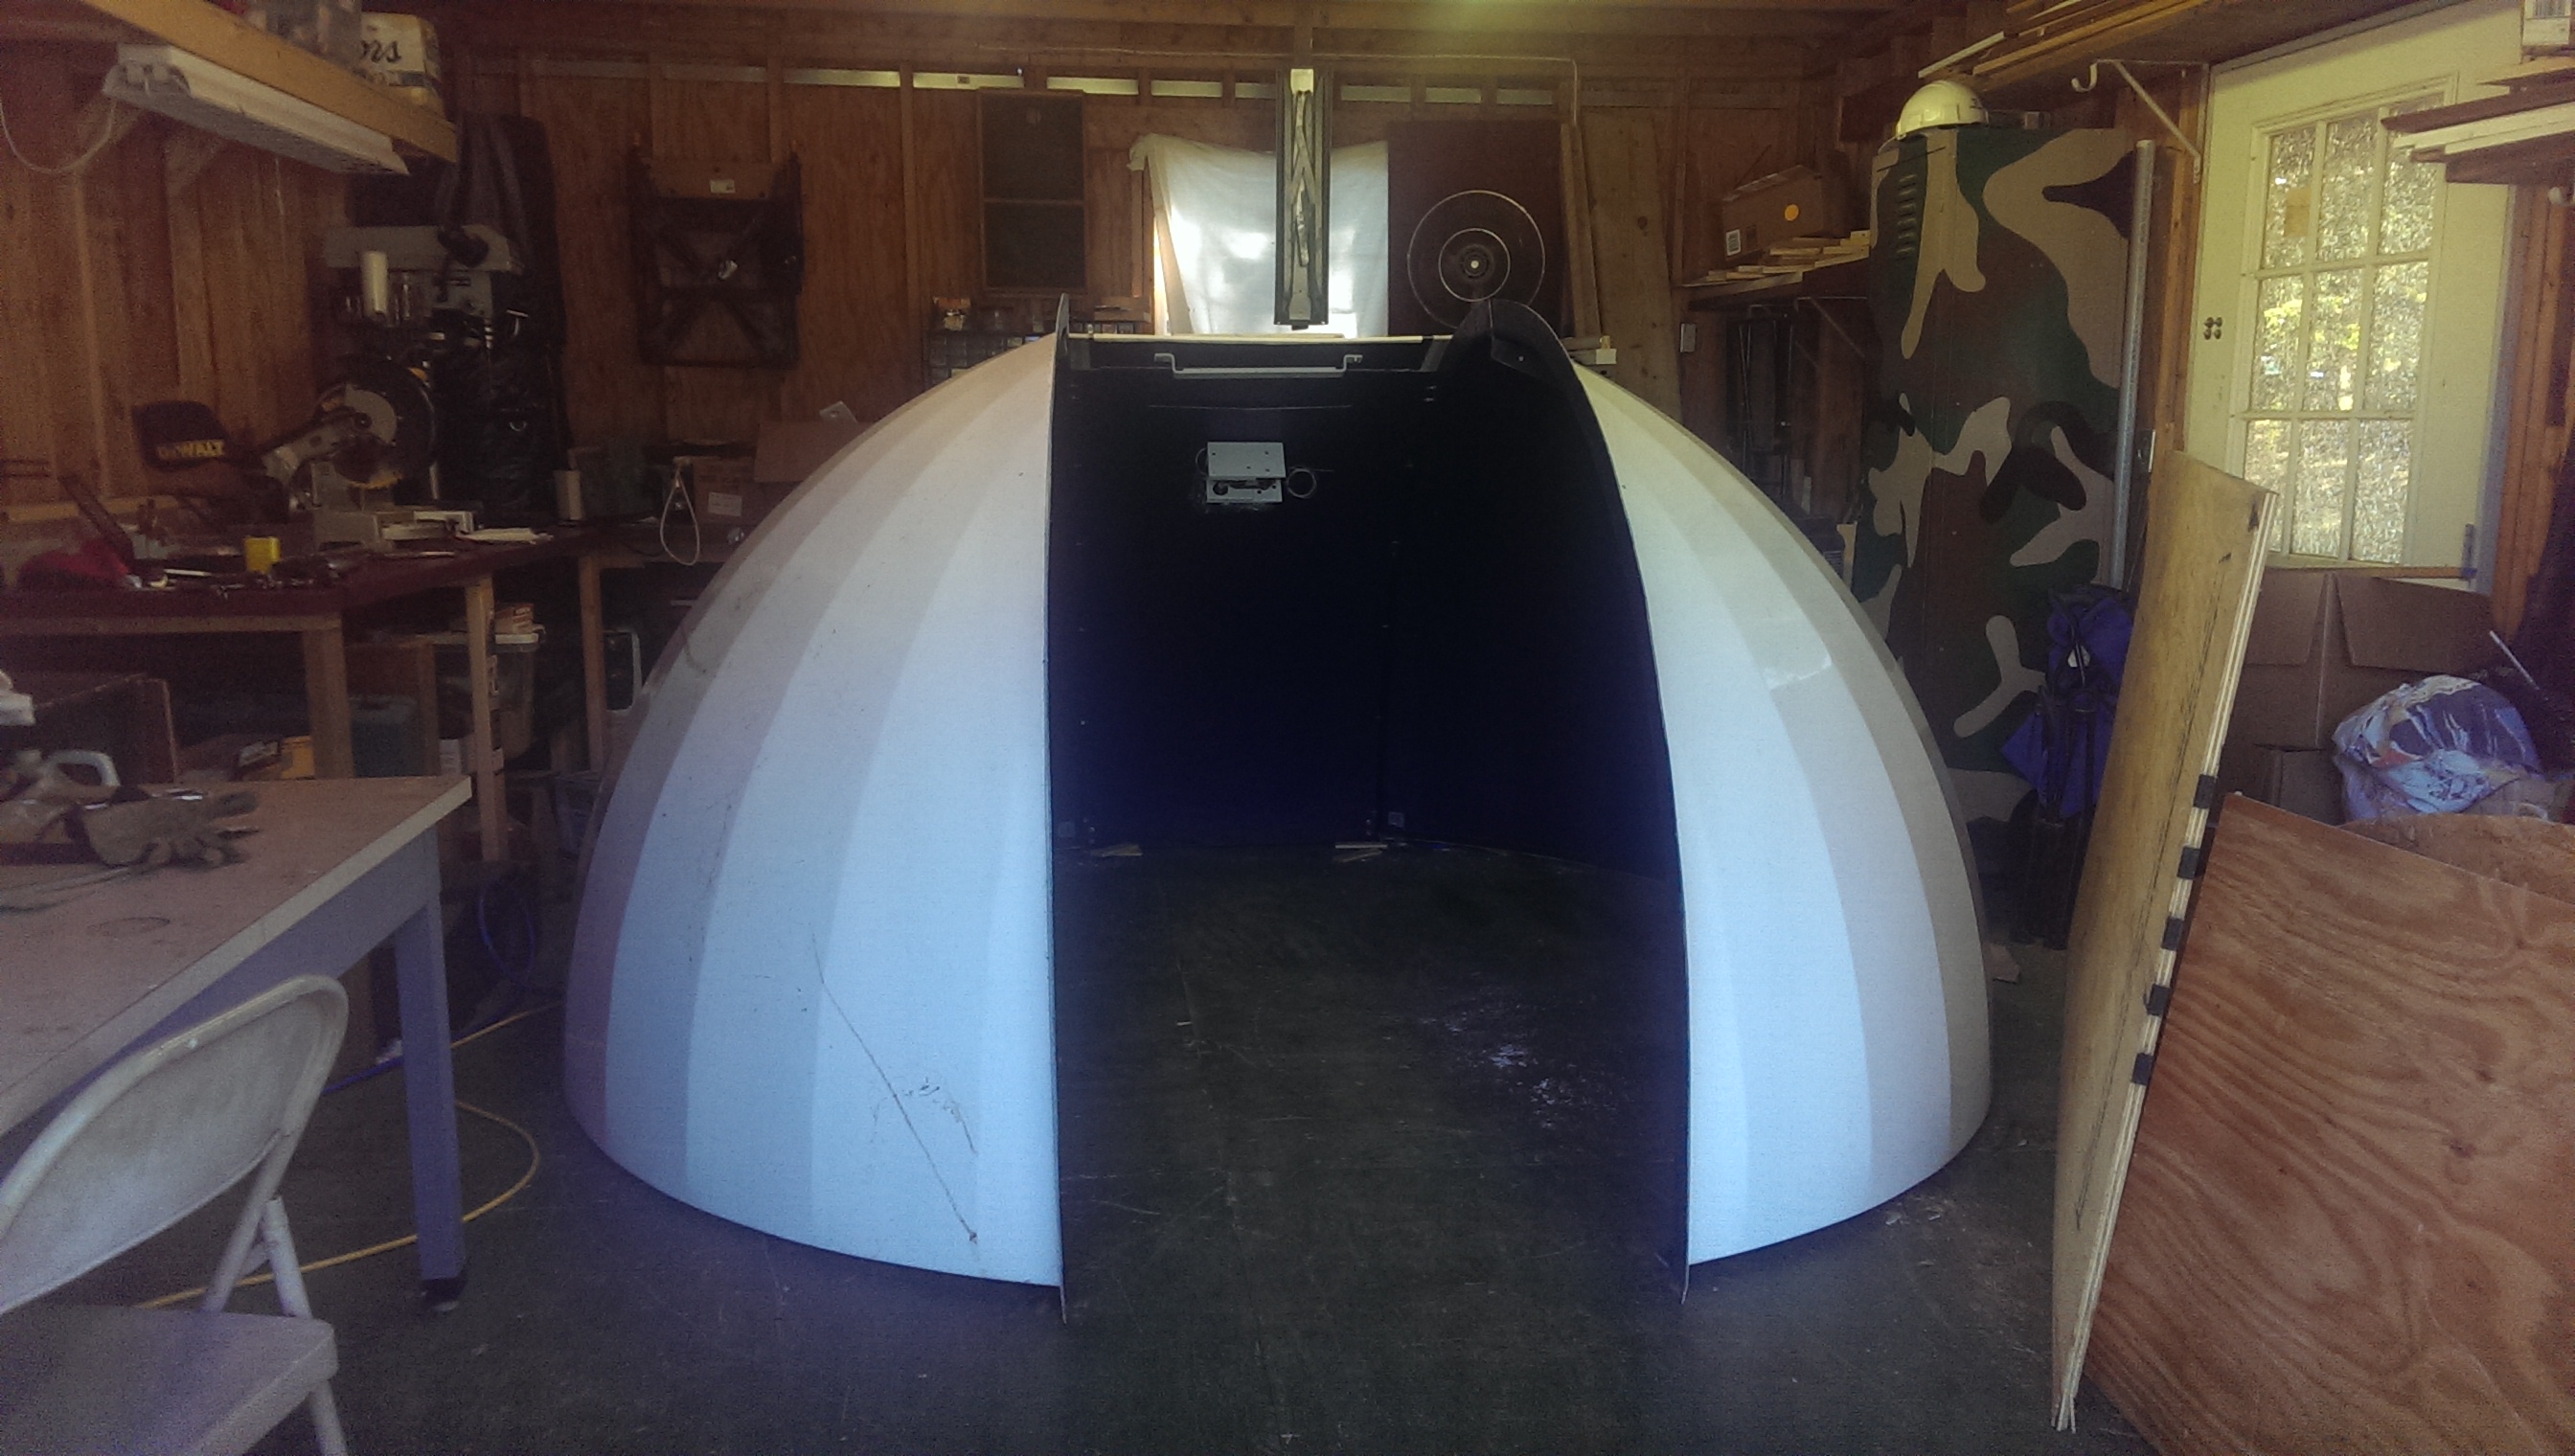
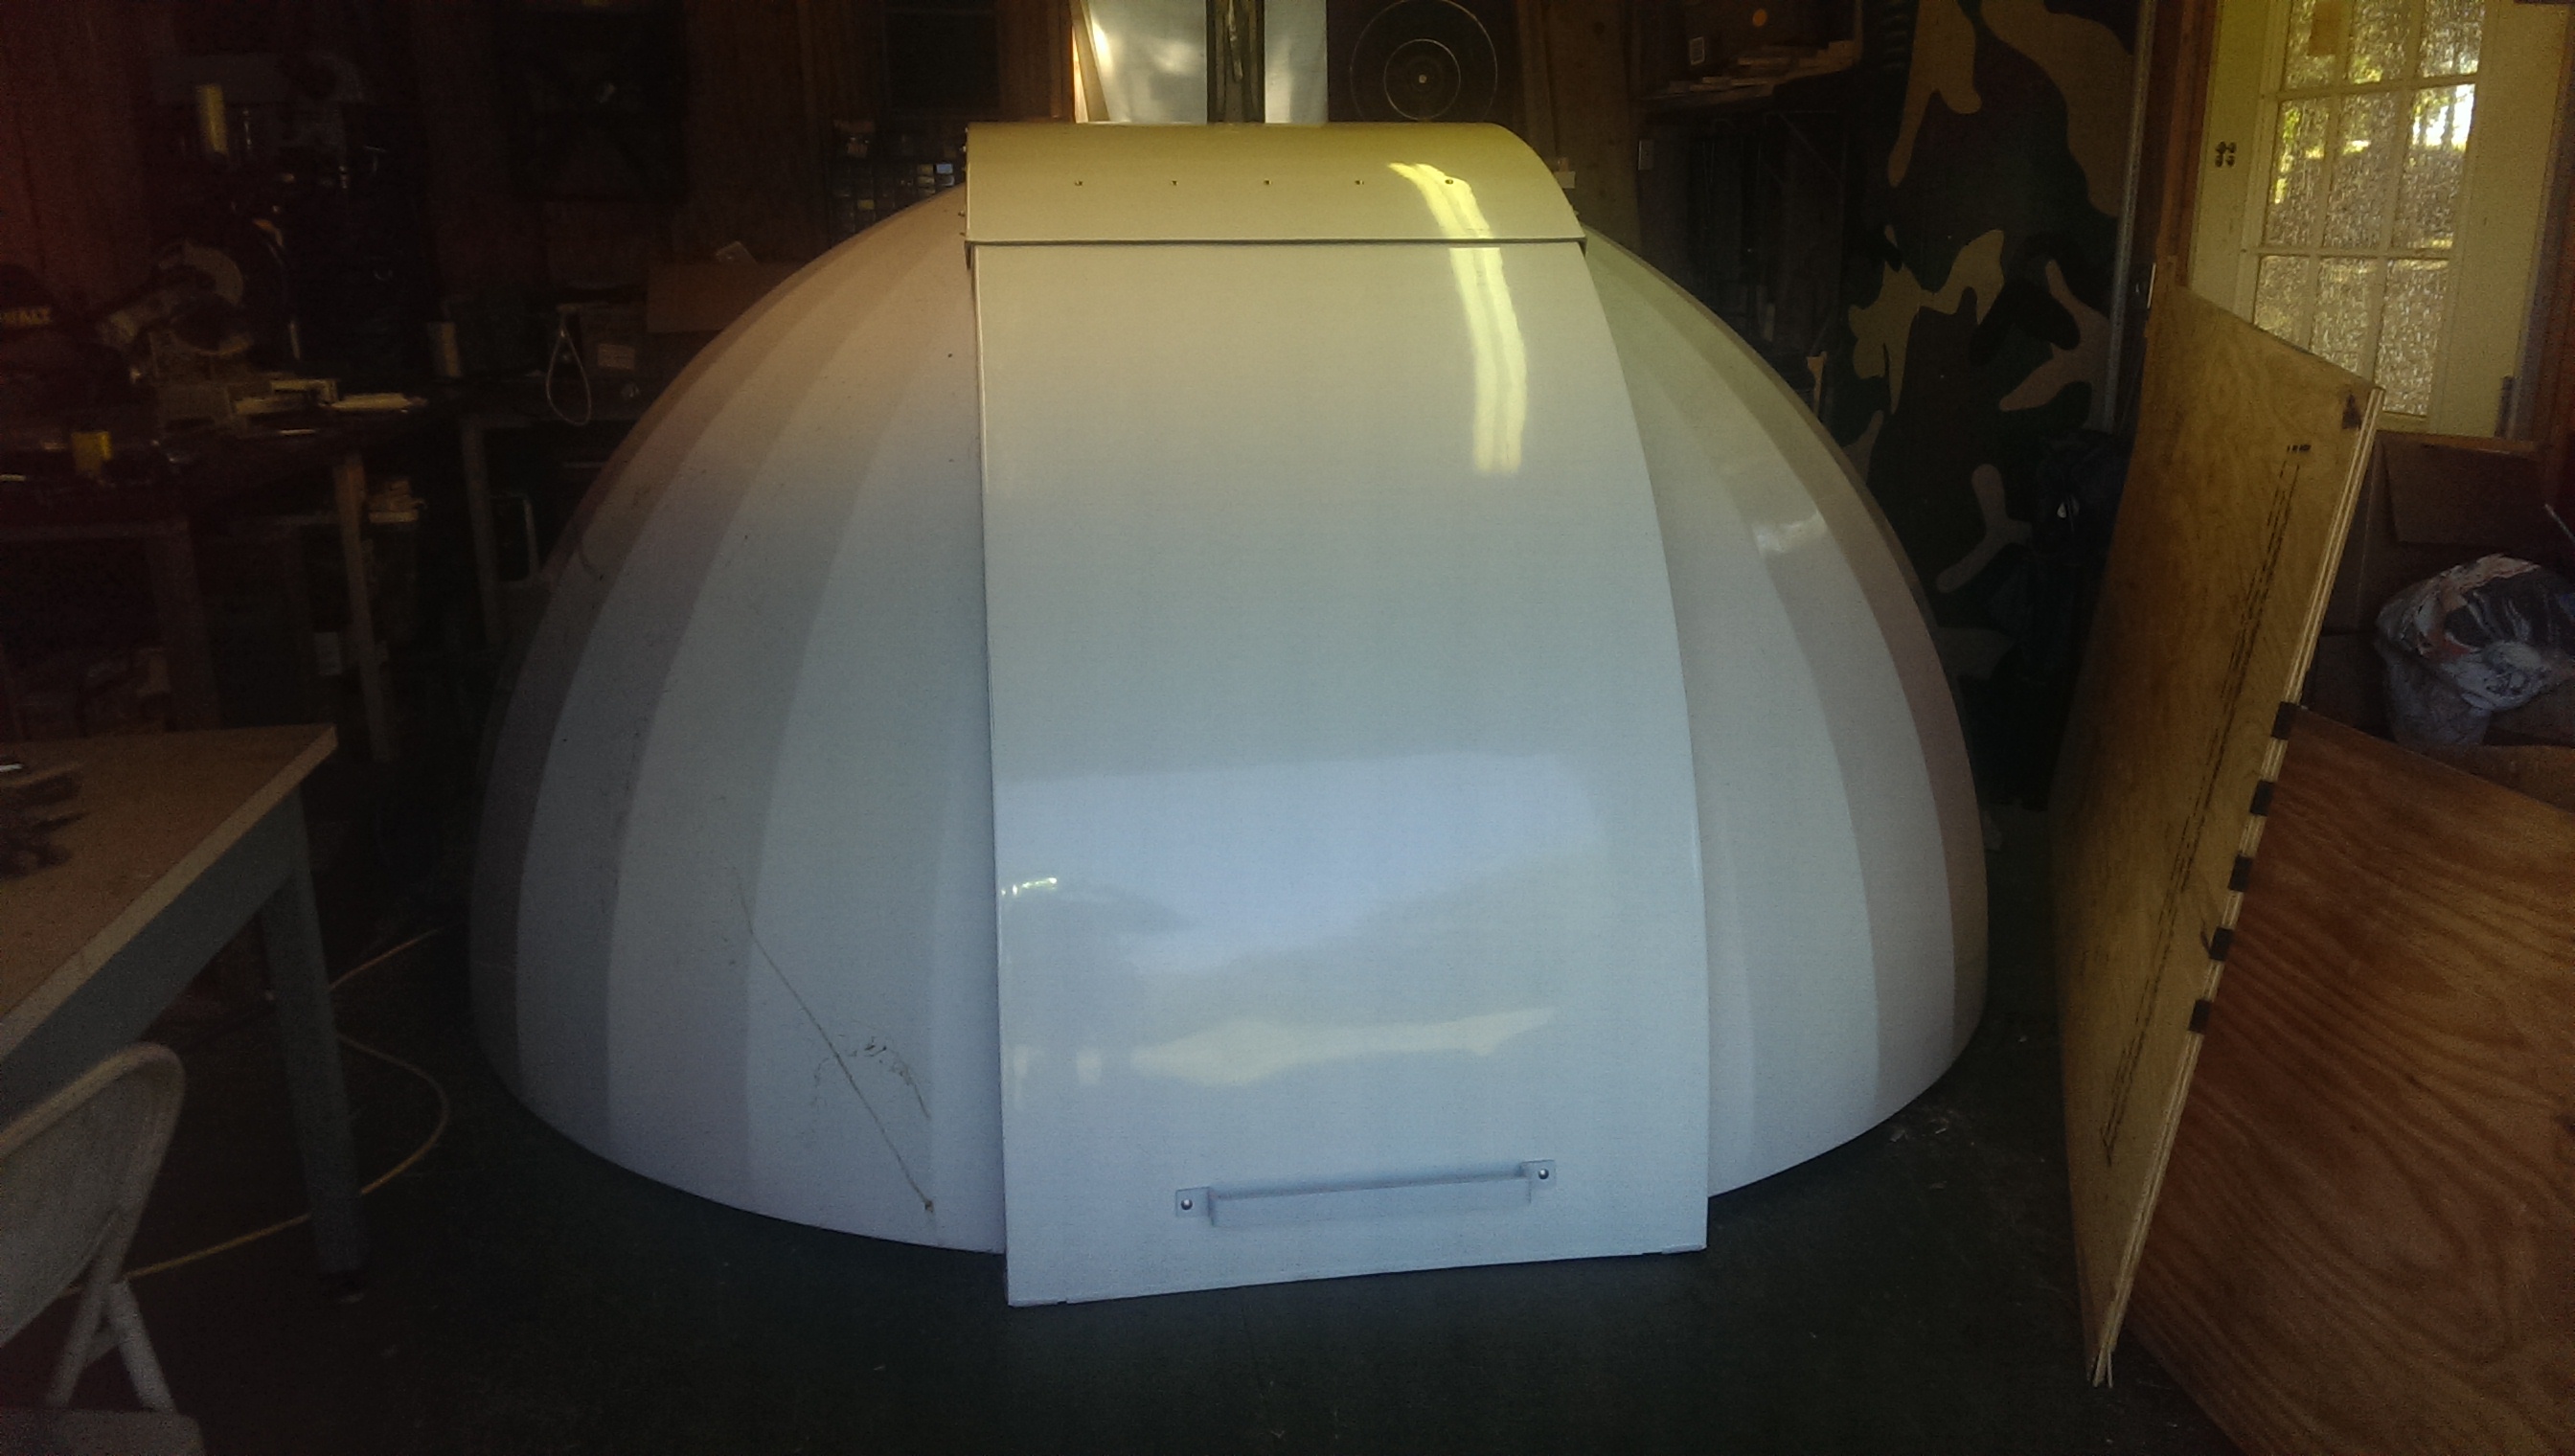
The next part of the assembly would be the dome itself. Because of the size of the dome panels and the finished height of the dome, I decided to assemble the dome on the ground with all of the various required parts and then disassemble the dome into larger sections for reassembly onto the DSR(dome support ring). My backyard shed was just big enough to allow assembly of the parts. I don’t know if it’s typical of all molded fiberglass panels, but the dome pieces required a little bit of work to fit them together properly. The bends where the dome quadrants met each were not square, so I had to use several clamps to force the pieces together and drill out the bolt holes to assemble the two halves. I worked from the bottom up bolting the two pieces to together, using the bolts to help pull the pieces together and repeated the process for the other half. Luckily the dome halves would stand on their own after they were bolted together.
The shutter system consisted of three pieces that nested within one another while the shutter was open. The back piece is mounted between the dome halves permanently and doesn’t move. Before assembling those parts, I had some hardware to mount on the shutter panels. I mounted the shutter motor to the back of the shutter. The shutter motor uses steel cables, projecting from each side of the motor to the top flange of the dome halves. These cables then run along pulleys mounted on each flange along the shutter opening. On each side the two cables terminates at the front end of the shutter on a special bracket. They are oriented in such a way that when the motor operates in one direction the cables pull the shutter up to the open position and in the other direction they pull it closed. Cable tension is maintained in both directions. I installed the pulleys on the dome flange and the brackets at the bottom of the front shutter piece, but the final assembly, running the cables and tensioning them on the brackets, was done after the dome was mounted on the building.
There were still other parts to be preassembled on the shutter. The front shutter piece rides on top of the dome flange as it opens and closes. I mounted long Teflon strips on these pieces so it would move smoothly along the shutter flange. The front edge of the shutter was a sharp edge, so the manufacturer provides a vinyl strip to protect it and hands that might get in the way. Fiberglass handles were mounted on both sides of the shutter for manual operation. I also had to mount the interlocking strips on the middle (top) shutter piece, along with brackets for the wind protection system. The system is designed so that the middle shutter piece overlaps the front and rear shutter pieces when it’s closed. The middle shutter uses two long heavy plastic strips that act as a glide when the shutter is opening and a lock them together when it’s close. The mating parts of the front and rear shutter pieces have slots in them to receive these strips. The strips are angled along the edge, so that they slip into the slot and under the other shutter pieces locking them securely together. There is no locking them together in the open position, as the front piece nest with the middle piece when the shutter is open. In order to keep the two moveable pieces secure in the wind, a spring loaded cable passes through the brackets mounted on the middle shutter piece earlier in the process. The cables were run through the bracket slots after the dome and shutter were mounted on the building.
Up until this time assembling the dome and observatory was rudimentary. Build a building to support it. Decipher the instructions. Put together the parts, piece by piece. Finally carefully measuring cutting, drilling and bolting together the dome components. Although the assembly was complex, all of the parts were manageable by myself, so there was no thought of damaging anything or anyone getting hurt. I knew mounting the fully assemble dome on top of the building would be hairy at best and disastrous at worst. The dome wasn’t heavy, 200-300 lbs. at most, but it was bulky and flexed when it was picked up. I saw a YouTube video where they used a crane with slings to place the entire dome structure on a building, but I didn’t like the logistics of going that route.
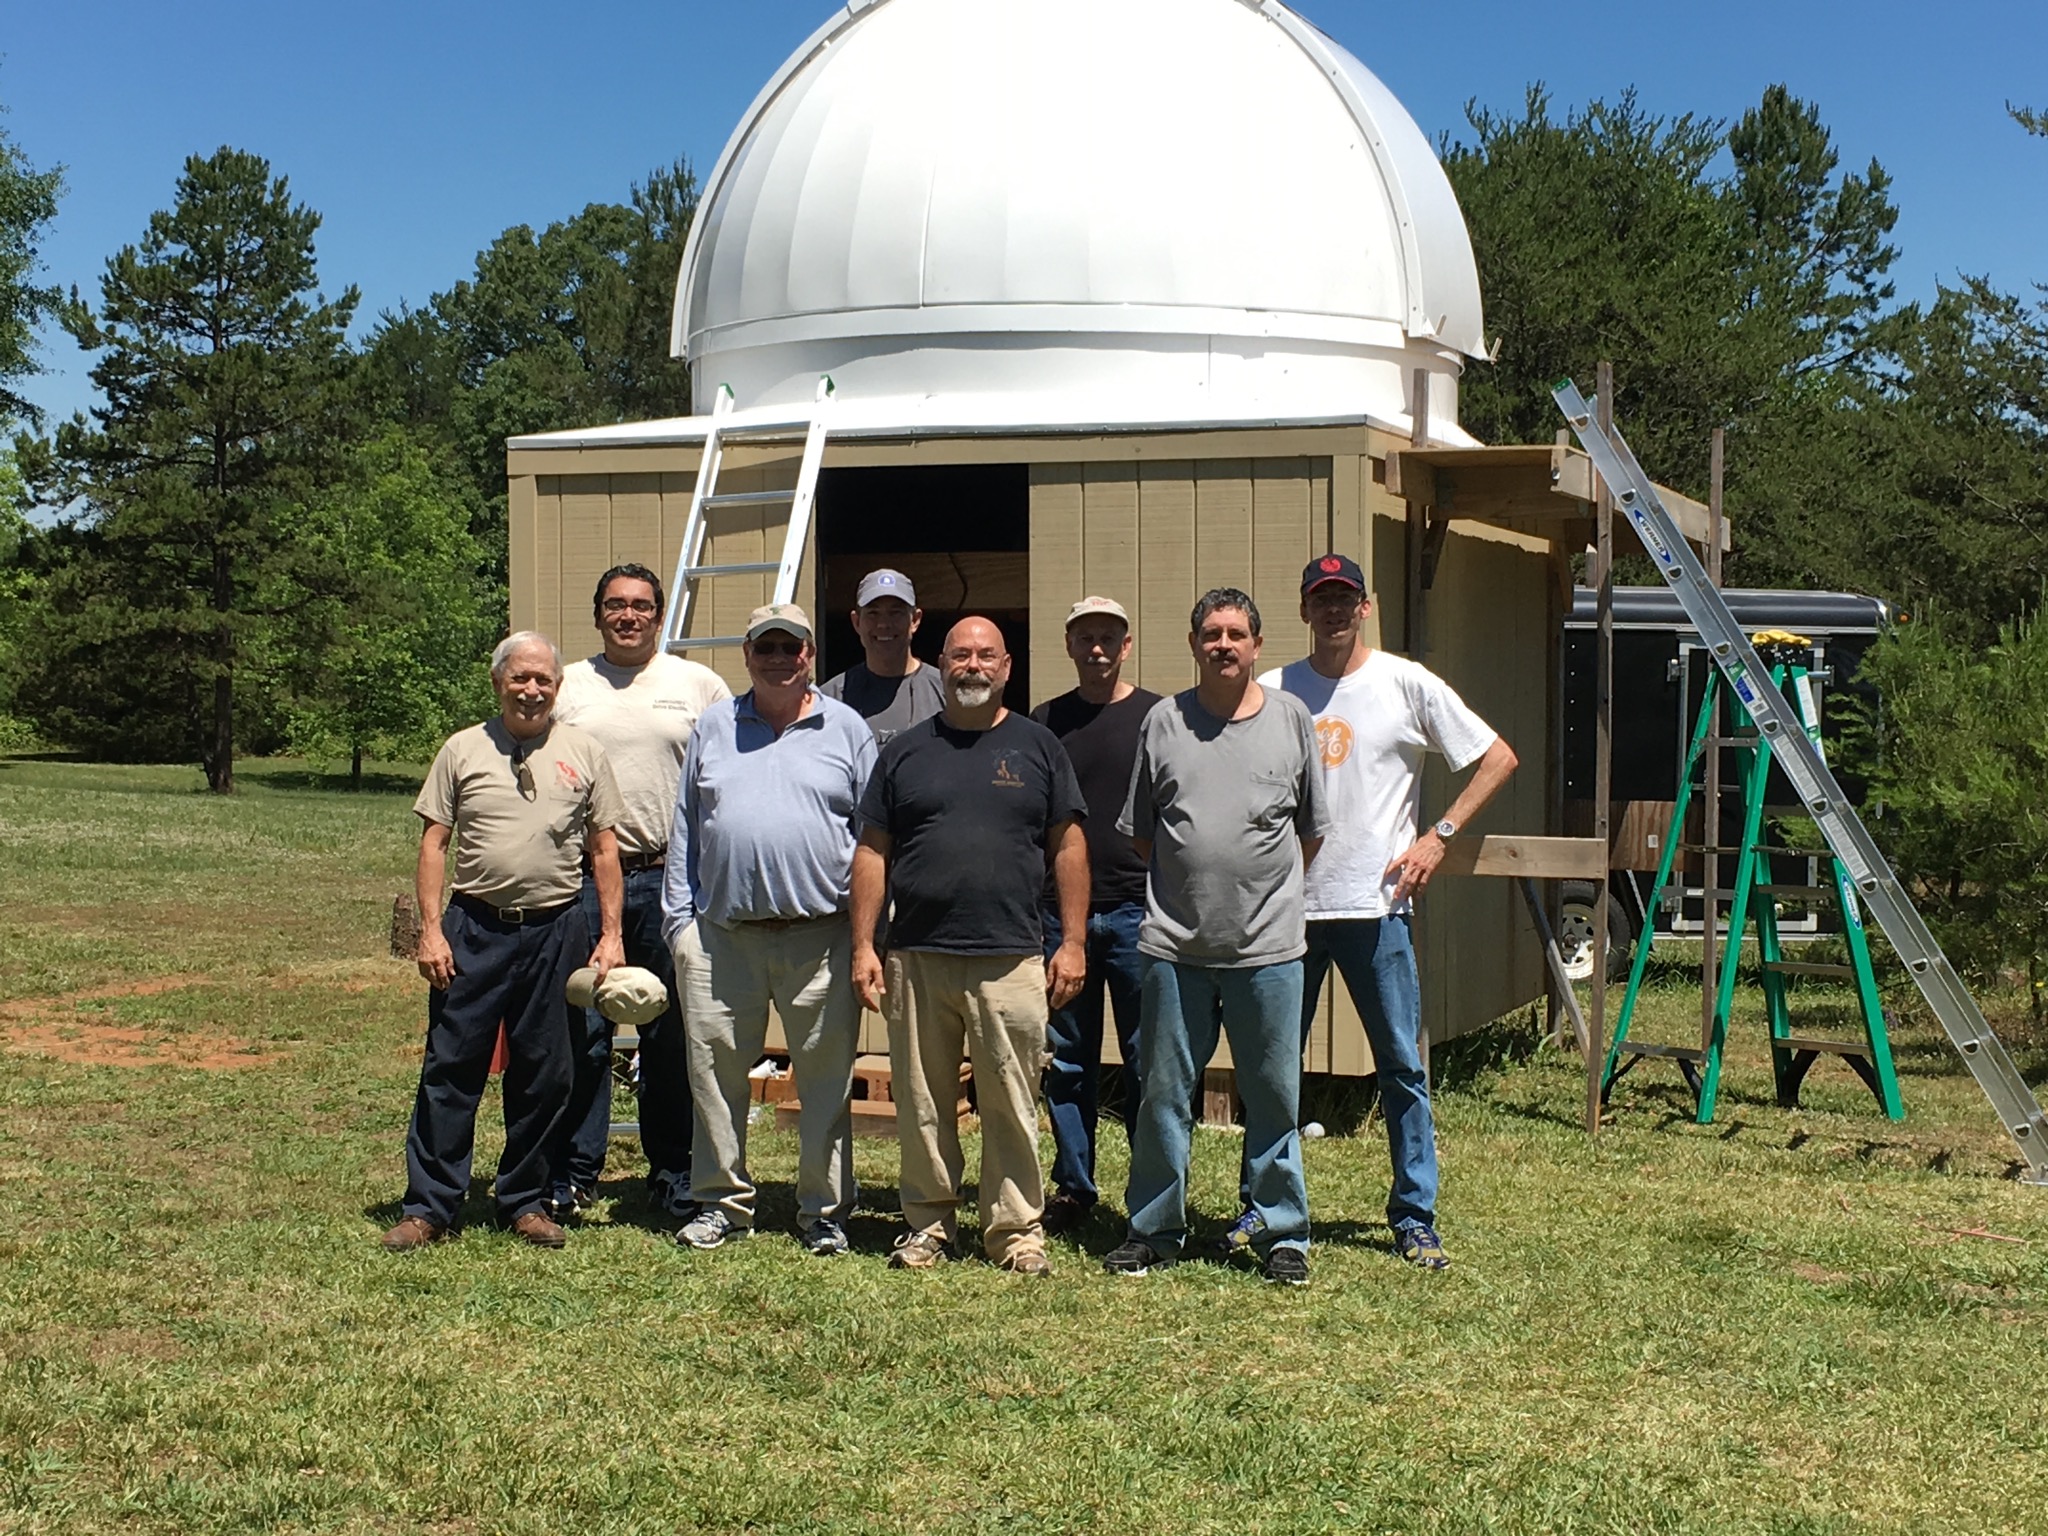
I decided the best way to mount the dome was to partially disassemble it, and install the parts one by one. In order to do this I would need extra hands. The manual suggested two to three people were the minimum to do it safely. Since I was mounting the dome eight feet off the ground, I figured the more hands the better. I put out a call for volunteers from the club (Roper Mountain Astronomers) and was overwhelmed by the response. No less than eight club members volunteered to help! This was great. A friend once told me “Many hands make light work”, and he was right. The goal was twofold. Get the dome up without any damage, and, no one gets hurt. I always took pride (and relief), that in my 25 year career with the NYC Transit, not one of the people who directly reported to me, was ever injured on the job. That wasn’t going to change now.
To make the dome easier to lift and mount I broke down the shell into two halves. Each half would be raised and maneuvered into place, and held to the dome support ring (DSR) with duct tape while the other pieces were put into place. This was acceptable because, by themselves, the dome halves would stand upright on their own. Obviously something so big would catch the wind easily with just duct tape in place, so the day I picked would have to have little or no wind in the forecast. It also had to be a Saturday so it wouldn’t interfere with most people’s work schedule. It was a warm spring day we went about installing the dome. The weather called for sunny skies and light winds until one pm when the wind would pick up to 12-13 mph. This made me a little nervous, but I was pretty confident we would be finished by then.
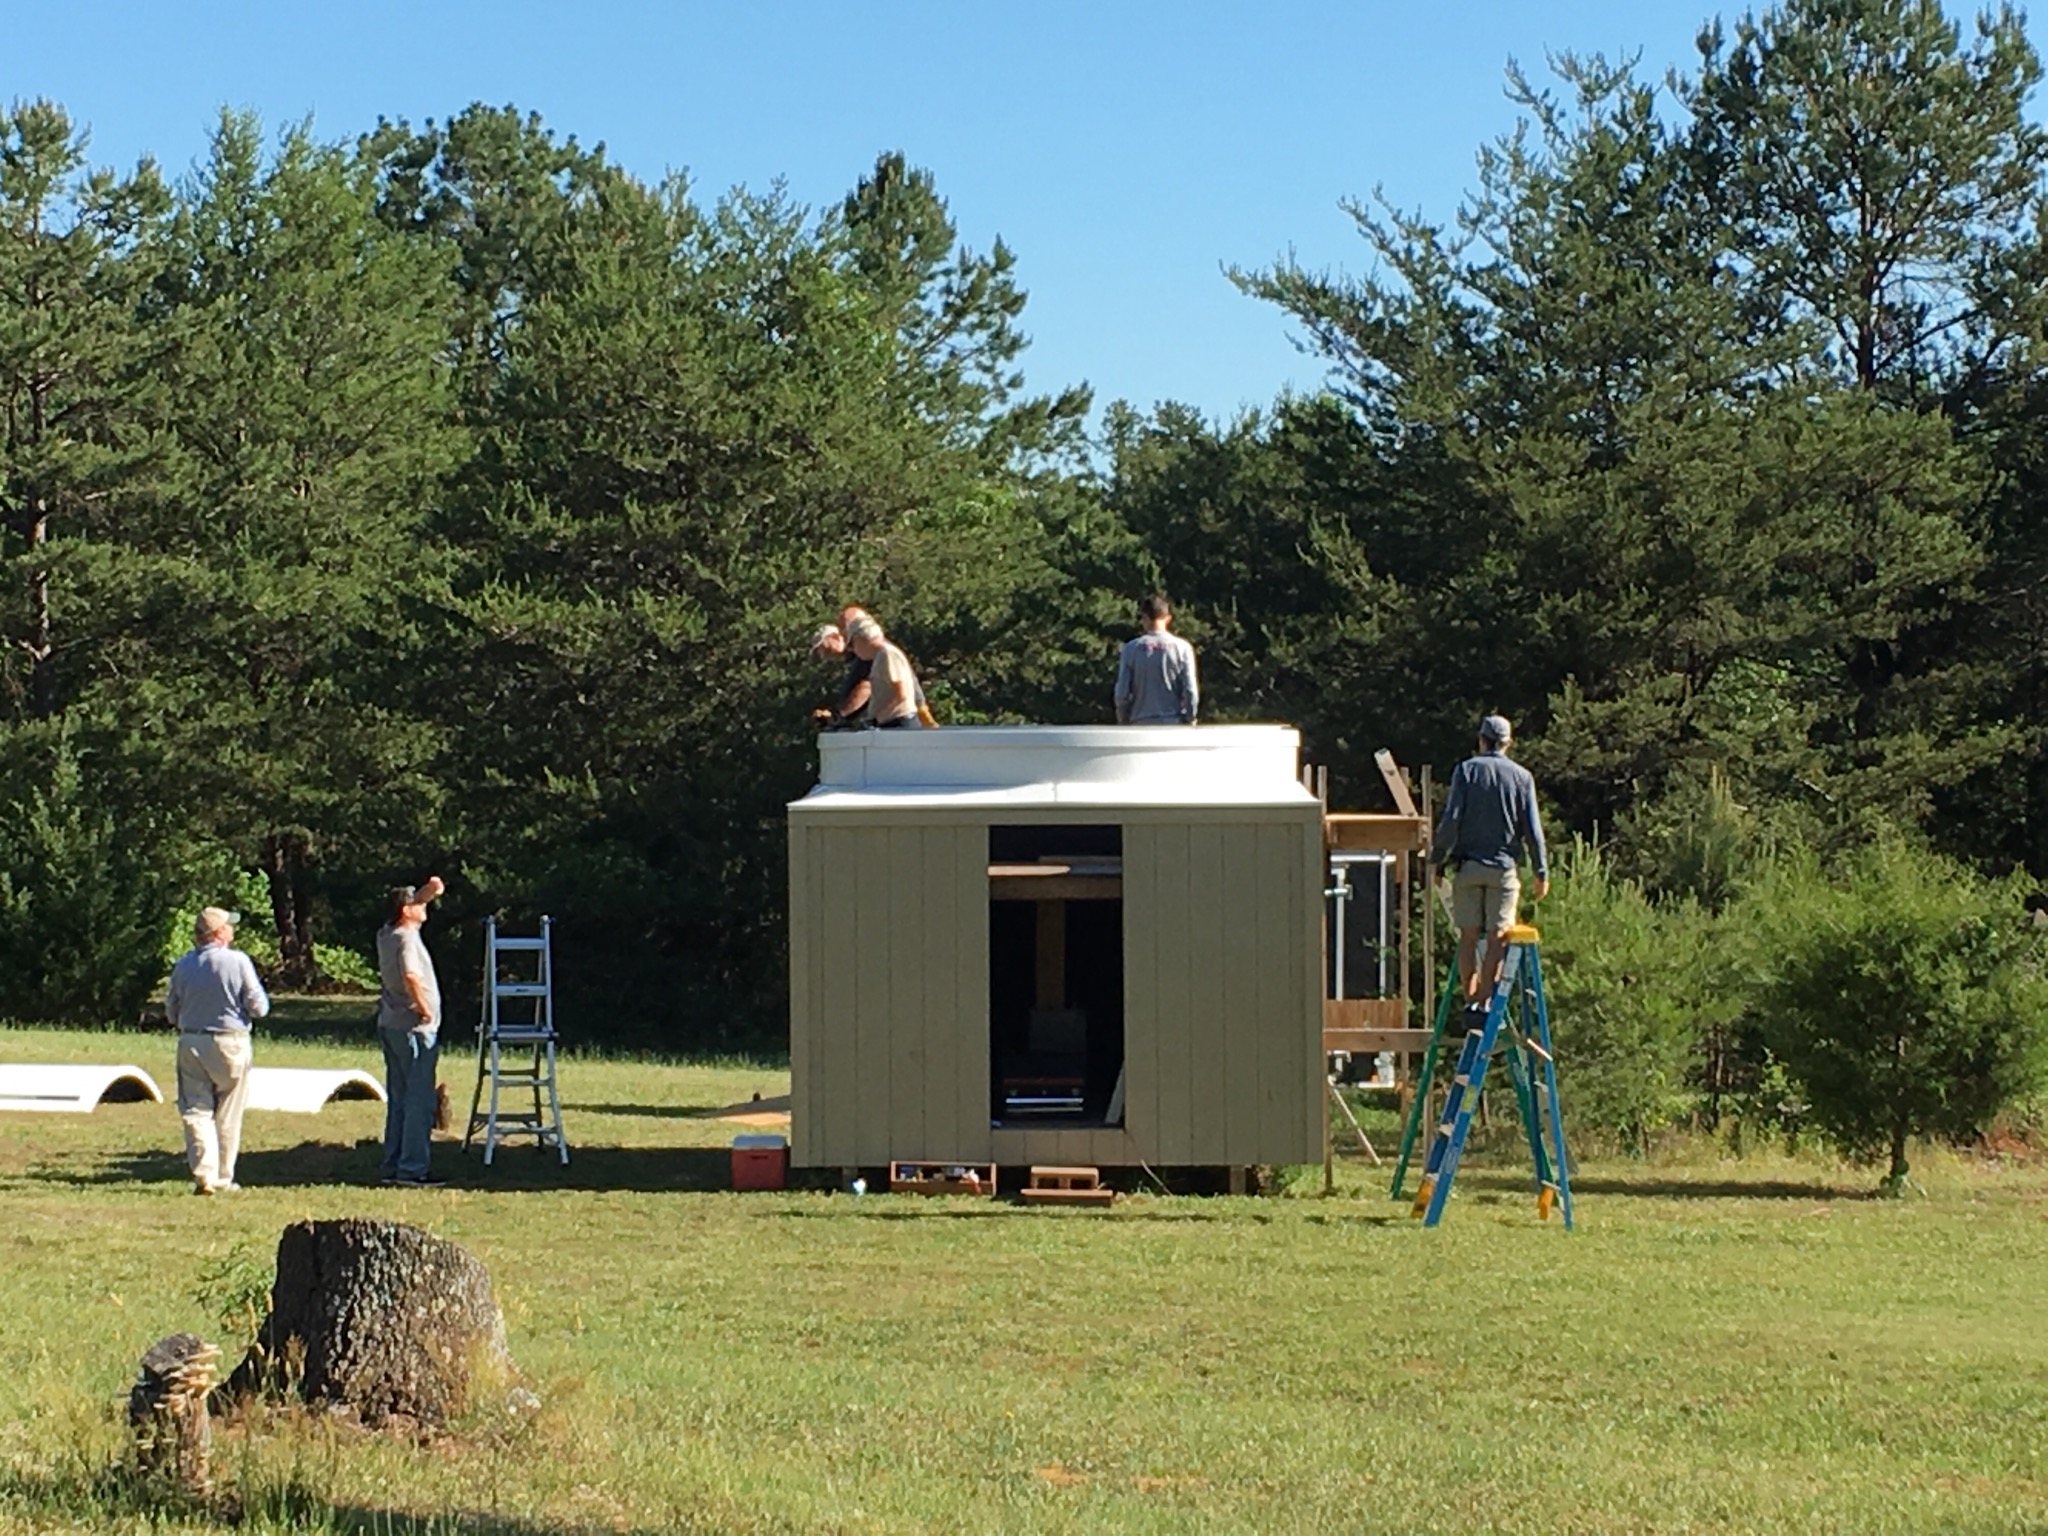
The guys came over early, and my wife Christine laid out a nice breakfast of muffins, fruit and coffee. After breakfast we went to work. I tend to suffer from the paralysis of analysis, and I’m glad this day was no different. I went over in my head again and again, each step in the process of reassembly, right down to the size sockets that would be needed to bolt parts together. This made it easier to answer questions and allow others to do one part of the operation while I did something else. After giving a tour of the observatory construction to this point, I gathered everyone together and explained how the dome had to go together for everything to fit and work properly. I marked the DSR with the position of the domes halves allowing the proper space for the rear shutter panel to be bolted between the two halves, and in the front so that there would be the correct clearance for the movable shutter panels to slide easily. I assigned different tasks to sets of people and explained everything in detail, right down to how we were going to pick up and lift each of the panels into place and secure them with the duct tape. I was very appreciative that everyone listened and accepted my instructions without presenting alternative ideas on how to do a task. Many of those present had excellent mechanical skills and I let them do their thing once they saw how it should be done.
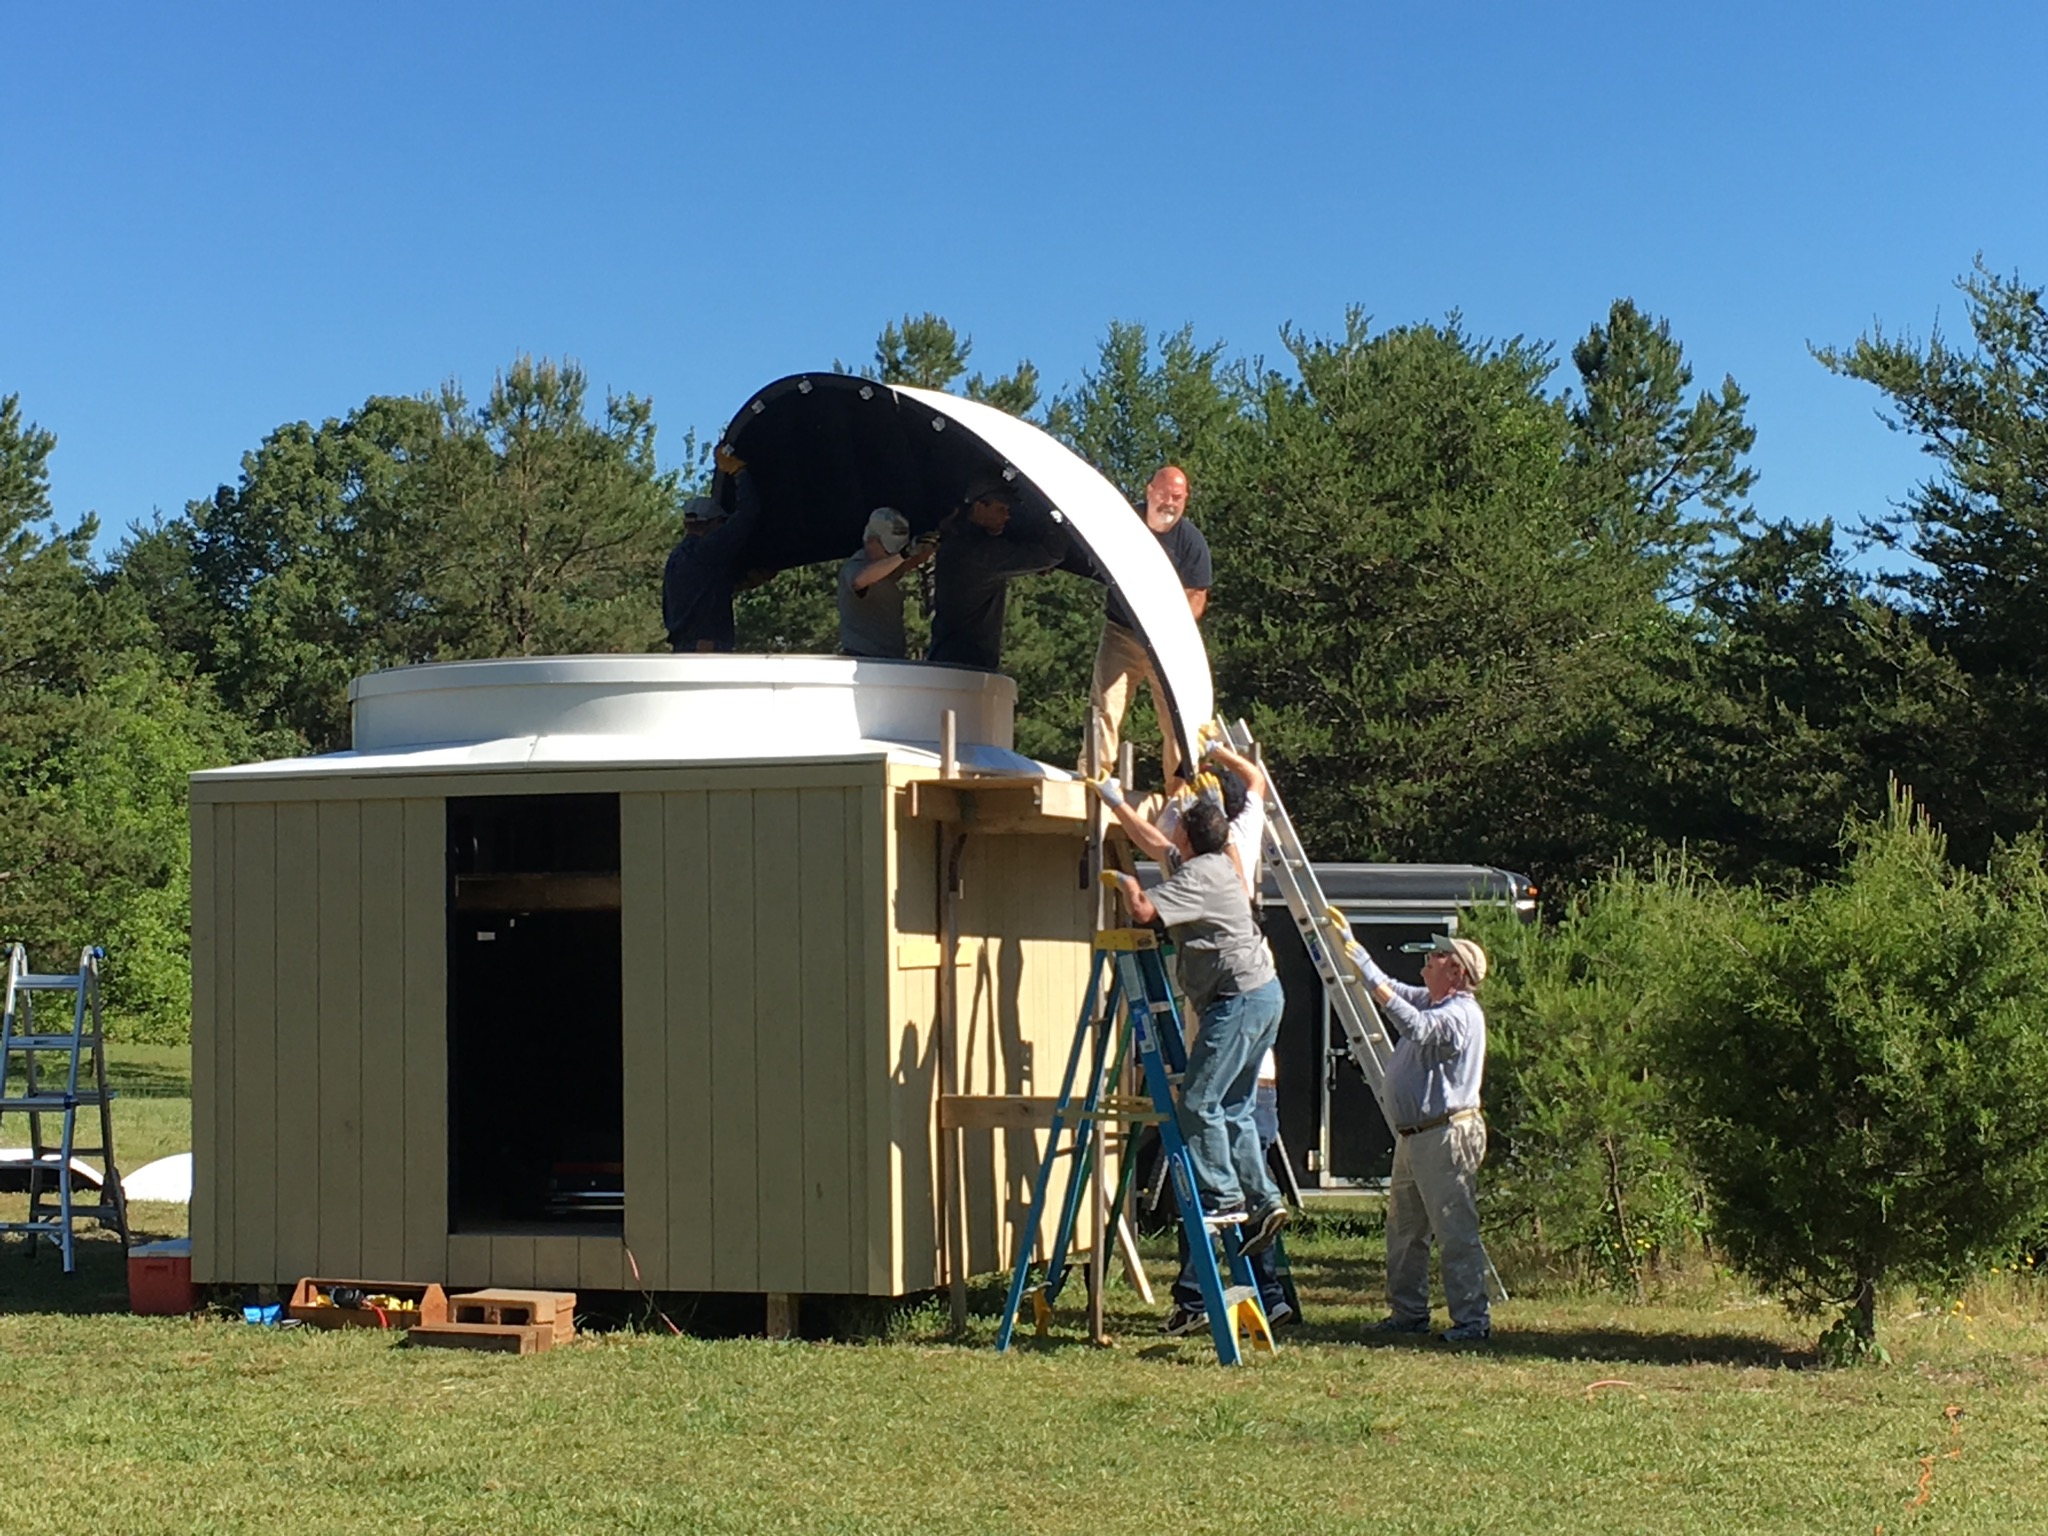
With a group standing on the scaffolding built inside the dome, me standing on the exterior scaffold, and several people on the ground we began. As the pictures show, the bottom crew handed the dome half up to me, where I transferred it across the base ring to the guys inside who placed it into the proper position. Once in place, James used duct tape to temporarily hold the piece in place while we repeated the process with the other half. After the two halves where in place we bolted the permanent shutter panel in place at the back and the spreader bars on the front to hold the opening spacing. Next we took careful measurements to make sure everything was placed properly and then began to bolt the dome to the DSR. There was an access hole in the base ring that allowed us to drill through both the DSR and dome flange to bolt them together. The tricky part was that we had to countersink the holes from the bottom so they would not catch on the wheels as the dome rotated. After bolting the four points next to the dome opening and back shutter, we rotated the dome to make sure it rolled easily, and didn’t bind up against the base ring. All was good so we proceeded with the rest of the bolts.
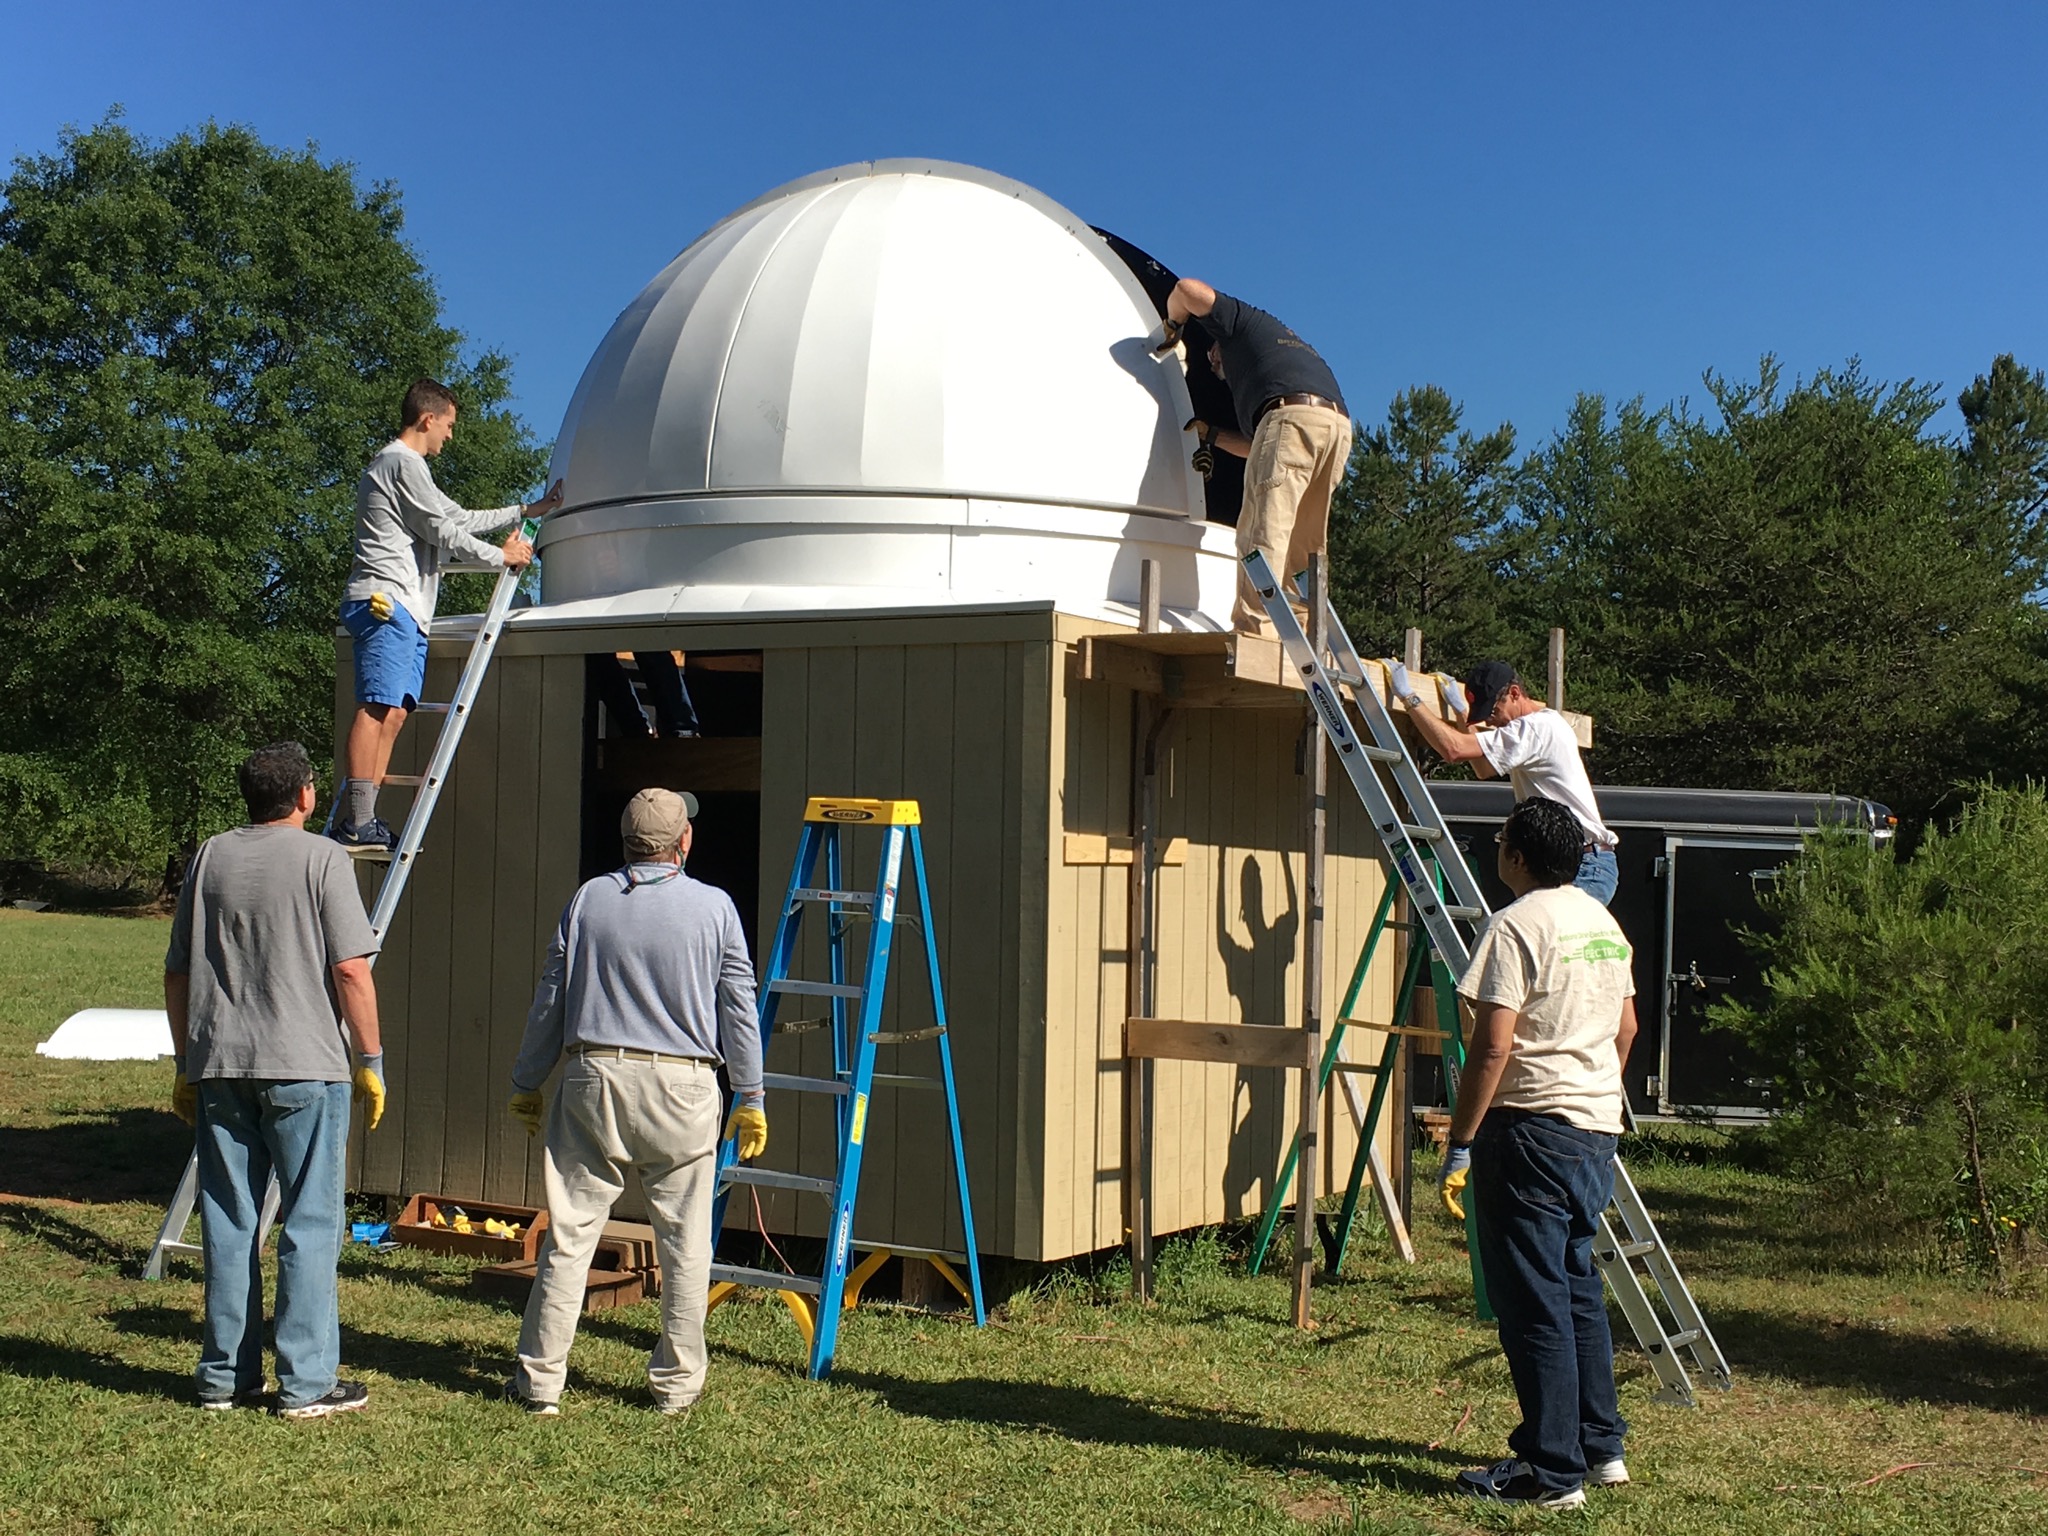
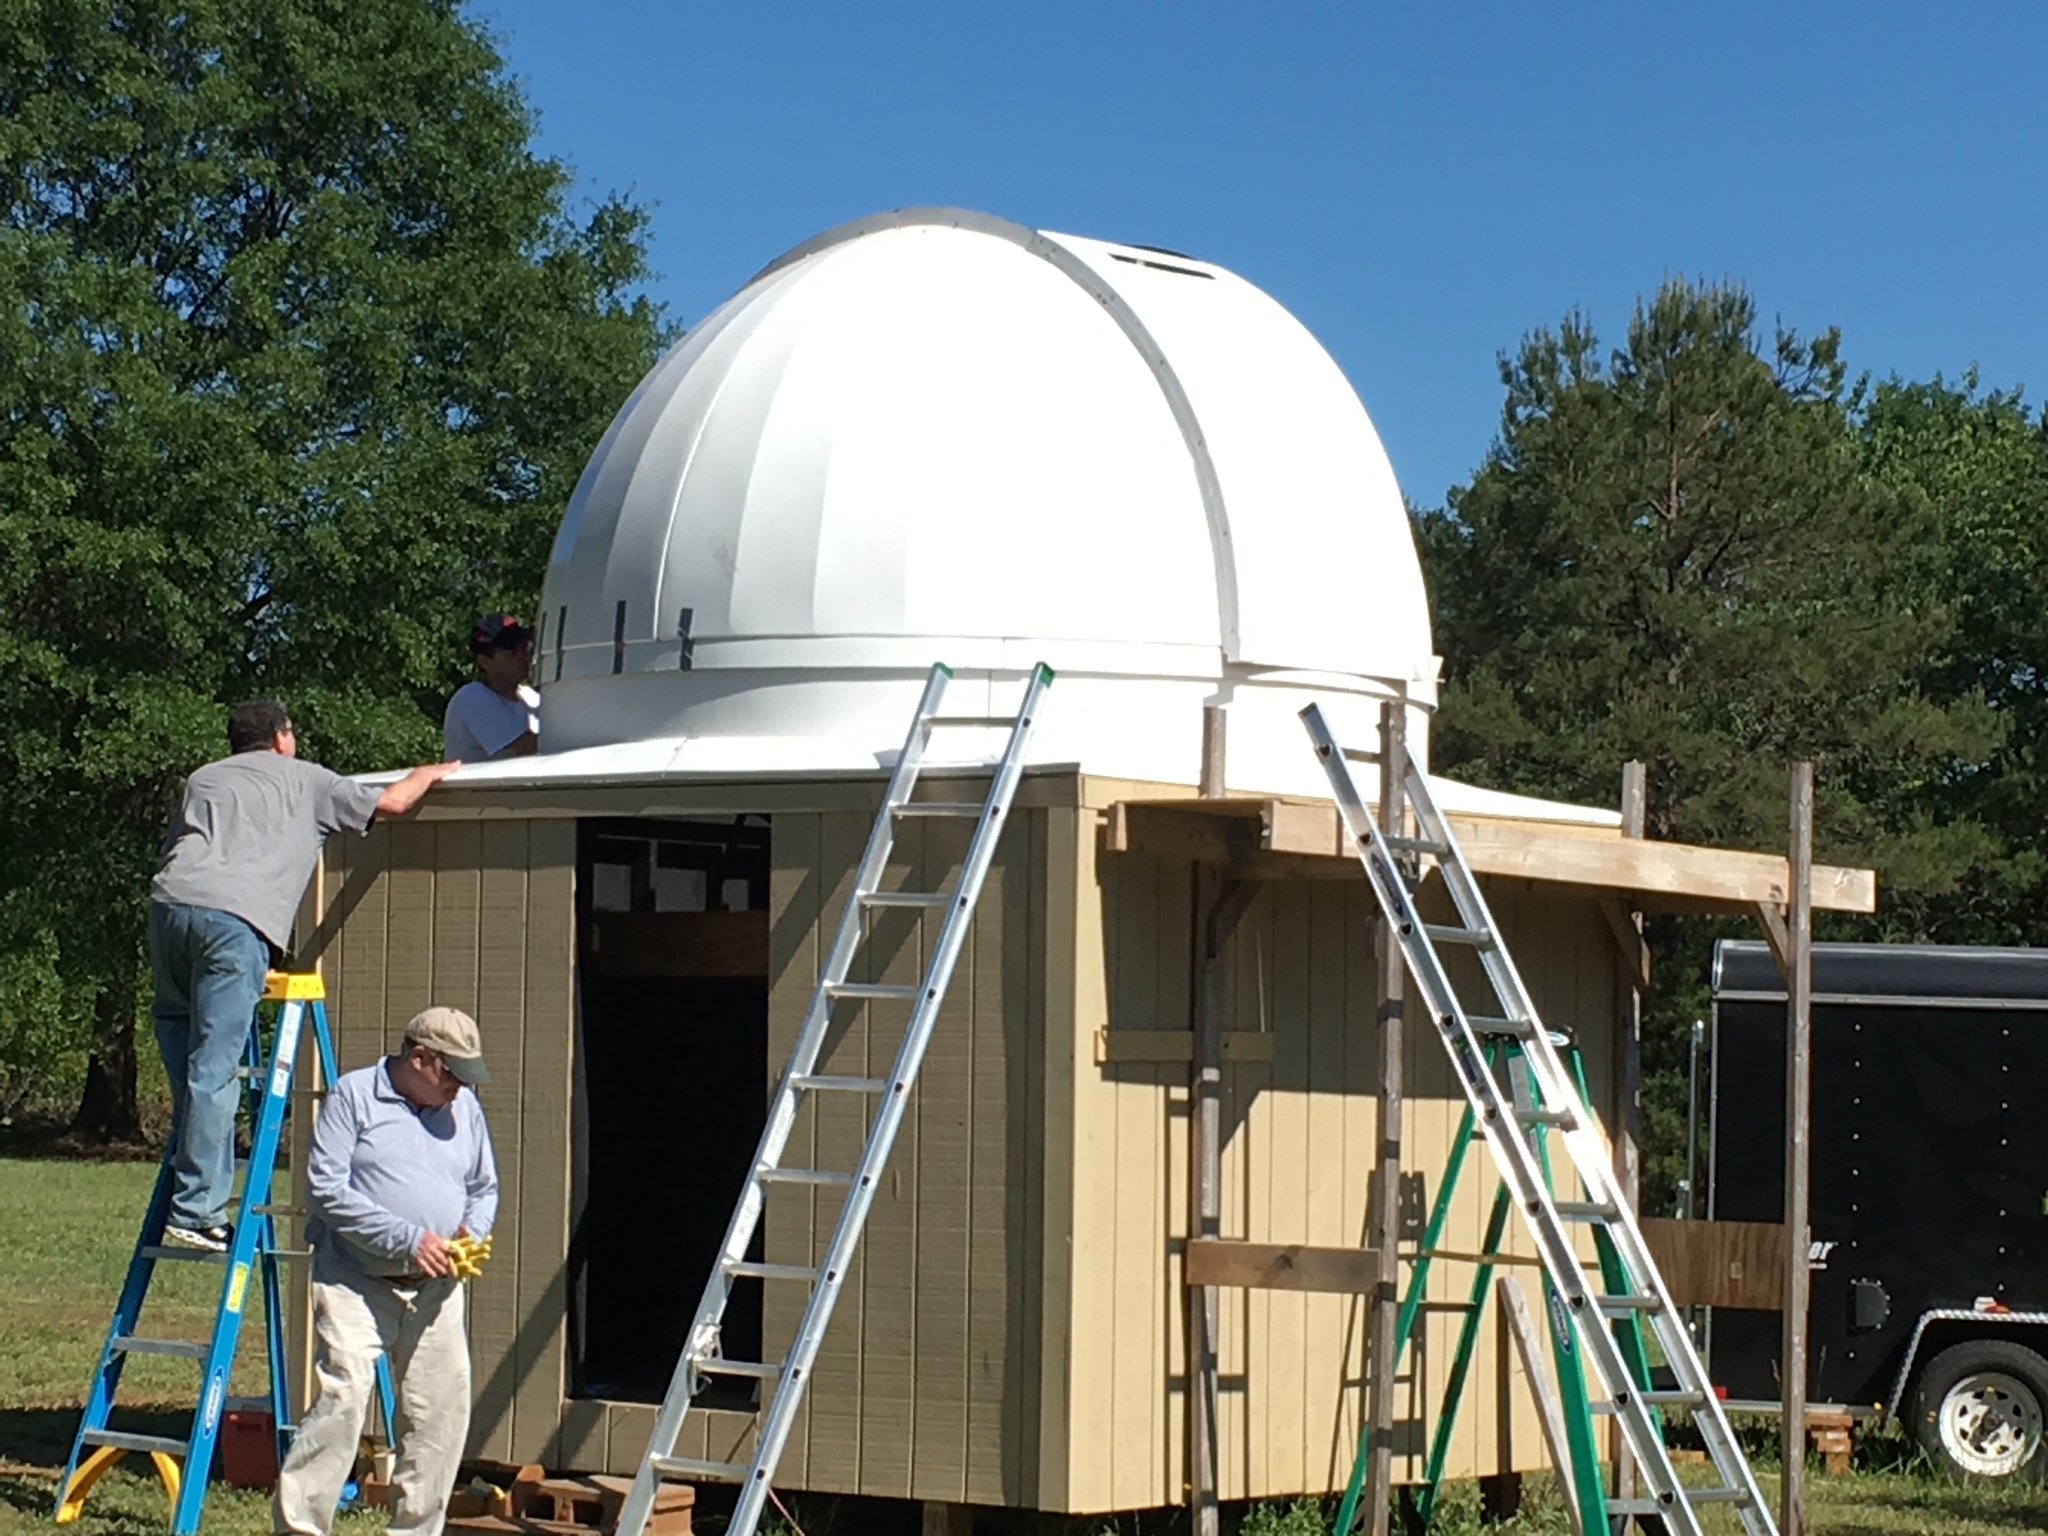
After completing that portion, the final assembly to close in the observatory was to mount the two movable shutter panels and secure them with the restraining wire. As previously discussed the movable shutter panels had plastic strips, that when the shutter was closed, would lock the parts together pretty securely. But, when the shutter was open, those parts would just lay in a bracket at the bottom of the permanent shutter panel. So, to insure that the open shutter could not be blown off the dome, braided metal wires were run on either side. These wires mounted at the front and back of the dome and ran through brackets on the top shutter panel that would hold down the shutters if the wind picked up while they were open. After checking that the shutter opened and closed smoothly, we were finally done.
The operation went as smoothly as it could possibly go. In total, it took us 3.5 hours to complete the assembly. We finished just in time as Christine had lunch ready to eat. I could not possibly have gotten the dome on if not for the generous support of the club members who helped. Again, I would like to thank Tim, Michael, Lee, Vick, James, Jasprit, Vince, and Frank for their help.