
My Paramount MX+ mount was ordered specifically to be installed in the Transit Dreams Observatory, once I complete it’s construction. Since I decided to wait for the summer heat to break before continuing on building the observatory, the mount has been sitting here on the floor in my house. I decided to set it up in my telescope room in the house to check out its operation and learn to use The SkyX.
It wouldn’t be safe to mount it on the steel pier I bought without bolting the pier to the concrete floor. But, that wouldn’t go over to well with the wife, so I designed an alternate means to check it out.
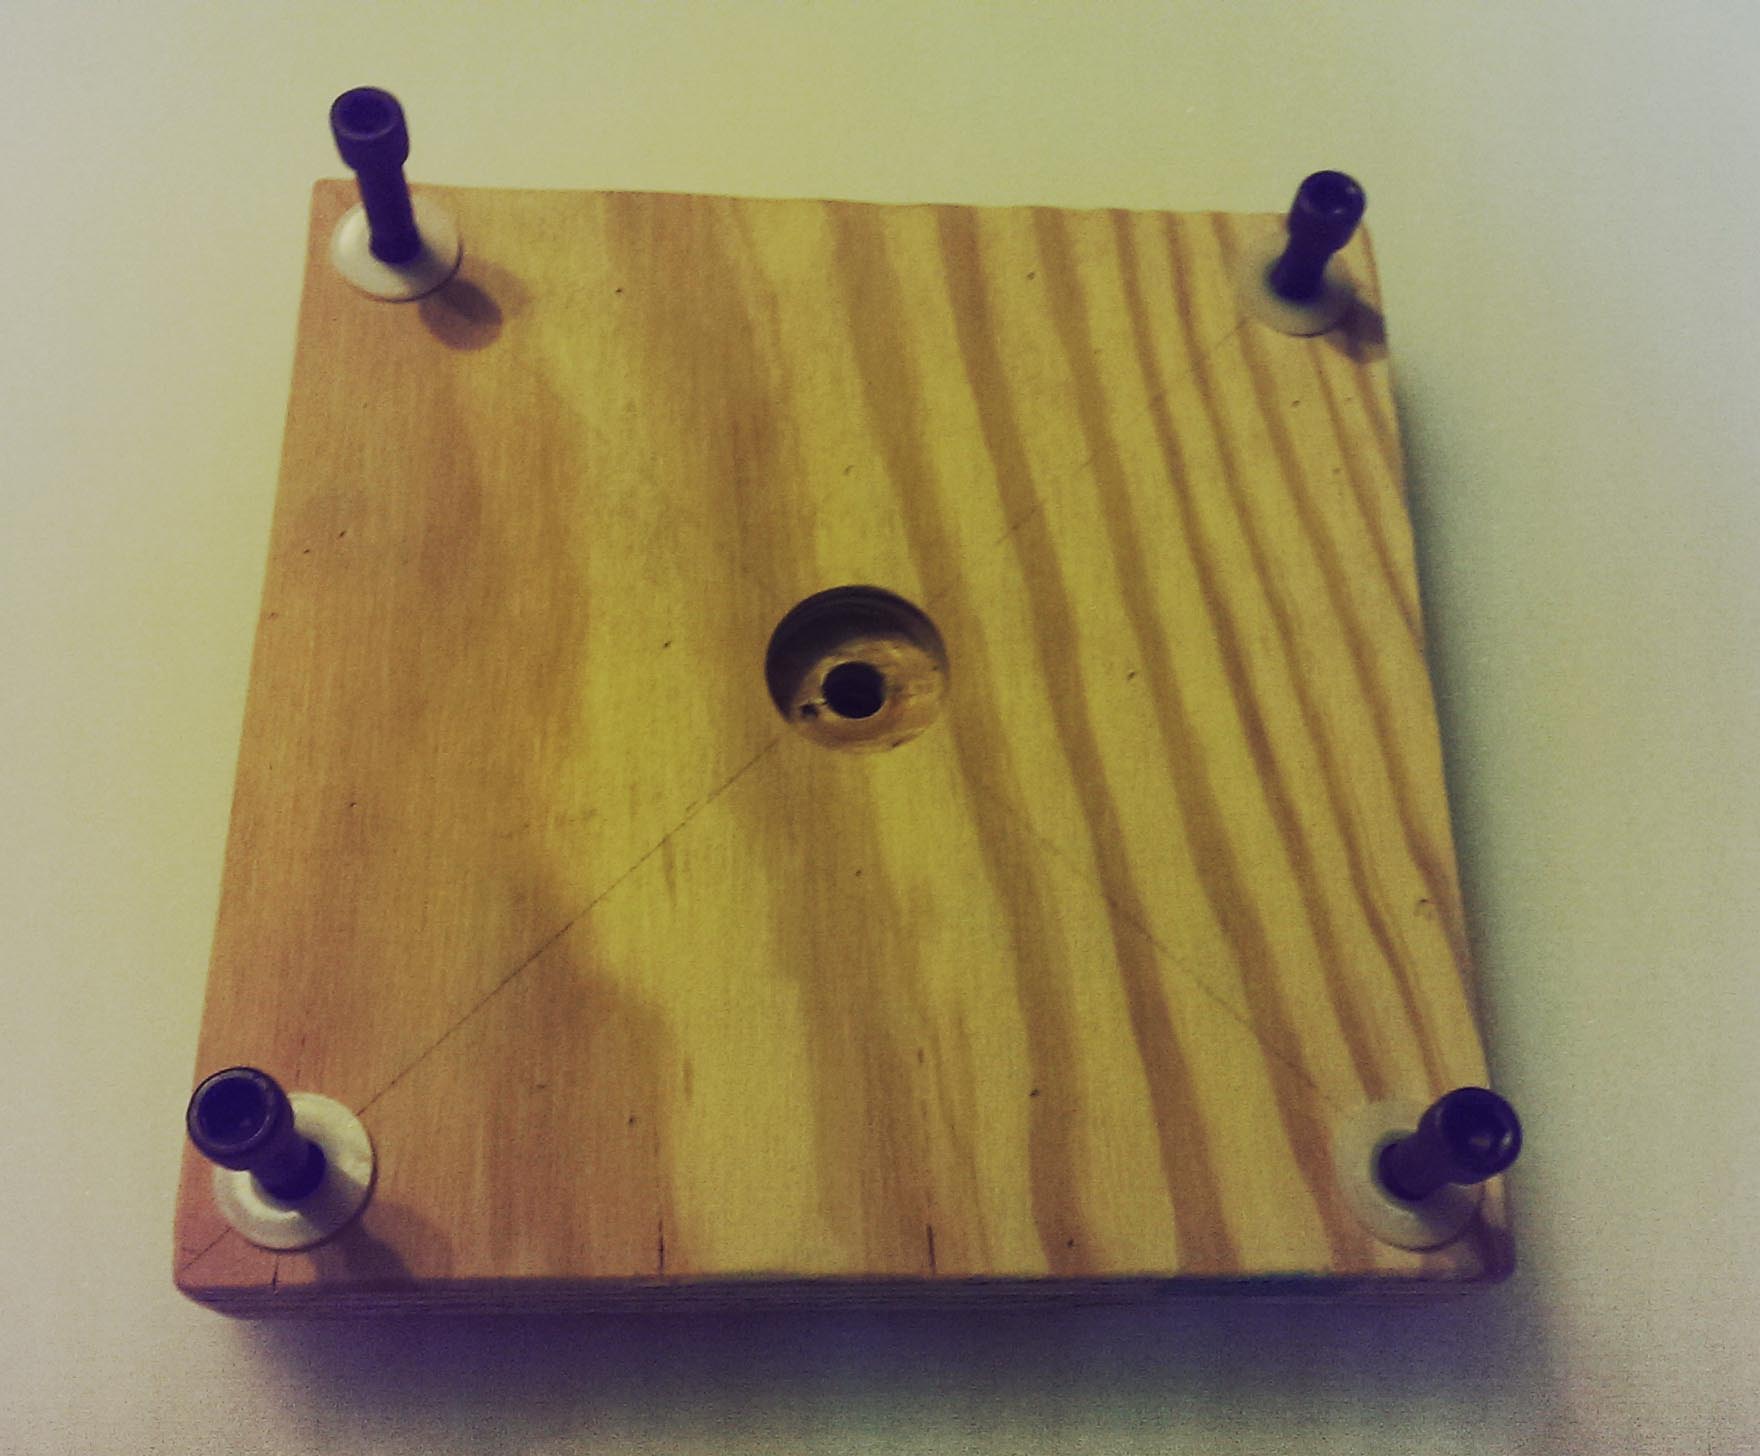
MX+ Adapter plate
I have a Celestron CGE Pro tripod I picked up from my club in NY, and made an adapter to mount the MX+ on it. I glued two pieces of ¾” plywood together, and mounted T-nuts to match the hole pattern of the MX+. I then drilled and counter-bored a hole in the center of my adapter to bolt it to the tripod, while allowing the base plate of the mount to lie flat upon it. I used 3/8”x24 cap screws with nylon washers so I could attach the mount to the plate without marring the finish. I mounted the 5” refractor and balanced the mount with cameras, etc. attached. (see equipment)
I practiced homing the mount, slewing to objects, setting up my meridian delay position, and setting up the park position for the scope. I also learned my way around The SkyX, setting up my menu bar buttons and learning how to create observing lists, and set up equipment configurations. I also worked with the camera add-on, creating my dark library for photography, and checked out the manual operation of my Moonlight focuser.
This past week was the first time the weather allowed me an opportunity to get it out under the stars, check out its performance, and start the learning curve of making everything work together. I was hopeful of learning the process of aligning the mount, sorting out T-point, and working with the camera add-on.
My first order of business was aligning the mount to the pole. Since I did not buy the $2000 tripod I did not have as much flexibility in aligning the azimuth of the mount. I did my usual routine of using a smart phone compass for initial set up. I was close, but not close enough. The MX+ has adjustability, but it’s limited. While doing the rough polar alignment routine, I found that the pole was just beyond the azimuth adjustment capability of the mount. I ended up rotating the loaded tripod a few degrees to make it work. Of course, I had to re-level the mount. I expected the T-point routine to be more complicated, but after a couple of rounds, I got the hang of it,(thanks to Richard Wright and his YouTube videos). I had setup my camera equipment configurations ahead of time, so I was able to use the camera to solve the fields. Some haze and passing clouds interfered with some of the model points, but I found by increasing the exposure length to 16 seconds, most of the plate solves were successful.
I ran a 12 point model, followed the recommended adjustments and then did a 25 star pointing model and adjusted again. I’m not sure if I needed to do anything further after mechanically adjusting the mount, but I found my slews put the object in the field of view of the camera, and the closed loop slew feature solved the image, and moved the mount to put the object dead center in the field.
The camera add-on that came with The SkyX will take some getting used to. In the past, the bulk of my Astro-imaging was done with a Canon DSLR and a software capture program known as BYEOS (Backyard EOS). It was relatively easy to use. When I got my new ccd camera I started working with Maximdl. It’s more complicated, but is full of useful features. The SkyX camera add-on is not a complex as maxim, but it doesn’t appear to share the same features either, especially with multiple images and filters. Maybe it’s just the layout of the program I need to get used to.
My goal for the software end of this adventure is to be able to get what I need image wise, without the complexity of having 4-5 different software packages work together without hiccups. If I can get that out of the camera add-on it would be great.
Another part of the learning curve is the motorized focuser and @Focus2 software within the SkyX. I was going through the features trying to figure out the software when it took over and started taking pictures and adjusting focus.The end result looked pretty good, but I have no idea how it started (I must have clicked something somewhere). This one will take more research.
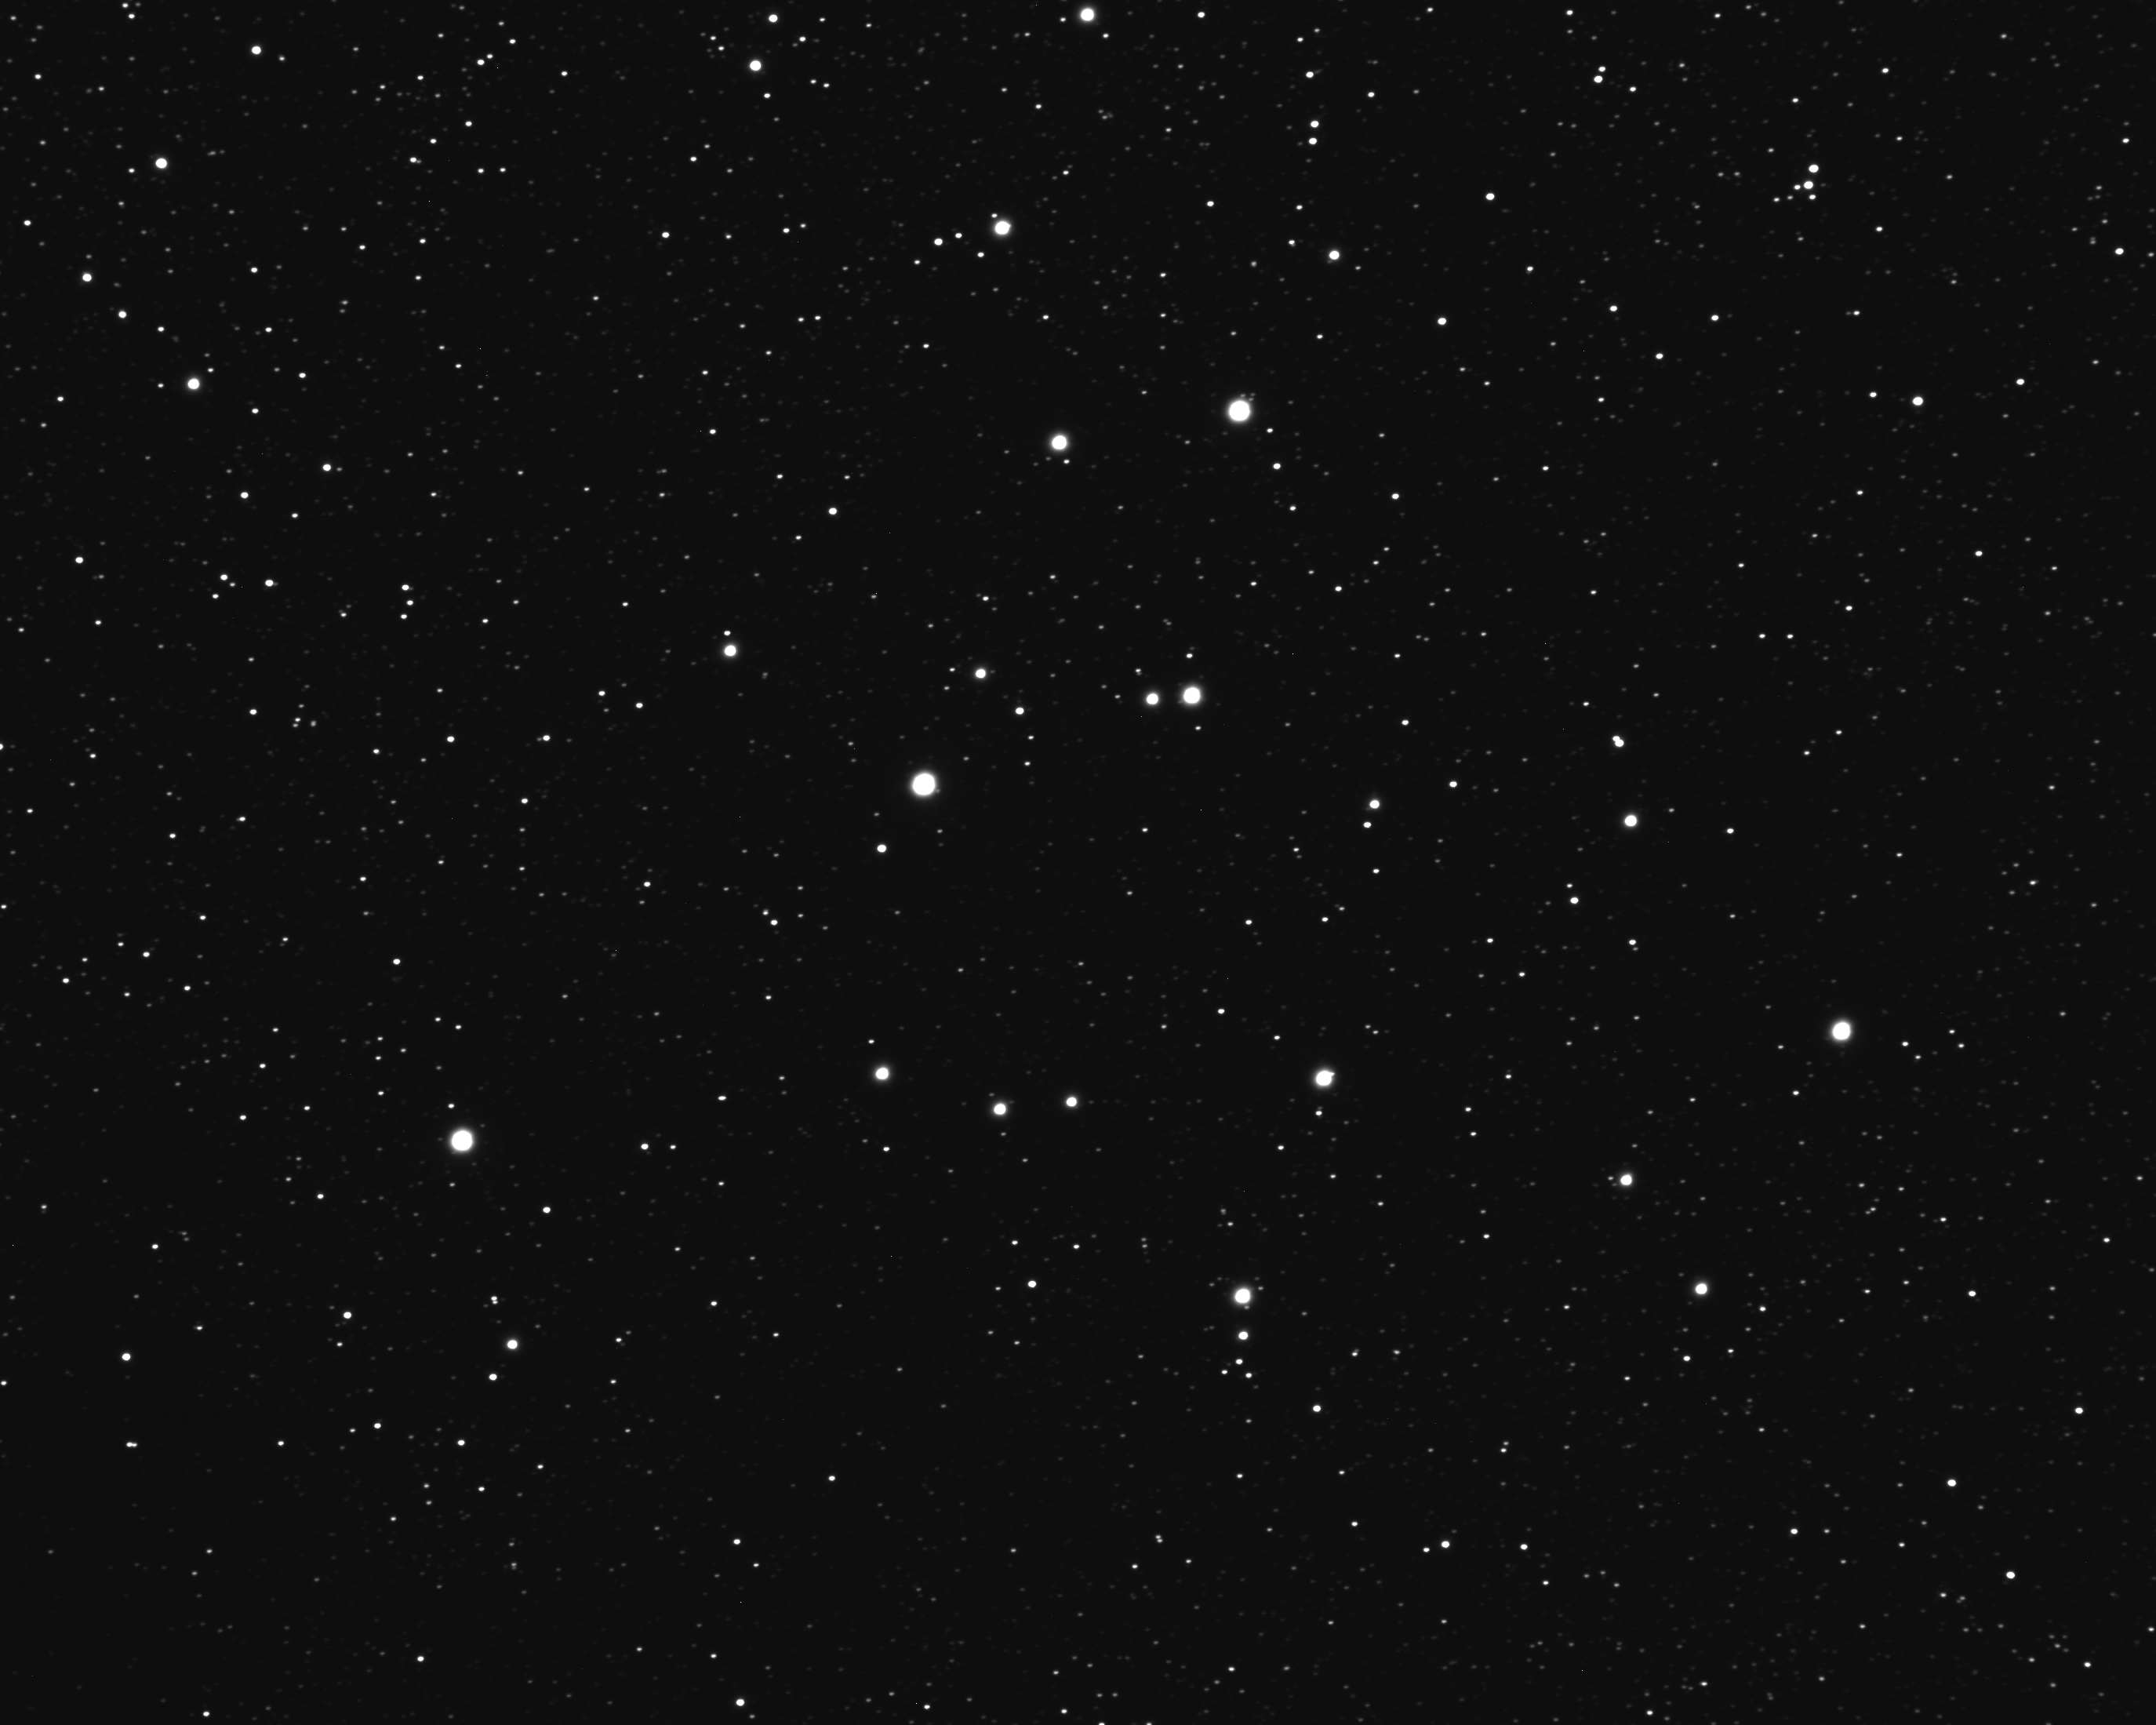
M 39_600sec_uncalibrated
I was able to capture basic images with the program without issue. I took some test shots of various objects, and some showed a small amount of trailing while others produced rounder stars. The image of M39 is an uncalibrated 10 minute sub frame with the luminance filter in place on the Atik One 6.0 camera. The field is 45’ x 36’ in size @ .98 arc sec/pix. This was the best unguided shot.
My one serious issue with the software was my inability to get it to guide. Each attempt brought an error message and a failure to calibrate. I have to do more investigating to resolve the issue. It’s probably somewhere in the parameter setup. I did skip the calibration and it did guide for a short while before the errors started building. I retreated to my old method, using PHD2 and guiding on-camera instead of Direct Guide on the mount with the SkyX add-on. I got it to calibrate and guide beautifully without issue.
I did manage to get some images of comet C/2015 F4 Jacques, and created a short video of its motion over the period of an hour.
It was a good first light for the equipment, and I’m sure I’ll get all of “my” issues straightened out. Many of my issues revolve around trying to tackle multiple learning curves at the same time. New mount and software, my first ccd camera, image capture software, motorized focuser, etc.
dw