
On my homepage, I speak of the differences between the varying styles, skills, and artistic preferences of different imagers on the same object. In this post I’ll be speaking about my own trip up the learning curve of taking raw data and turning it into something you’re proud to share with others.
With this post I am by no means presenting myself as an expert in processing, as you’ll plainly see in the final image. I have traveled some distance down the road of knowledge, but I consider myself a novice at best. My purpose is to encourage those like me who have an interest in astrophotography to push ahead down that road, even when you get frustrated after hours of manipulating an image and you just can’t get it to look like those magazine pictures. It’s also a warning to those who think it’s “easy”. “Just go out and spend a lot of money on equipment and the magazines will be falling over, looking to print your images.”
Producing an acceptable image, in my opinion, requires a solid foundation in three areas; solid equipment, procedures and the process of gathering data, and the ability to capture the complete dynamic range of an object through processing the combined raw data into an image.
The images I am presenting are of an often imaged object, M42- The great Orion Nebula. The data was collected in October 2013 and the various versions were all processed between then and November 2014. Each image uses the same data with the exception of the first two. They did not have the benefit of the 2 sec exposures that were added to the later versions.
The equipment used consisted of the following:
Hardware
Explore Scientific ES127ED APO refractor F7.5
Orion 50mm guide scope
Celestron Cgemdx mount
Canon 60da DSLR
SBIG ST-I guide camera
Software
BYEOS for image capture
PHD for guiding
Deep Sky Stacker for calibration and stacking
Photoshop CS5 for processing
I captured (35) 30 second subframes at ISO 1600, 6 darks. No flats and No bias.
Right off the bat you can see my first weak area is in data collection. I should have taken many more subs, and added bias and flat frames. I write it all off as rookie impatience and a little ignorance. I have since learned it’s all about the data; data, data, and more data. What you’ll see apparent in all the images is excess noise, although I did get better at reducing it as I learned more, it was at the expense of some of the sharpness. One of the other issues is the slight trailing of the stars, even with guiding. Guiding by itself has a learning curve to master and I probably did not have the mount balanced as well as it should have been.
Stacked sub frames
This first image was my original take. Now, I had seen images where the trapezium was visible and not blown out, but I had no idea how to do it. I had also read about levels and curves, but had never tried to use them before. This image is almost exactly what was produced from the stacked set of sub frames. I was blown away at the amount of detail the Canon 60da was able to capture.
30 second sub frame
I was a little surprised that the red hues that were visible in the sub frames were now washed out after stacking. I played with the levels and curves but the image got away from me real fast and I backed off.
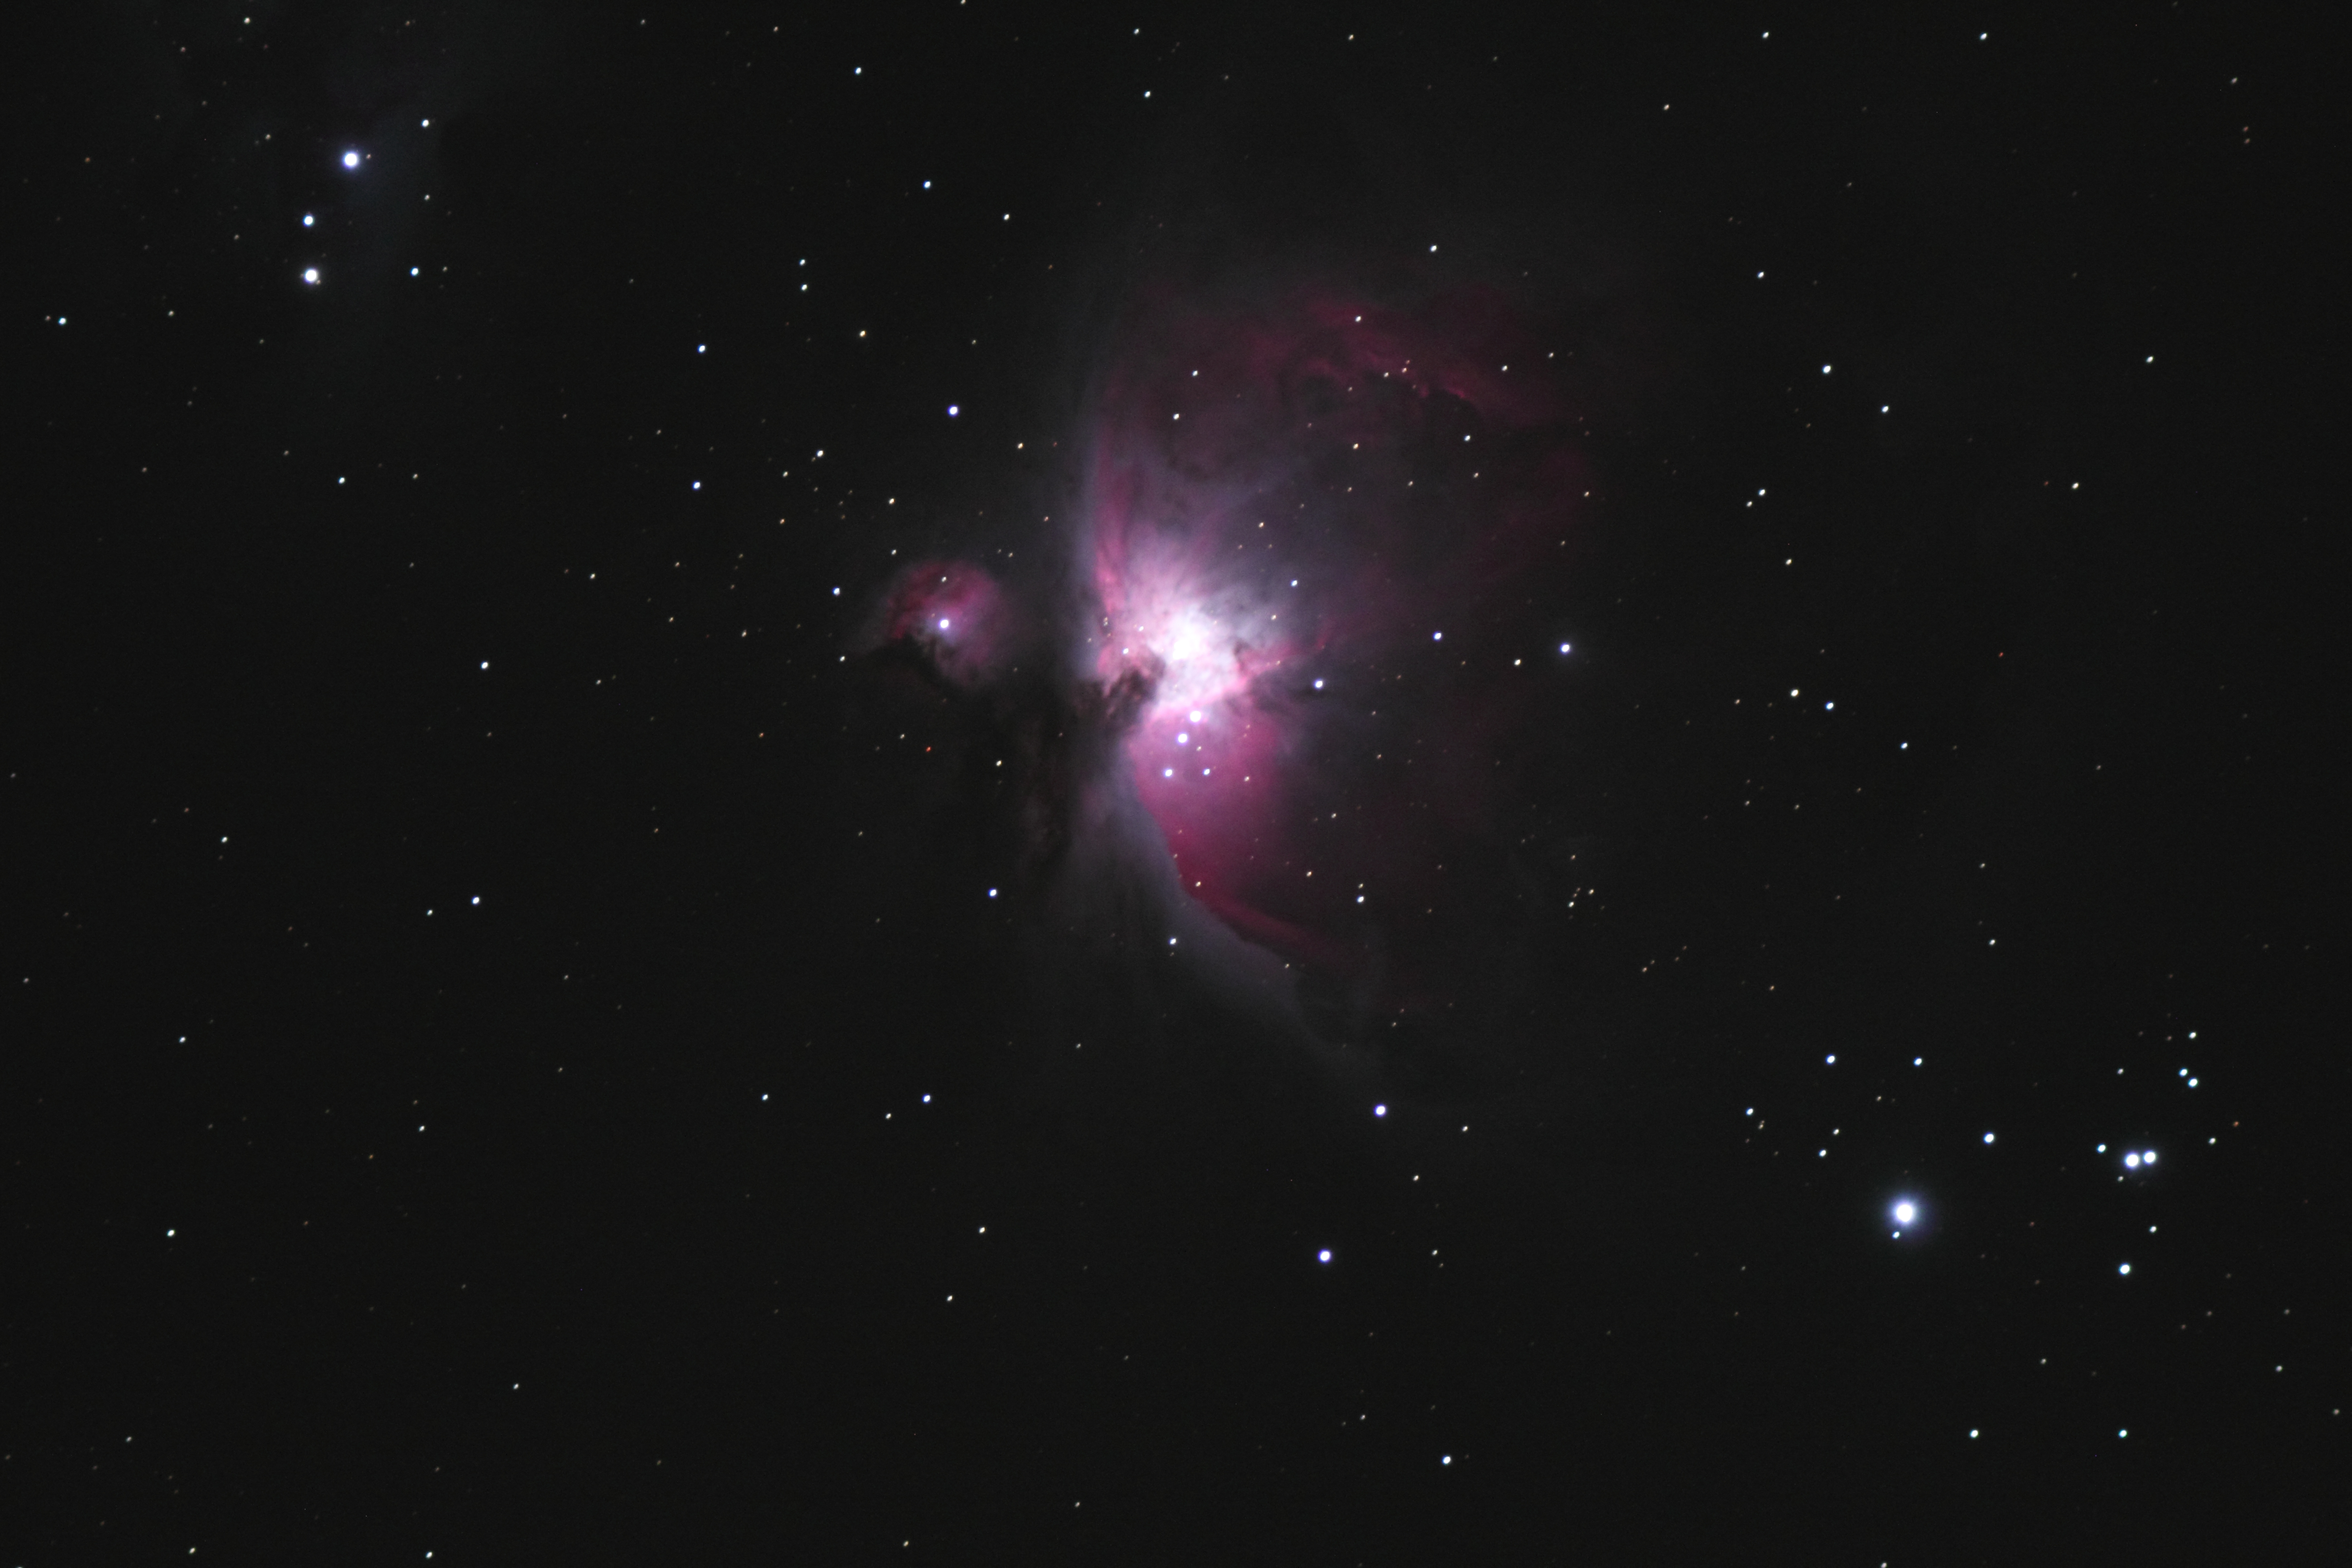
Stretched with levels and curves
After messing with levels and curves I was able to bring out more of the extended nebulosity at the expense of the core. One of my club members commented on my image after posting to the Yahoo group: “You’ve blown up the Trapezium”. They were right!
My next task was to learn how to recover the Trapezium. I had heard about masking, but didn’t know how to use it. I turned to You Tube and my prayers were answered. After some diligent searching I found some videos that helped me to figure it out.
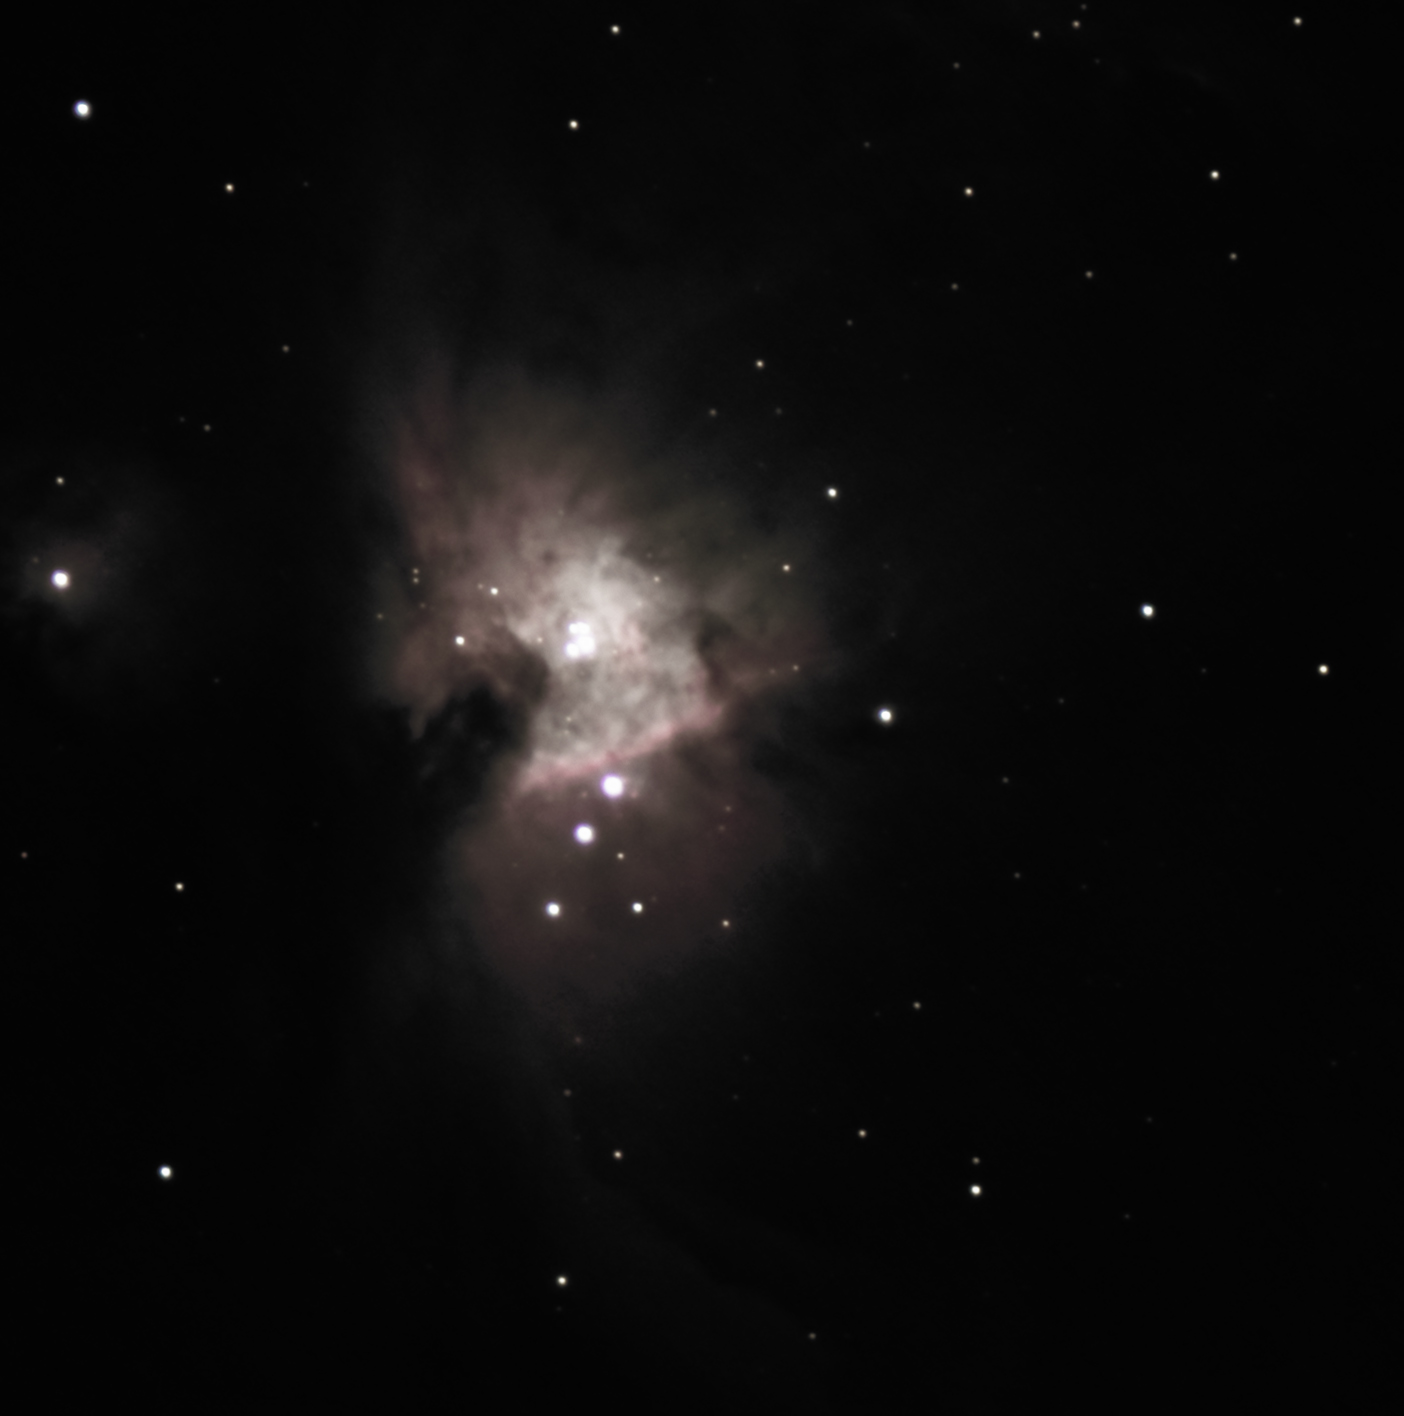
2 second Trapezium
The technique I would use would be to insert some short exposure (2-sec) frames into the image and blend it in with a mask and feathering. I was able to accomplish what I was looking for, even if the finished result was not as perfect as it should be. I knew over time and practice my skills would improve. Even with some of my recent work, I still need to perfect these techniques.
Masked core to show Trapezium
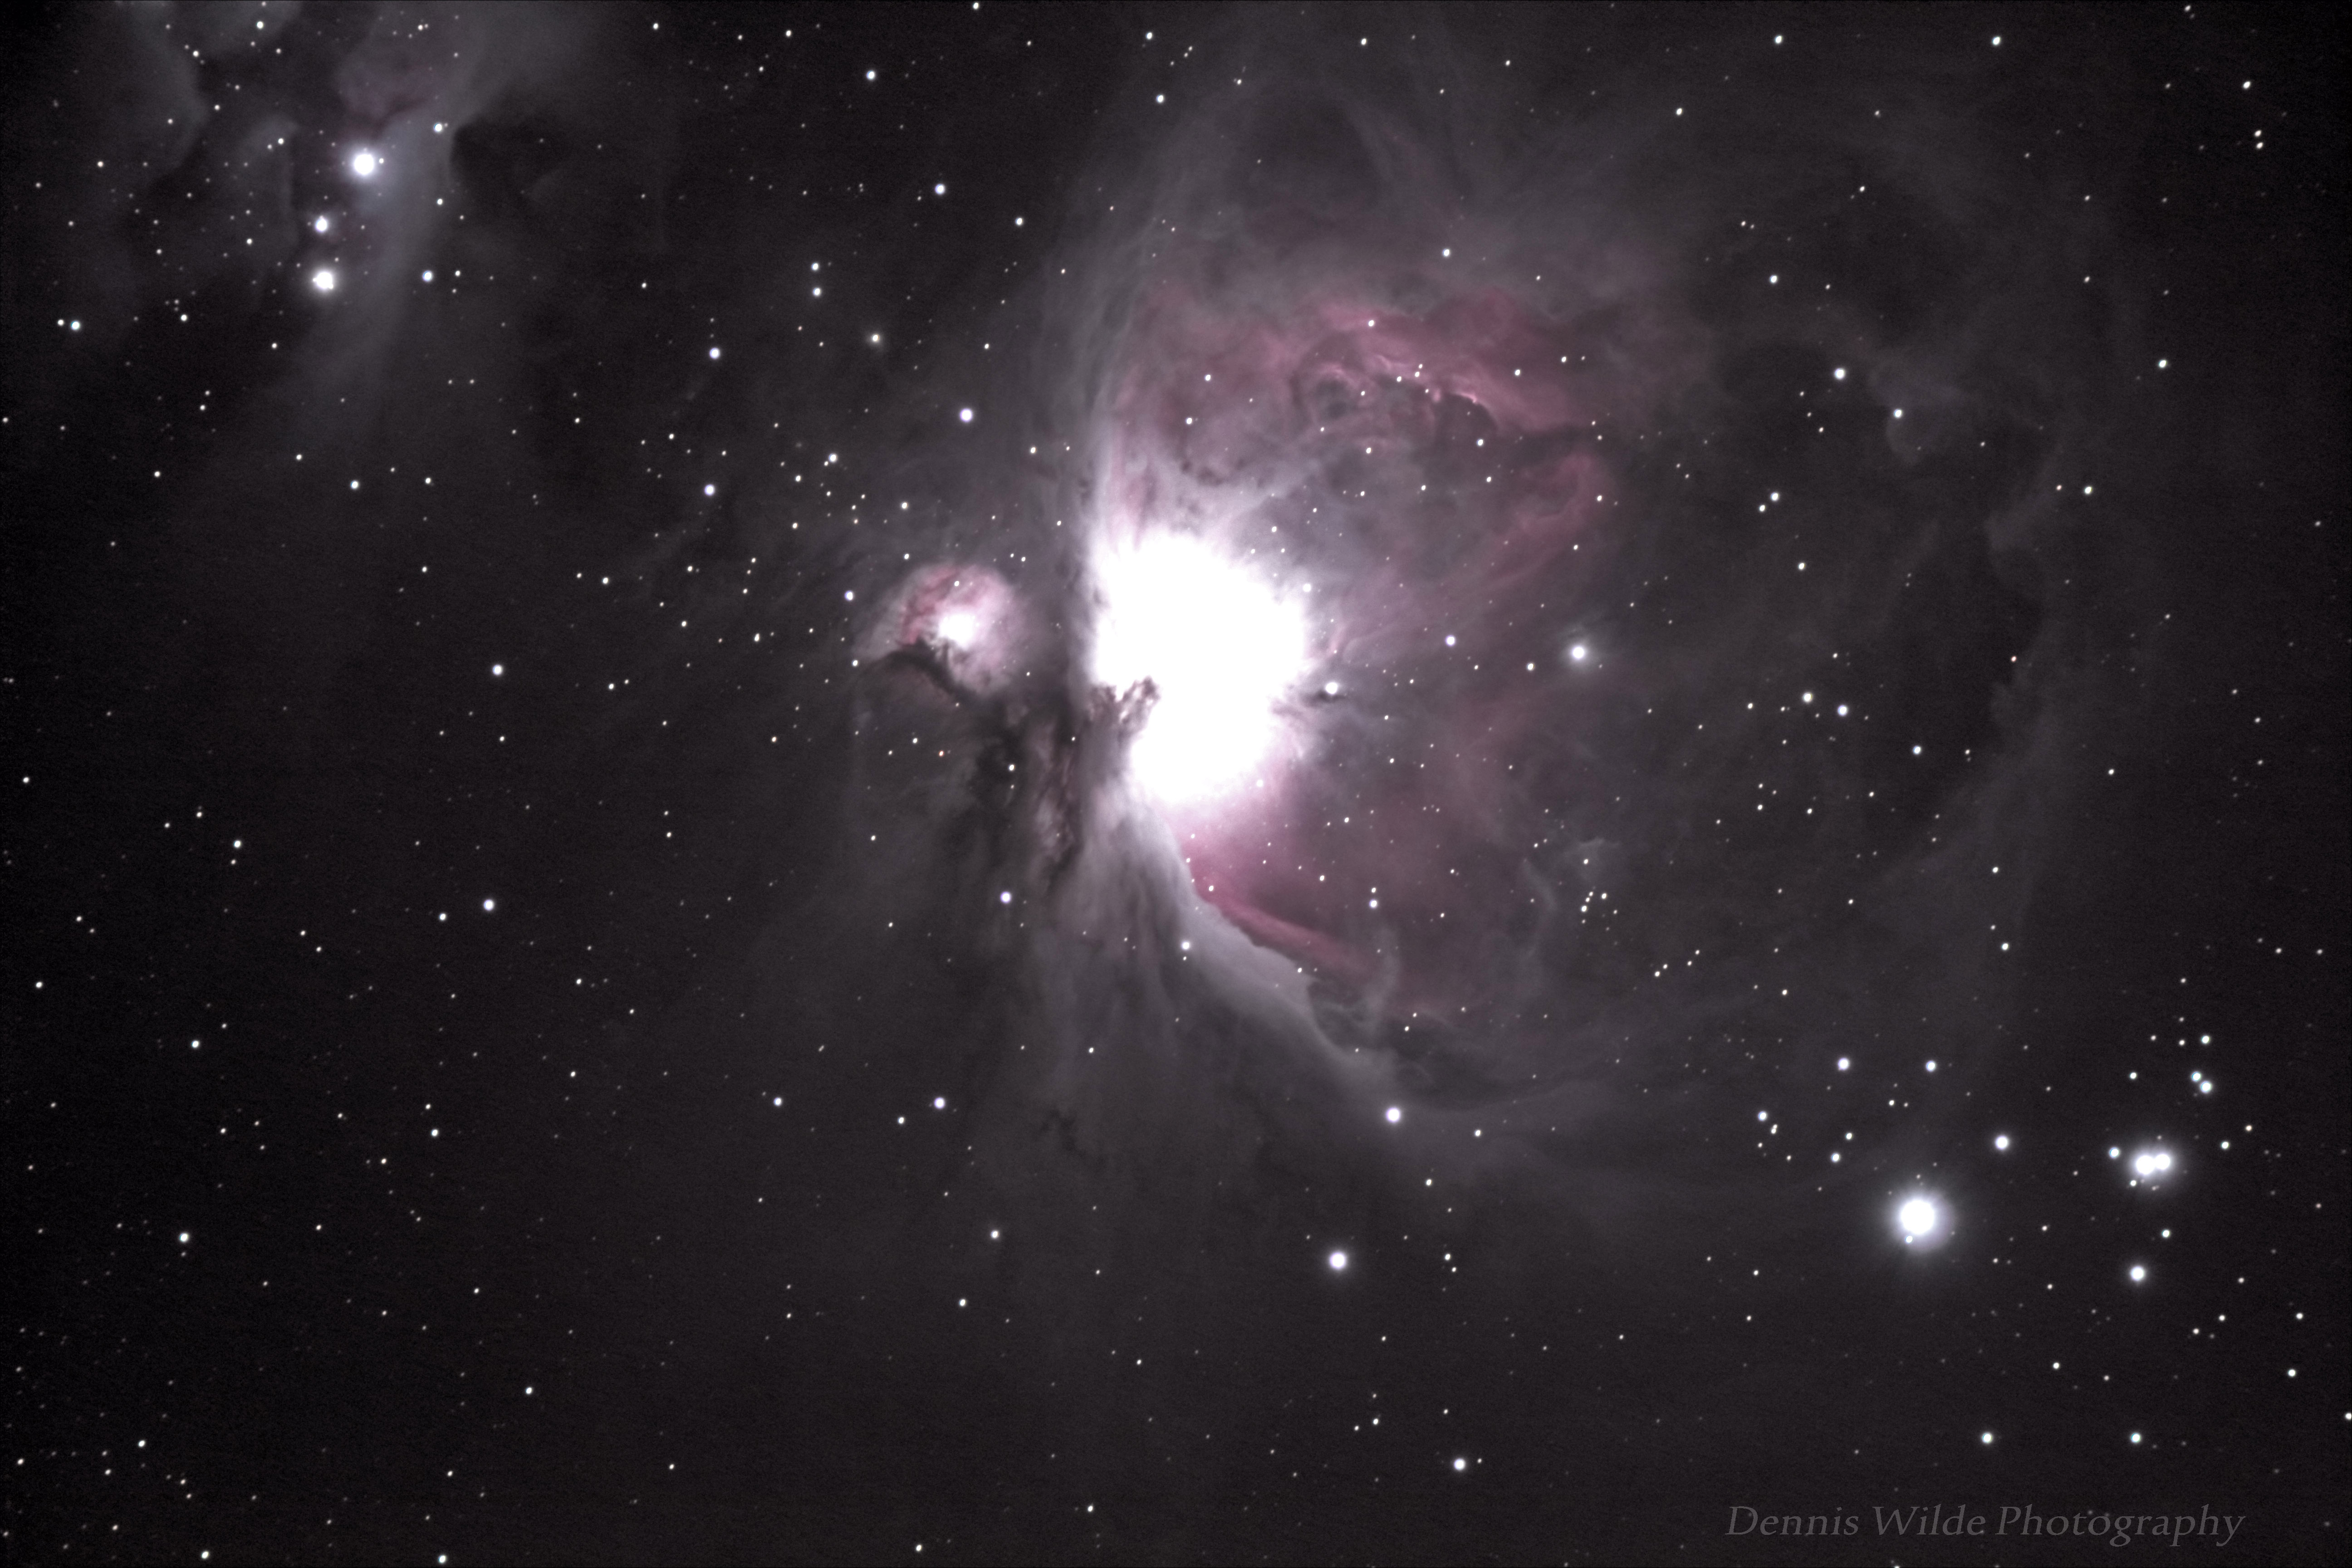
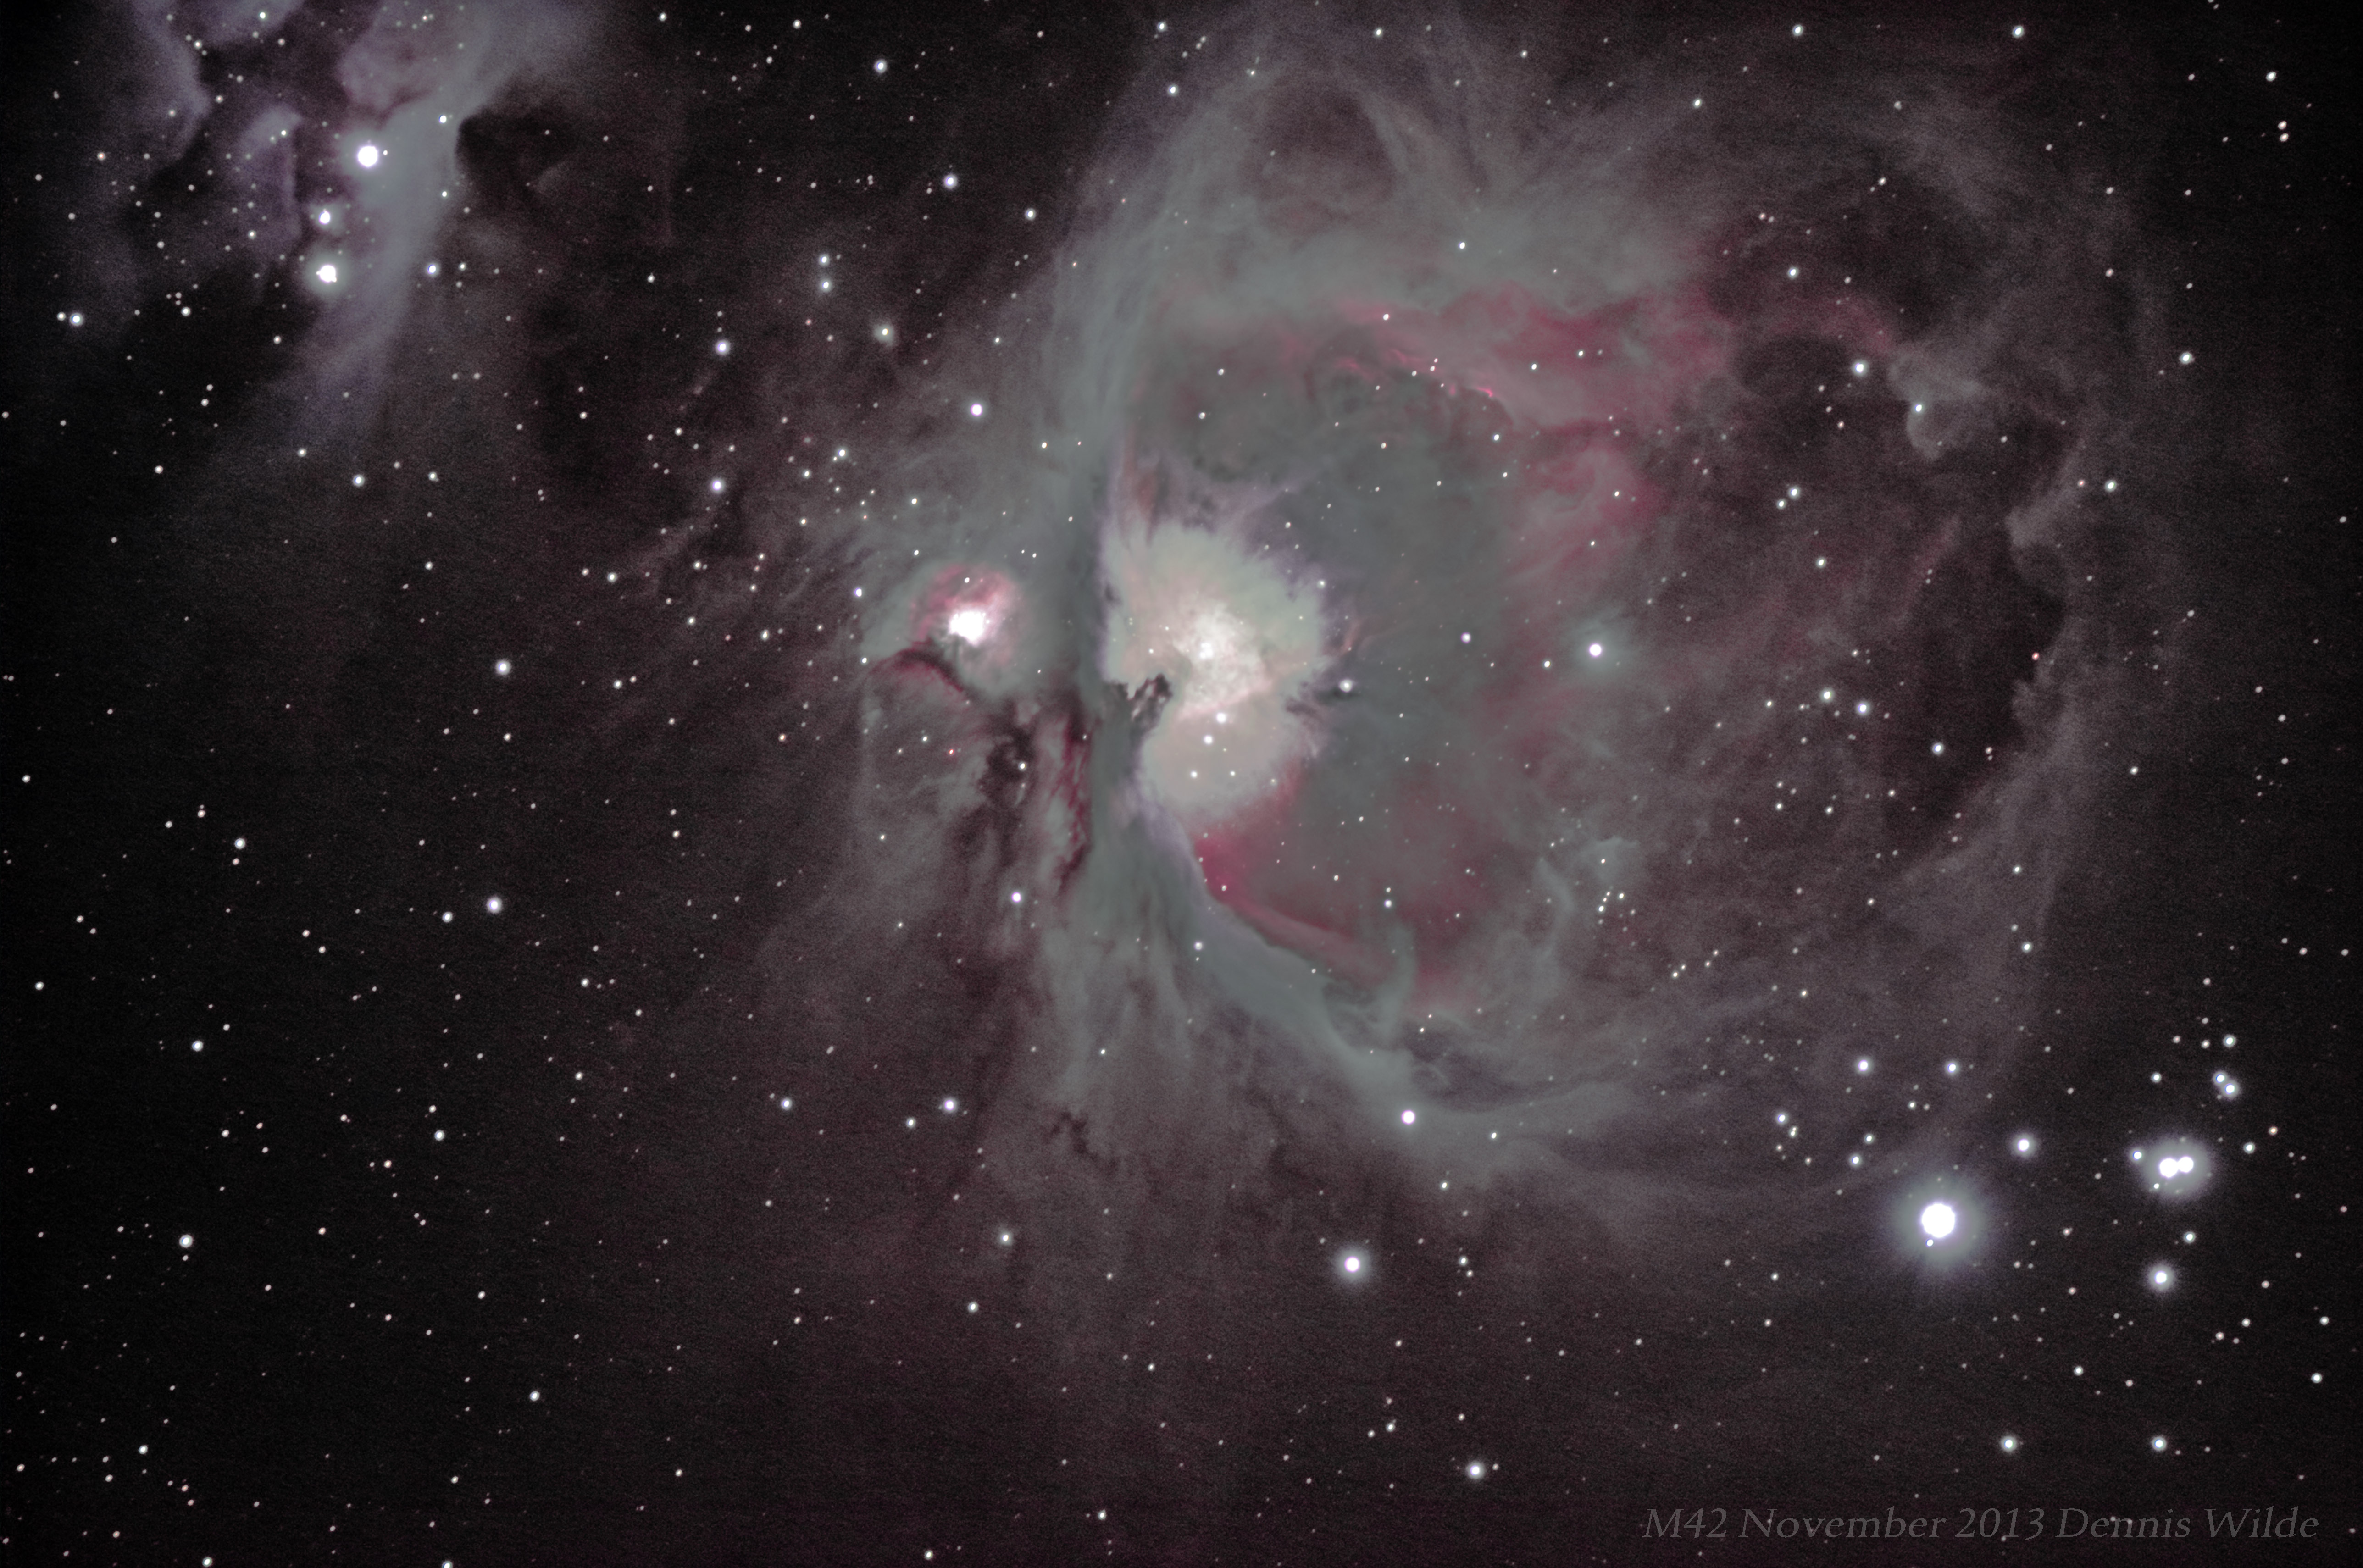
The next thing that bothered me was the lack of color. Many of the images had had seen had beautiful hues of Blue, red and pink. I was able to bring out more color in the image by playing with the Hue and saturation, and selective color adjustments in Photoshop. I was able to bring up the color and use the different hues to highlight different portions of the nebula.
Increased color saturation
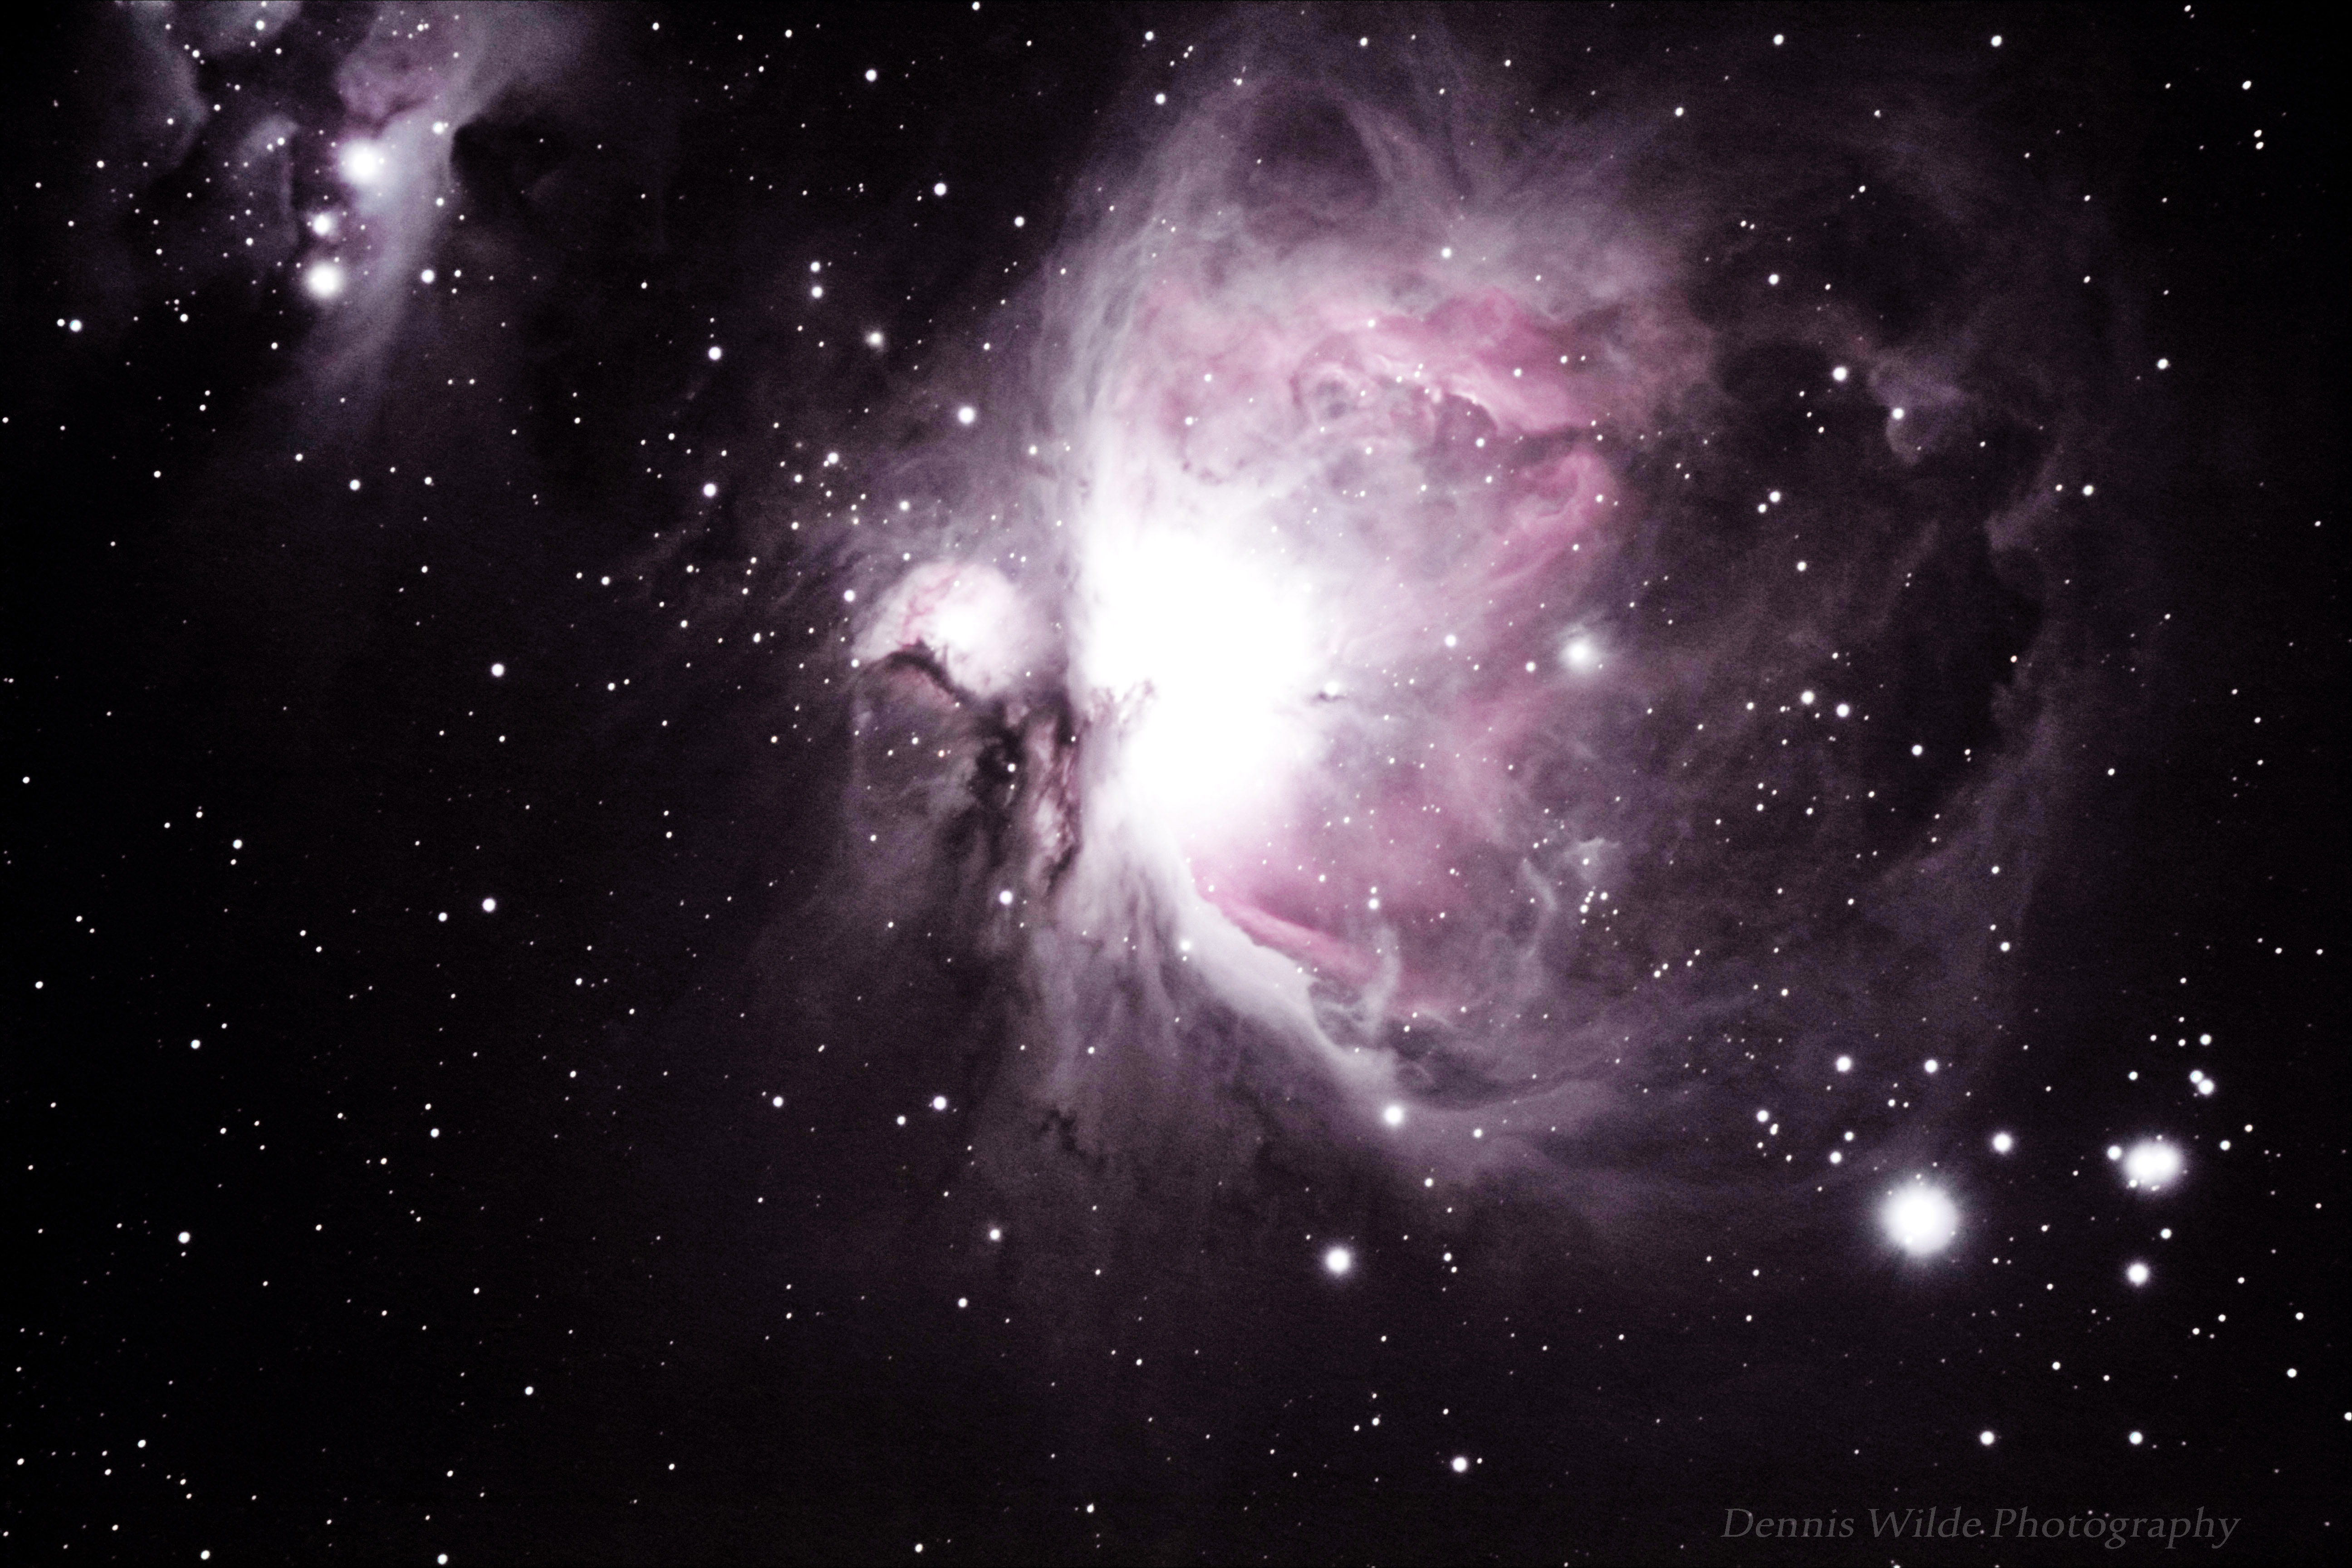
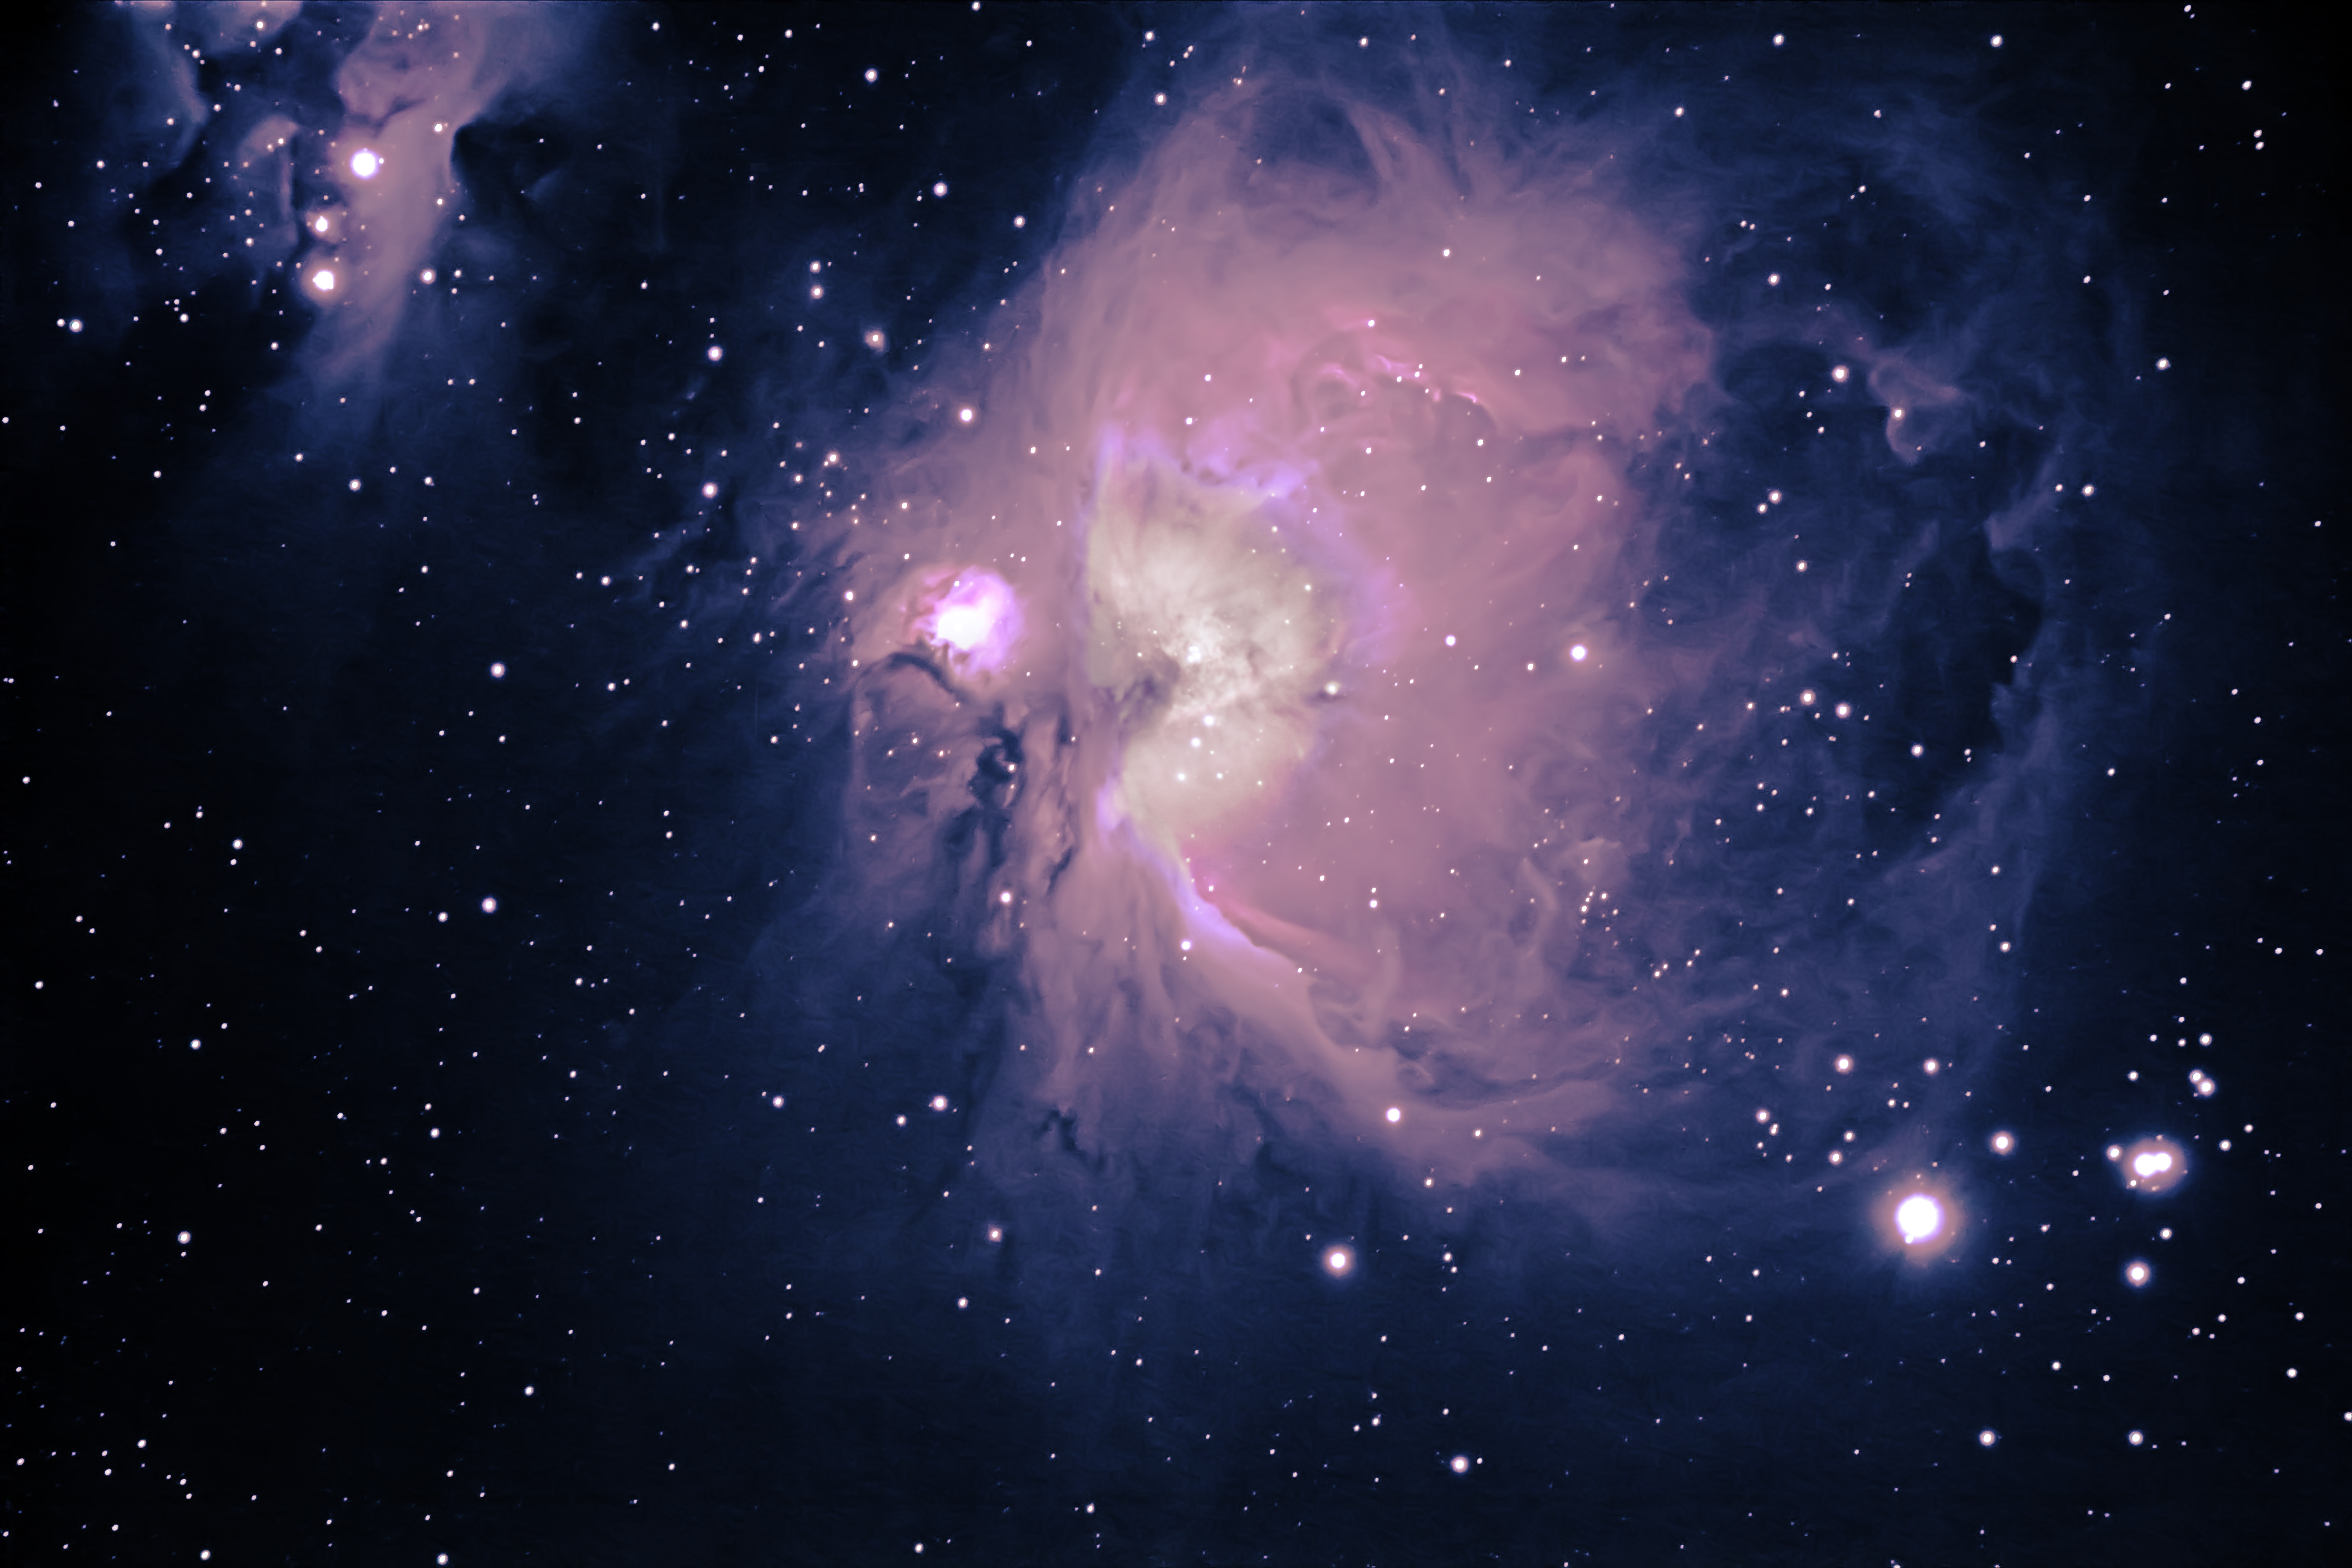
In the final image in the series I started looking at the more advanced features of Photoshop and I was able to bring out a higher level of contrast in the range of brightness levels this nebula presents using the High-Pass filter. I like the way this image came out, although some might say it was over sharpened and over saturated. Again, this is a difference in artistic preference. This image and the one above present slightly different “looks” for this object. I like them both equally.
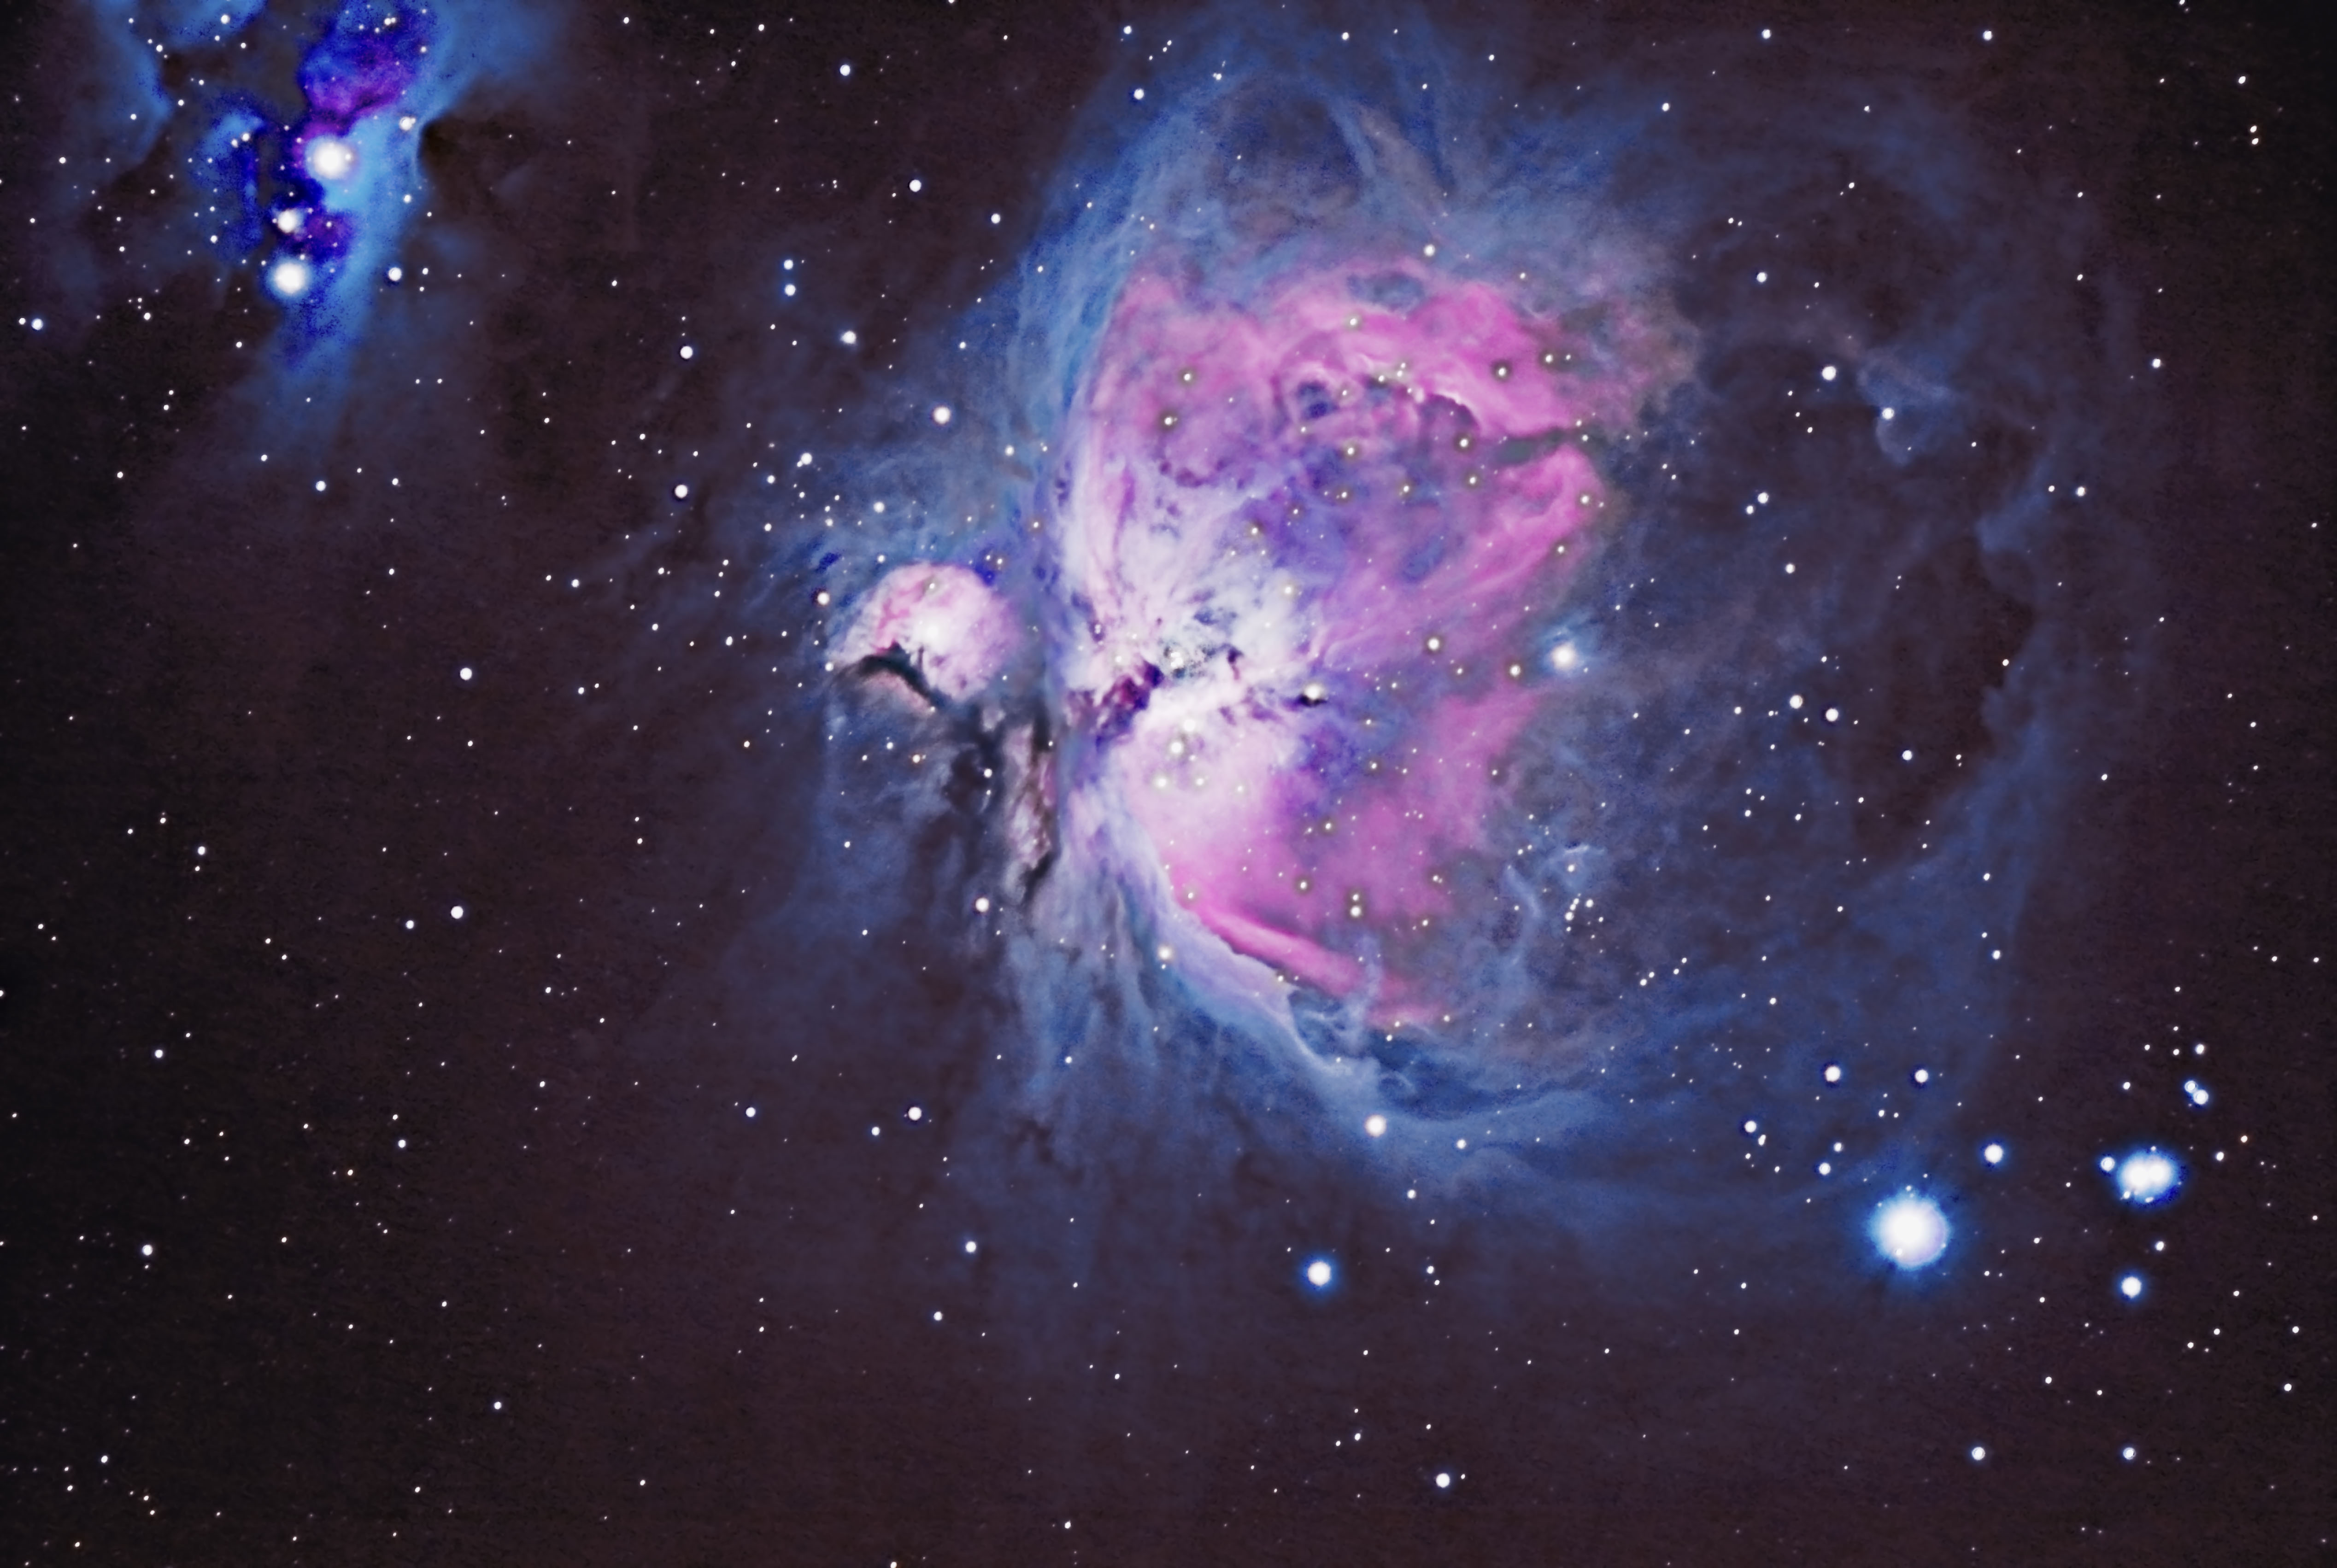
Sharpened for contrast
I’ve learned a lot from reprocessing this image over and over. There are many reasons why this image never reached the perfection I was hoping for. Sky conditions were not perfect. Even with 30 second sub frames the stars were bloated from poor seeing. In the last iterations I tried using star masks and reducing star size, but could not get it where I wanted it to be. I also suffered from imperfect tracking and guiding. The techniques of setting up aligning and setting the right parameters in the software make a big difference in the quality of the data.
I also learned that I have to take bias and flat frames to help reduce the imperfections produced by the optics and electronic noise of digital cameras. As a new imager I was anxious to produce that image I could show off to my friends. I really should have collected at least another hour or two of data to help increase the signal to noise ration and improve the background of the image.
I will revisit this object some day and give it the proper attention it deserves. Maybe by then my skills will have improved enough that everyone loves my image.
dw